GINKLET: CREATURE CHRONICLES
INTRODUCTION
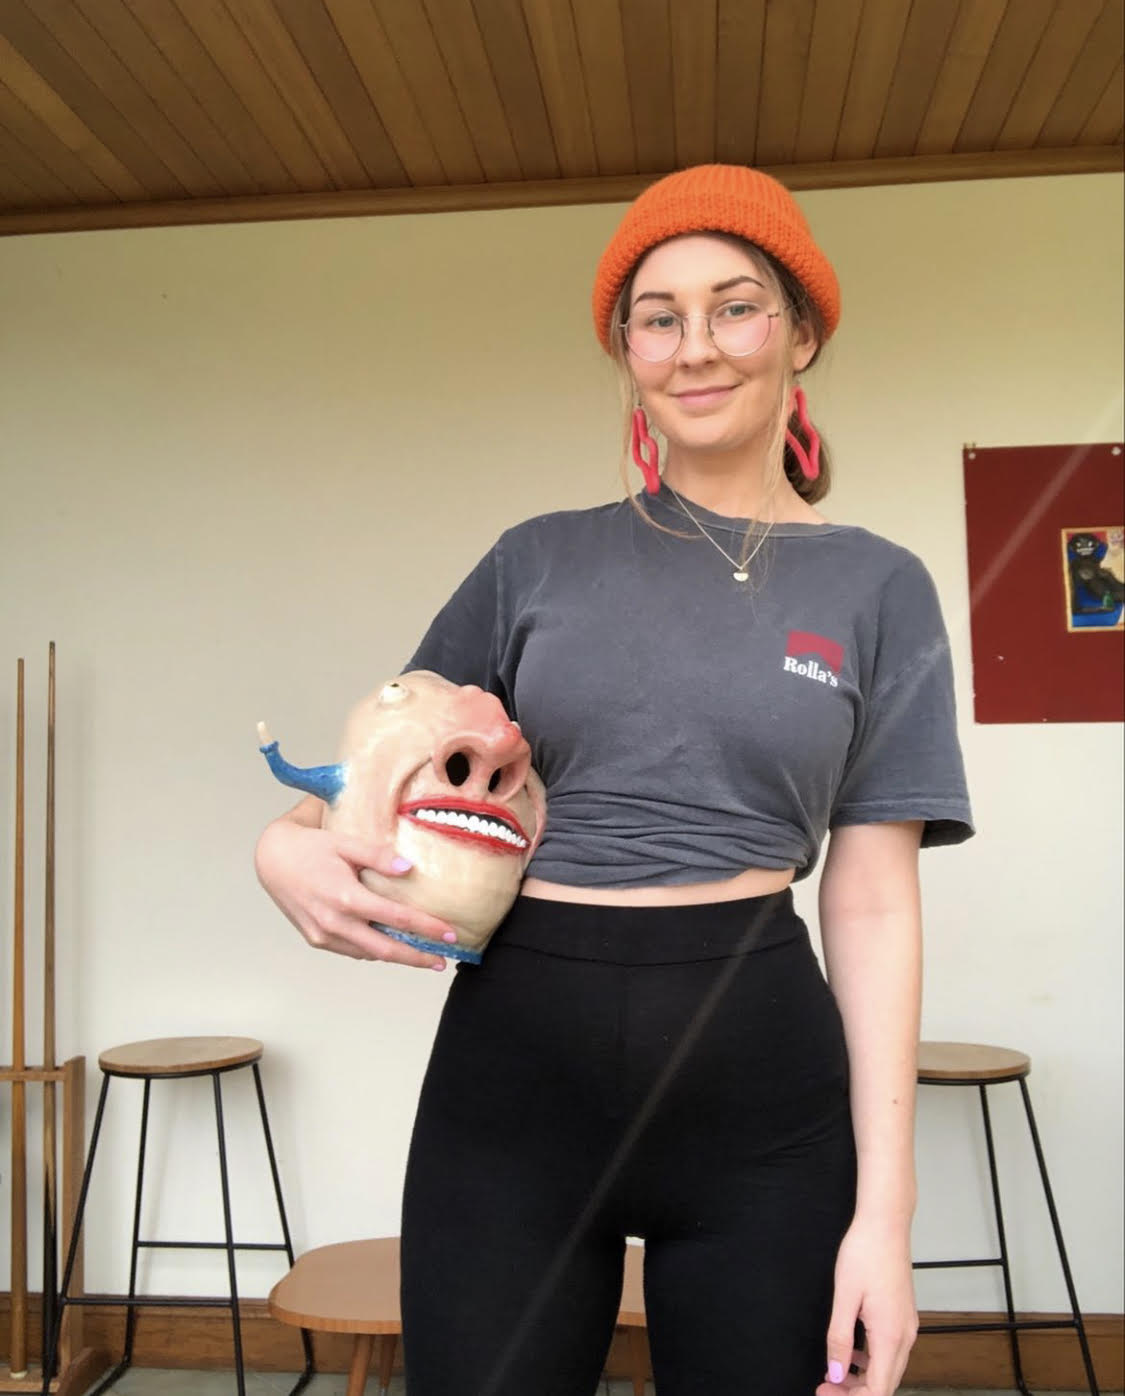
‘Ginklet’ is the weird and wonderful brand of handmade ceramic art by Molly Melican based in Victoria, Australia. Her ceramic pieces are a gang of misfit homewares whose personalities, expressions and temperaments bring joy to any corner, table or surface. Expertly crafted, each piece is made with a personality in mind. No two Ginklet pieces are the same.
THE MISSION
This was a passion project I created for myself as a way to improve my sense of composition and skills in set styling. Each Ginklet sculpture has its own unique personality making it the ideal subject for crafting a story and then expressing that story through photography and set design.
THE OUTCOME
By the end of this project, I improved not only my ability to compose compositions, but also refined my creative process from ideation through production. This focus on process, enabled me to hone my craft and flex my creativity through building sets using a variety of techniques and materials. This project also strengthened my ability to listen to, interpret, and physically manifest ideas, both my own and the clients, making it an incredibly valuable experience in collaboration and production.
SERVICES
Prop & Set Design / Concept Development / Photography / Videography
INTRODUCTION
THE PROJECT
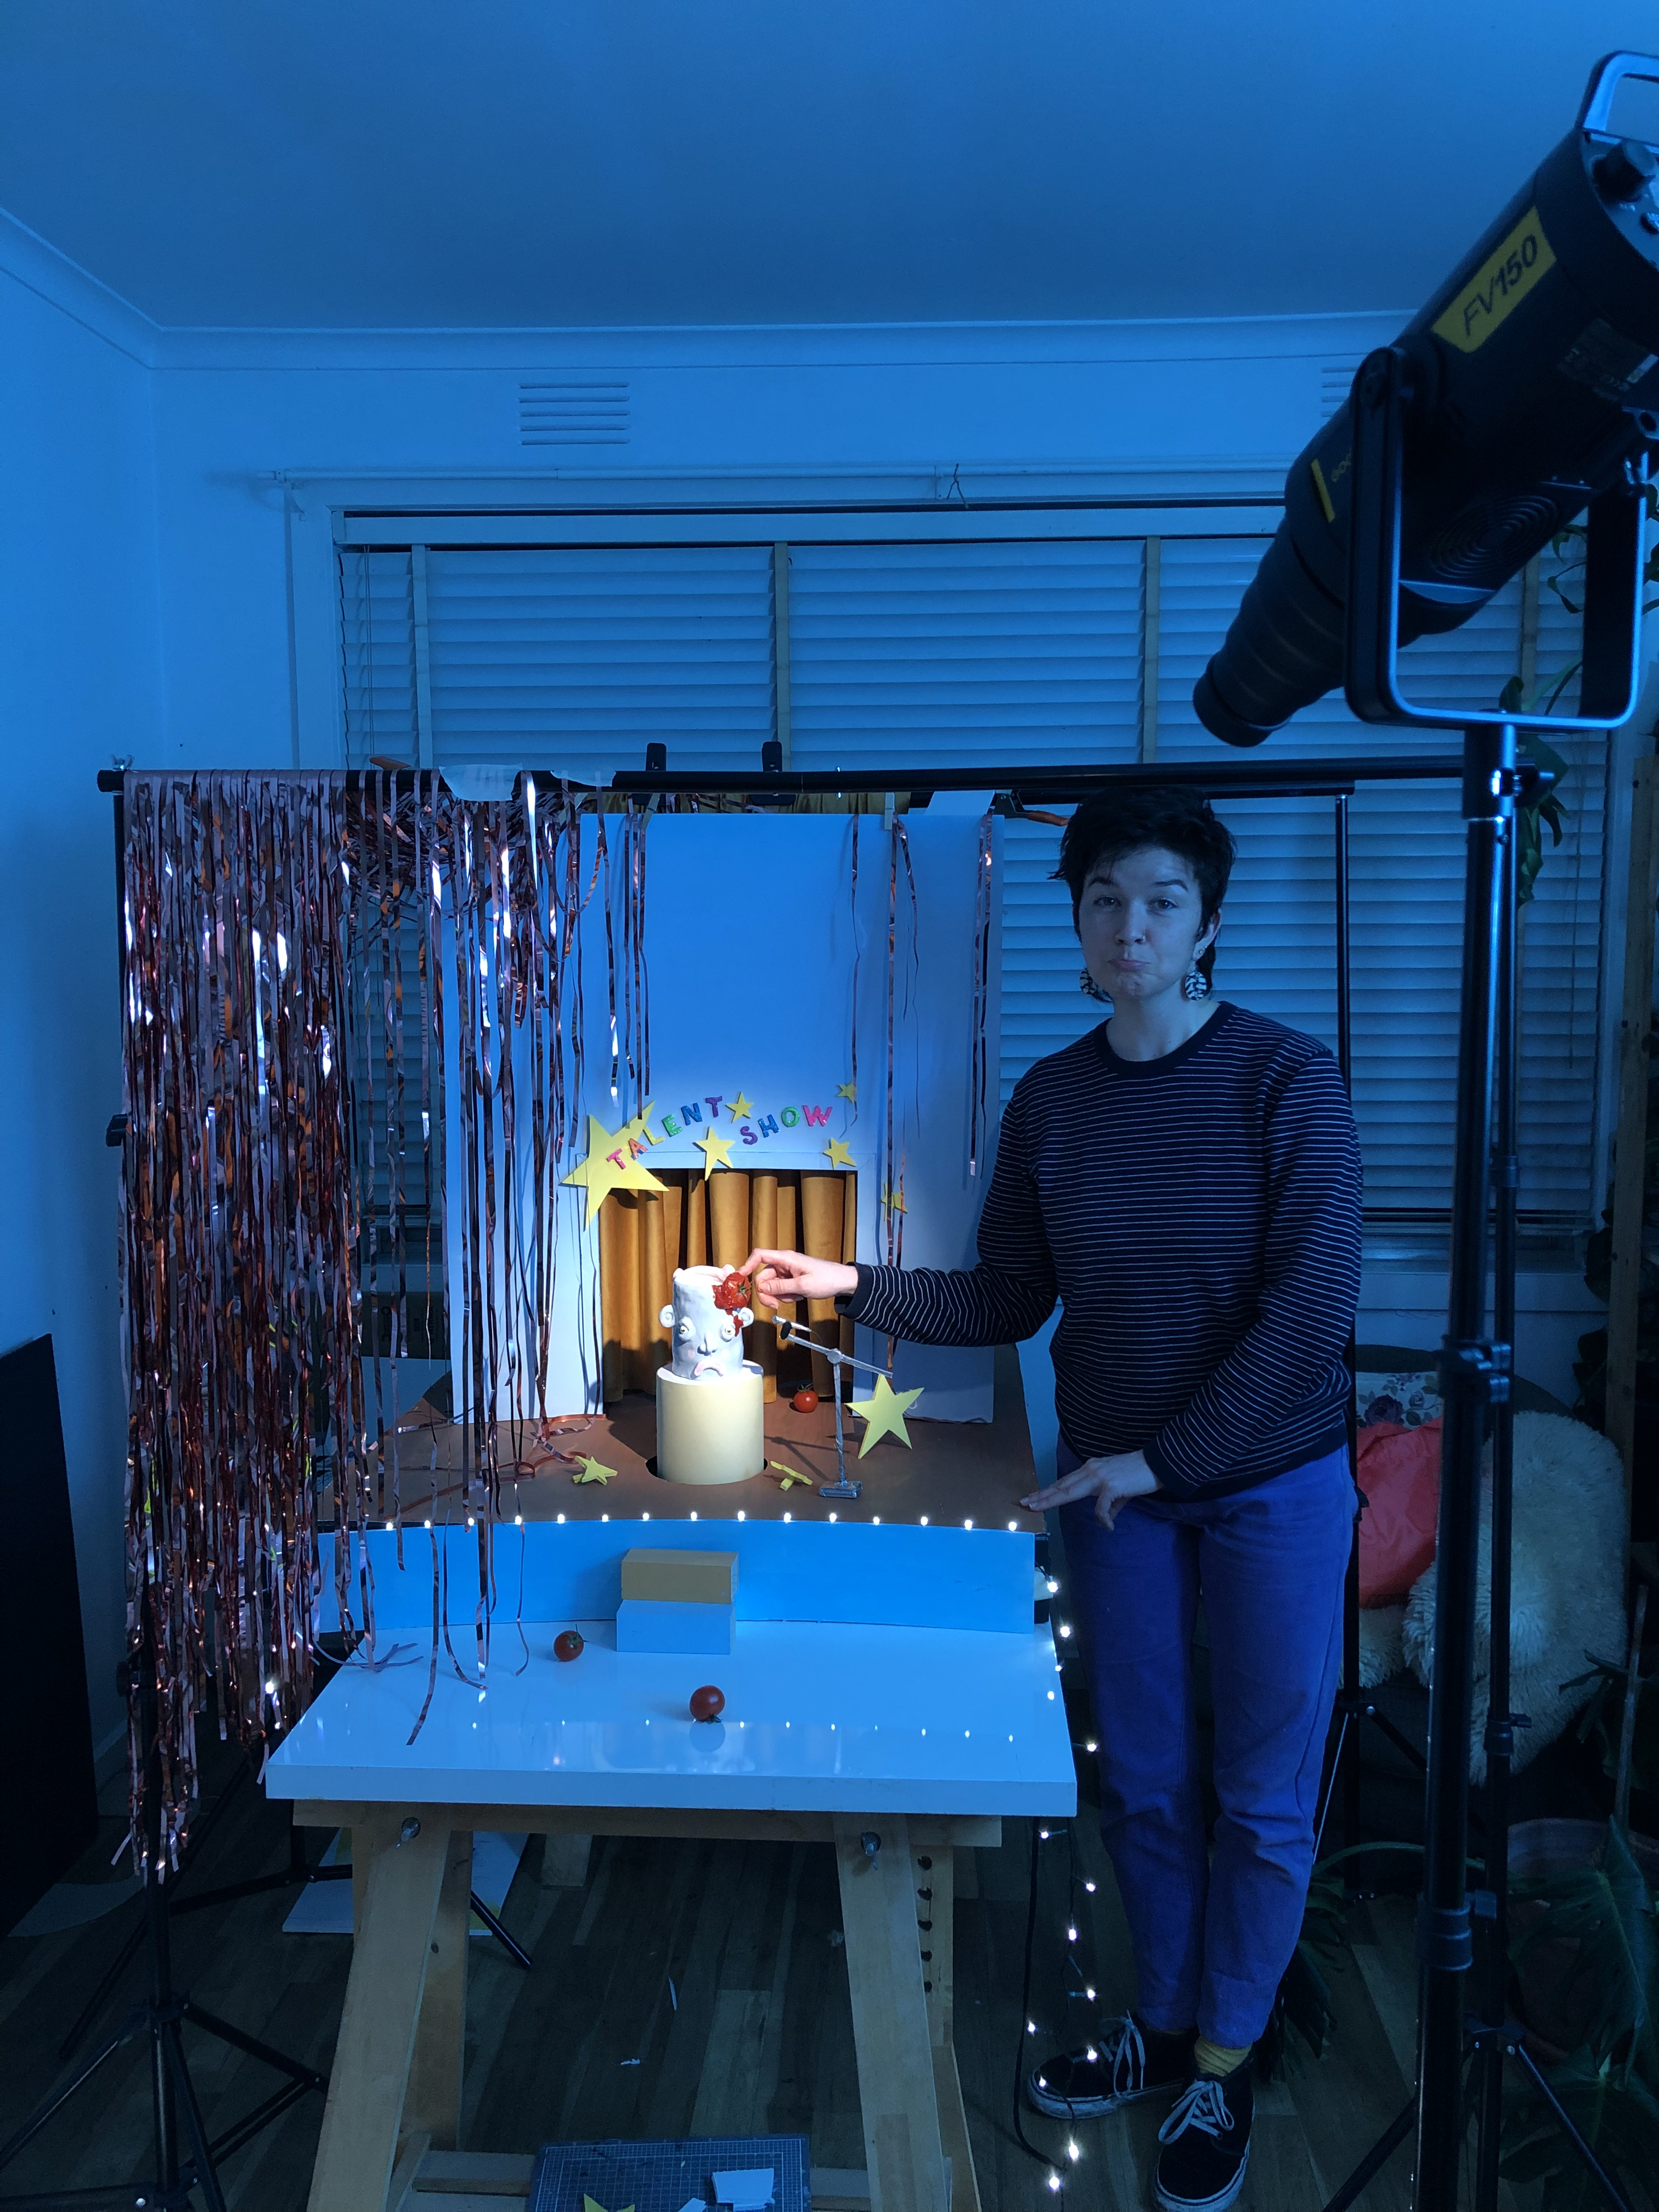
I reached out to ceramist Molly Melican (AKA Ginklet) to see if she would allow me to photograph and bring her characters to life as part of a self directed passion project. By doing this project, my aim was to improve my skills in set styling by creating challenging photo set ups in line with the personified sculptures. In addition to applying my knowledge in photography and lighting, I worked with my hands and physically build four different scenes that work harmoniously as a collection and reflect the back stories of the pieces provided by their creator. To make the images feel like a unit they needed to have feature that carry between them, which I decided would be similar lighting, depth, placement of sculpture and props; specifically a hanging element in the front left.
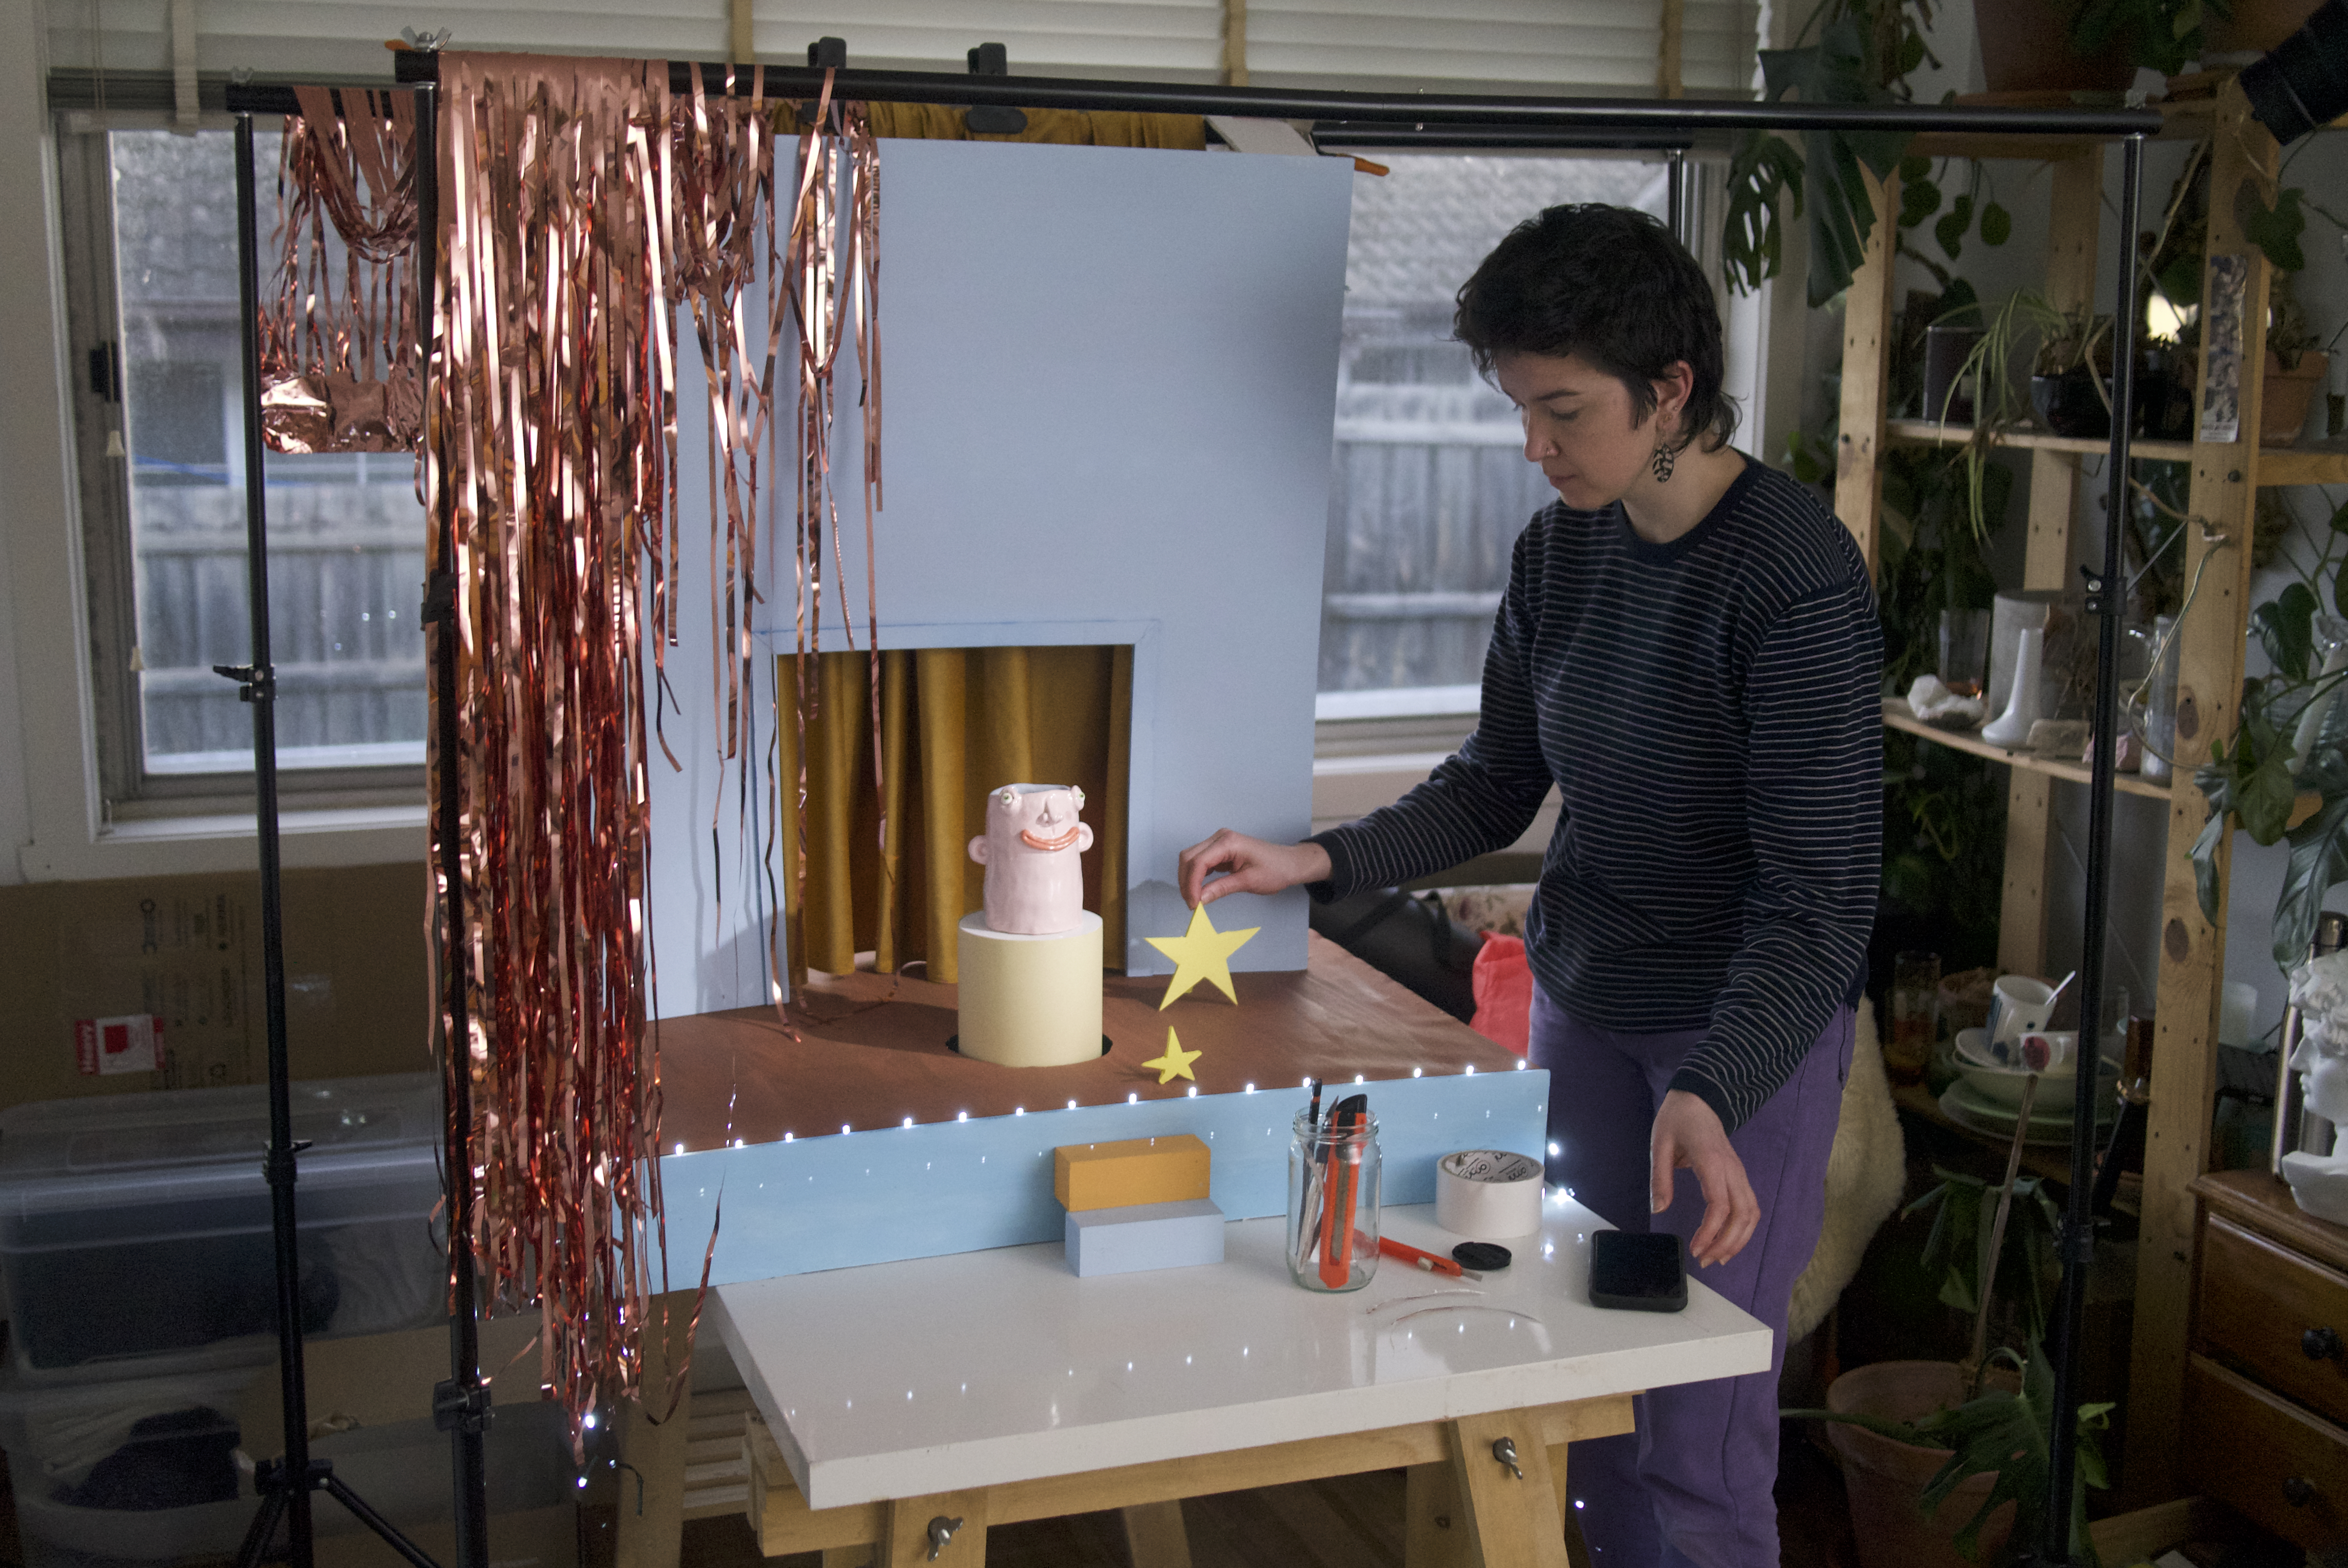
I created four different scenes which were informed by the personalities of each sculpture and by my conversations with Molly. I built them all in my little home studio and then captured in both photo and video formats.
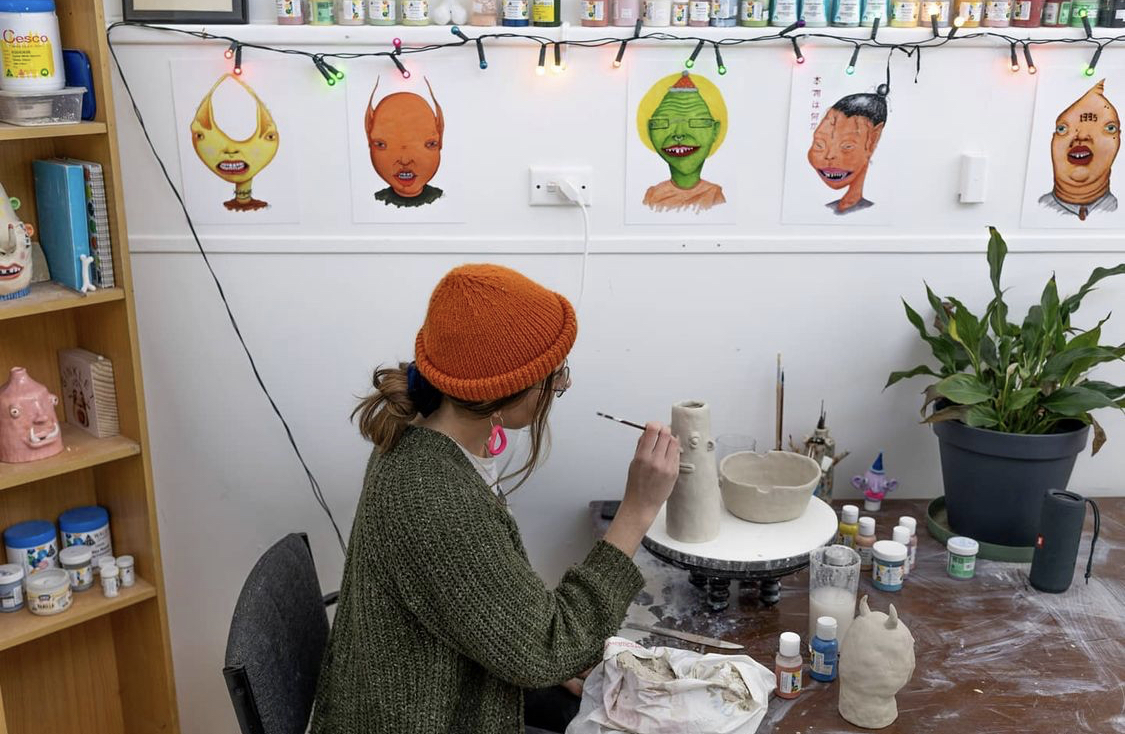
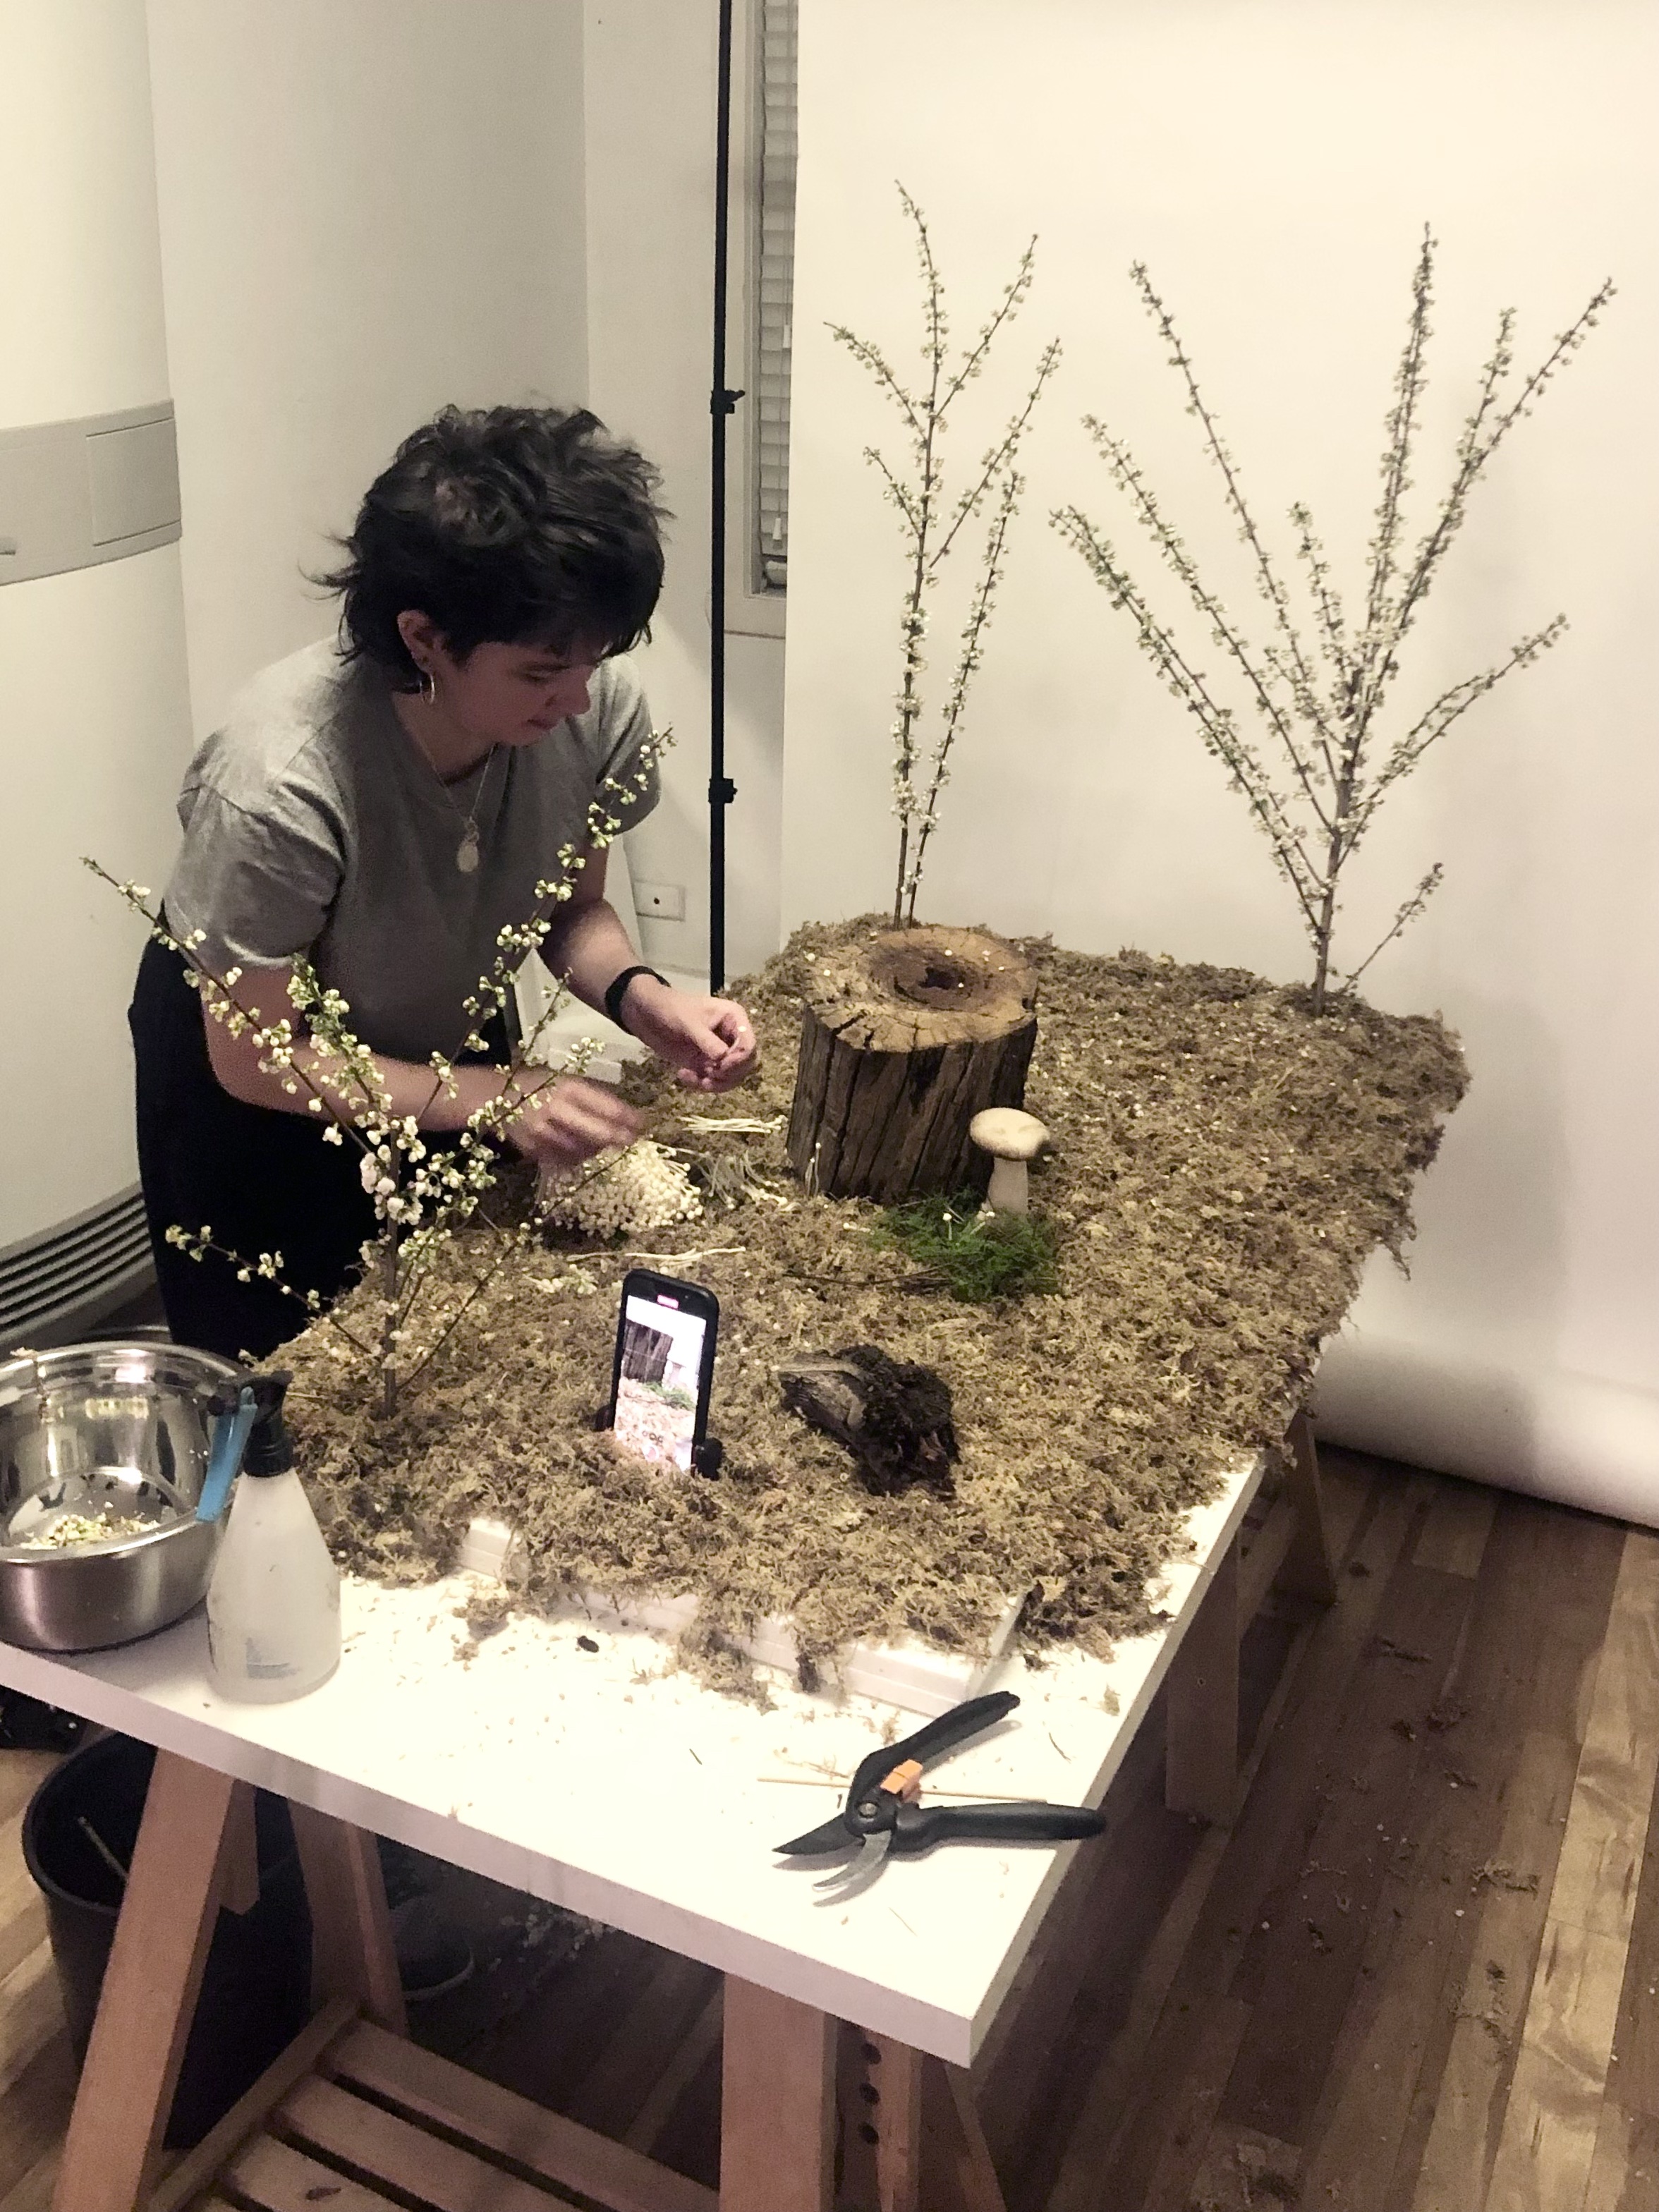
Molly in her studio.
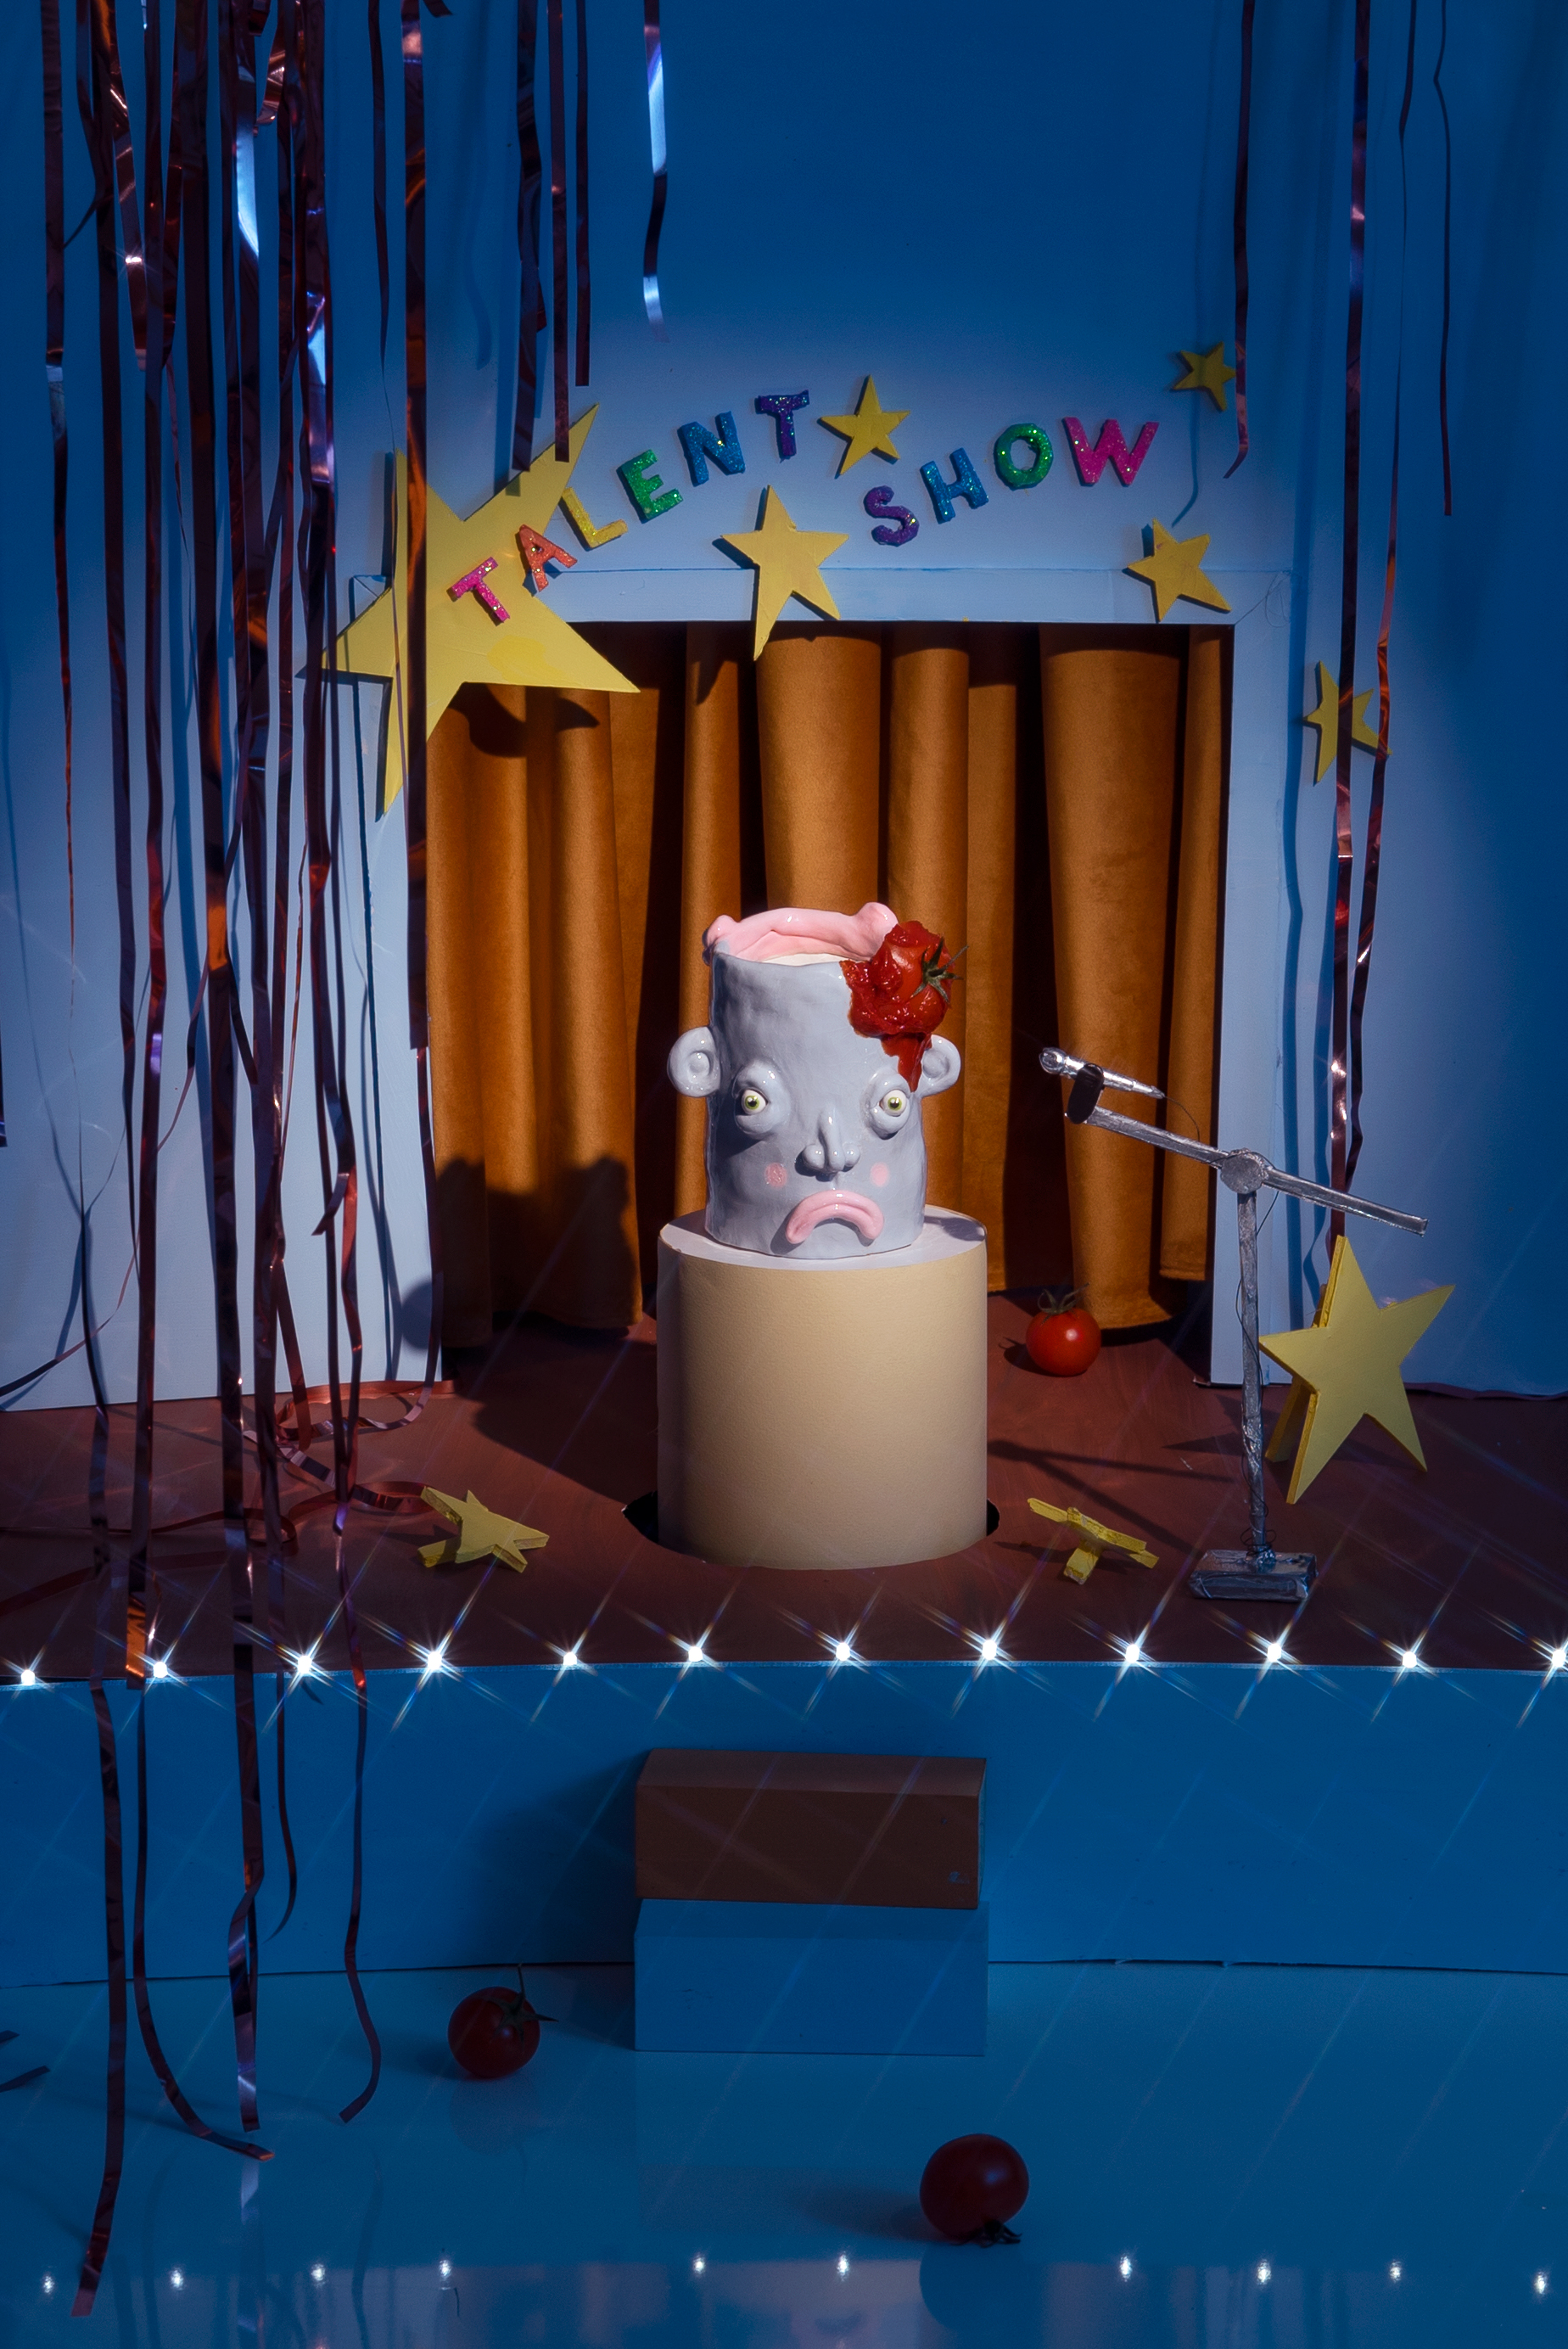
HAPPY-SAD MAN
THE PROCESS
Happy-Sad Man is my personal favourite and was the most challenging to create because he was the only sculpture that didn’t have a clear backstory. Due to his happy and then sad nature, he had to have something happen to him and the set needed to tell the story of that transformative event. After several beers with my partner at the pub, we landed on this idea that Happy-Sad Man has been working on a joke to tell at the school talent show. He is feeling optimistic as he goes up on stage and then totally bombs. It is a tragic tale and a fear that everyone knows.
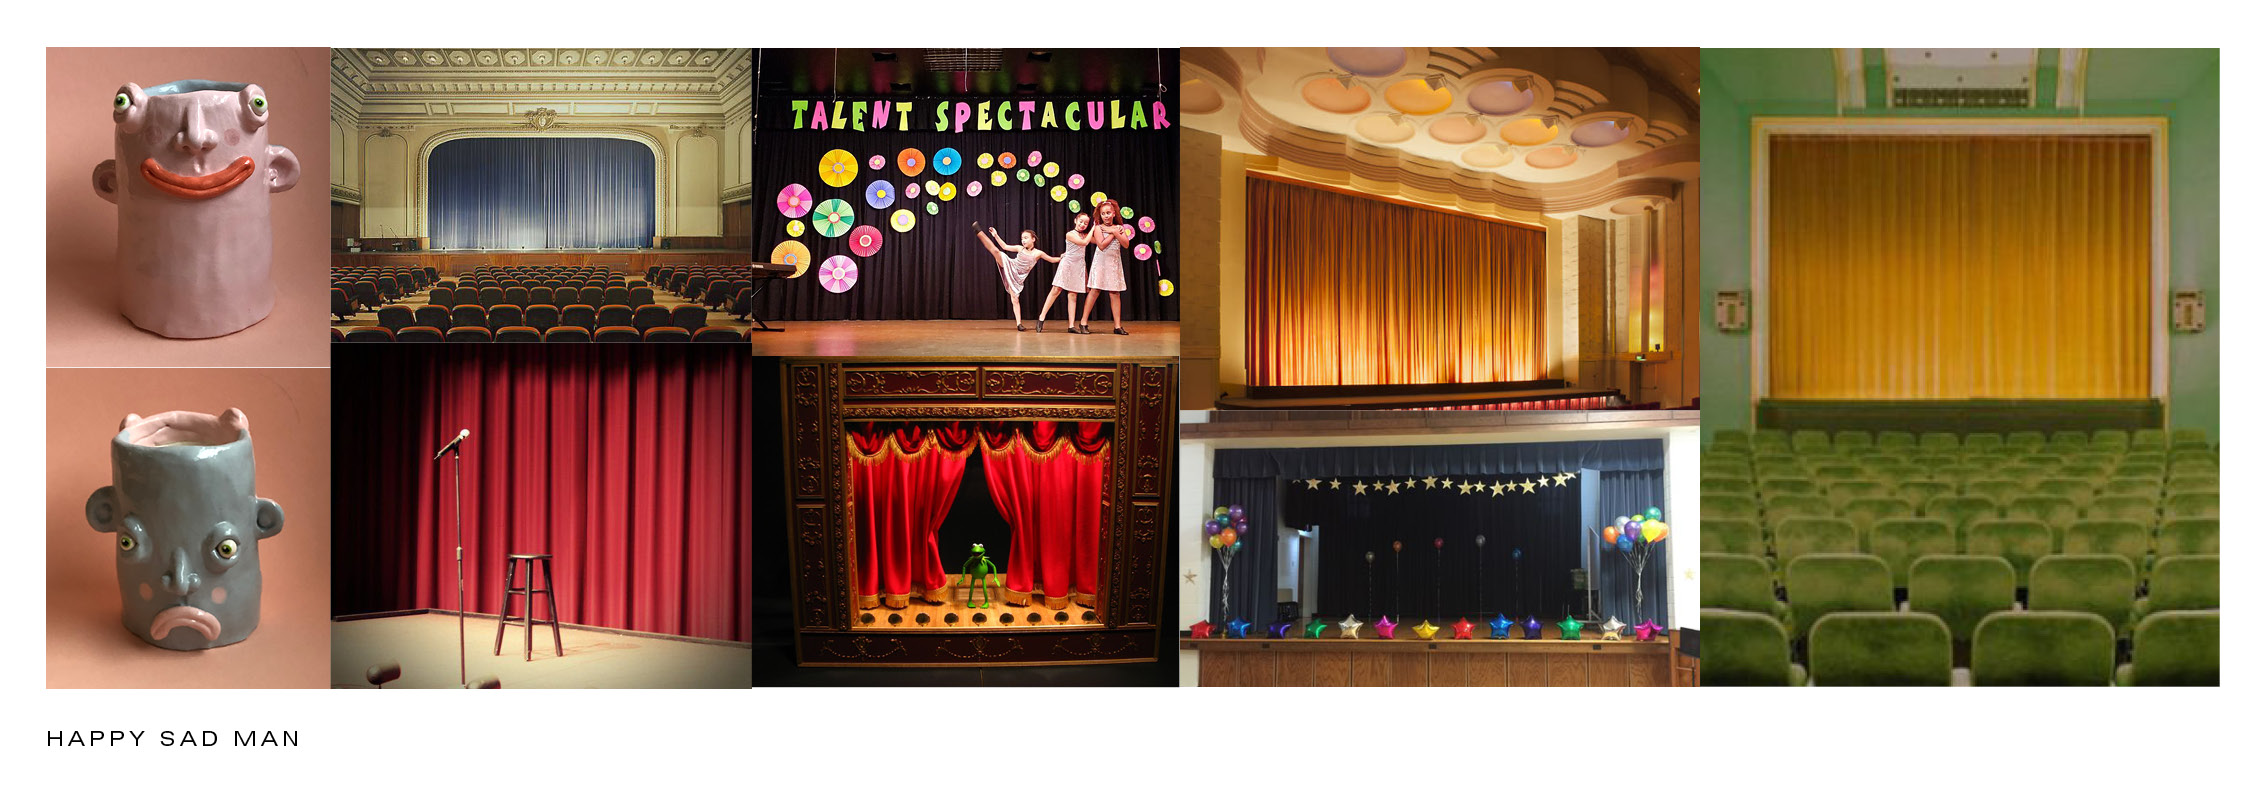 The mood board I created to help me visualise Happy-Sad Man.
To tell the story of Happy-Sad Man, I had to build a talent show scene. To begin this process, researched images of theatres and talent shows to give me an idea of props and help me envision what the stage could look like.
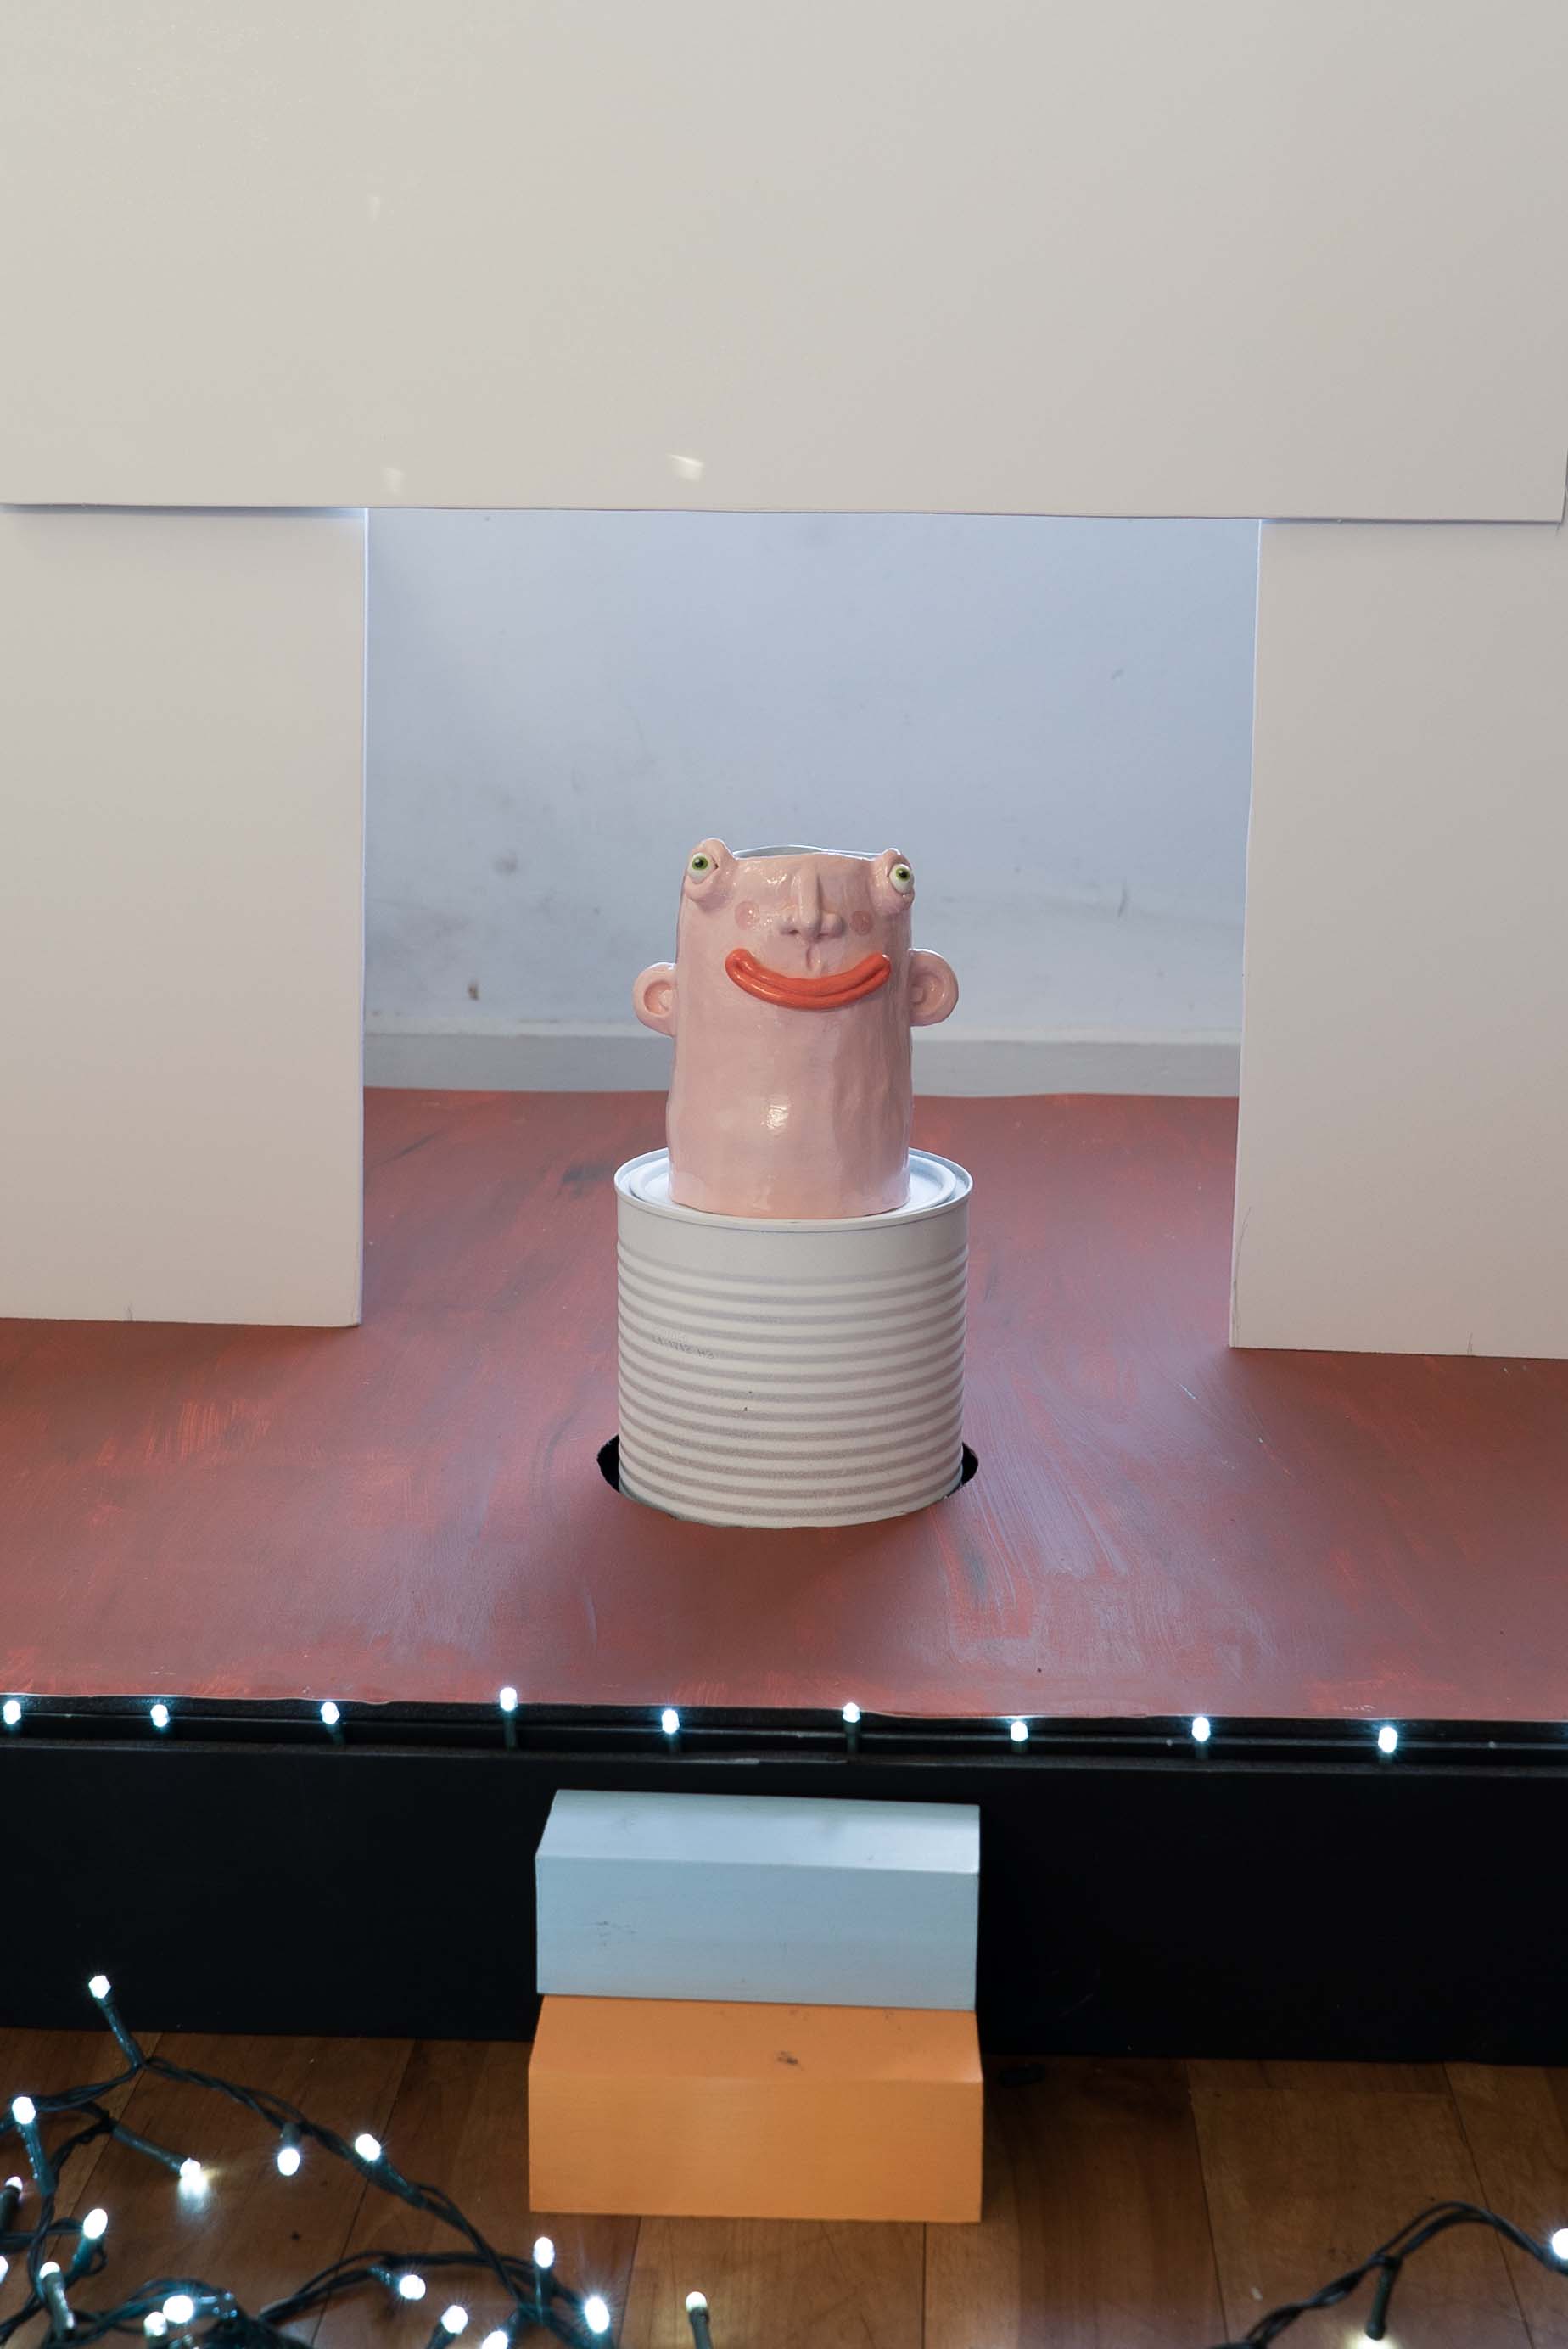
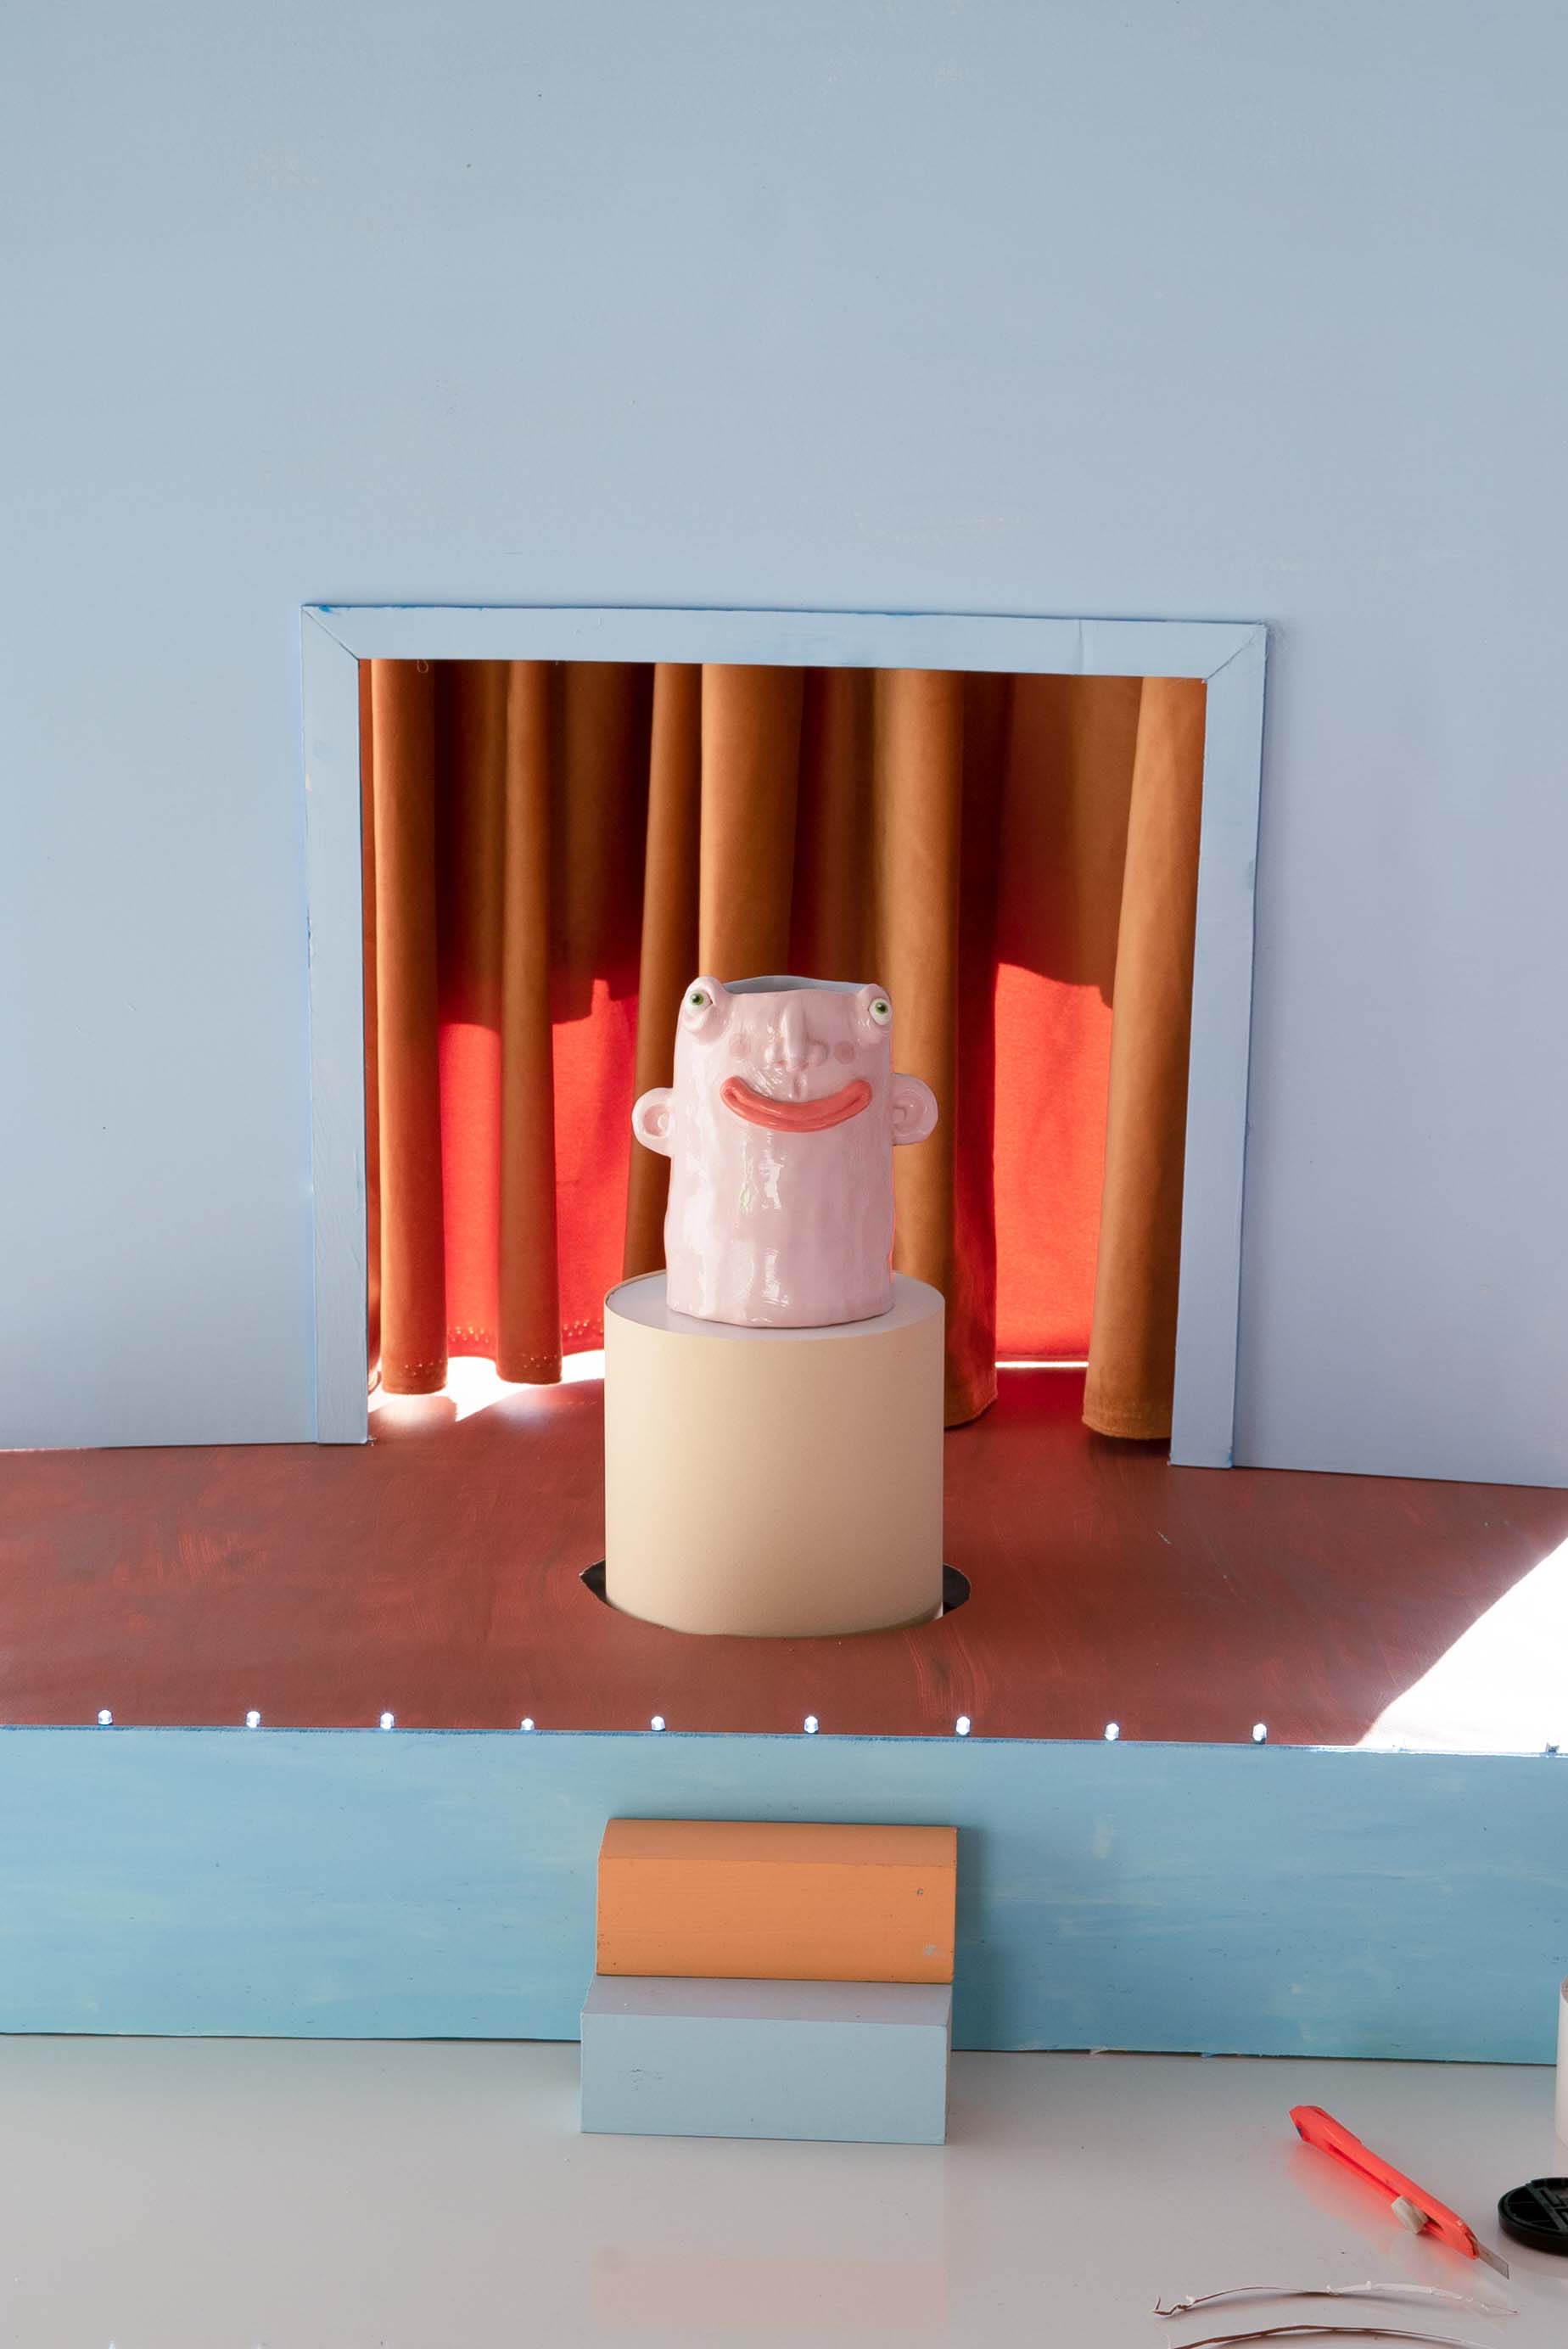
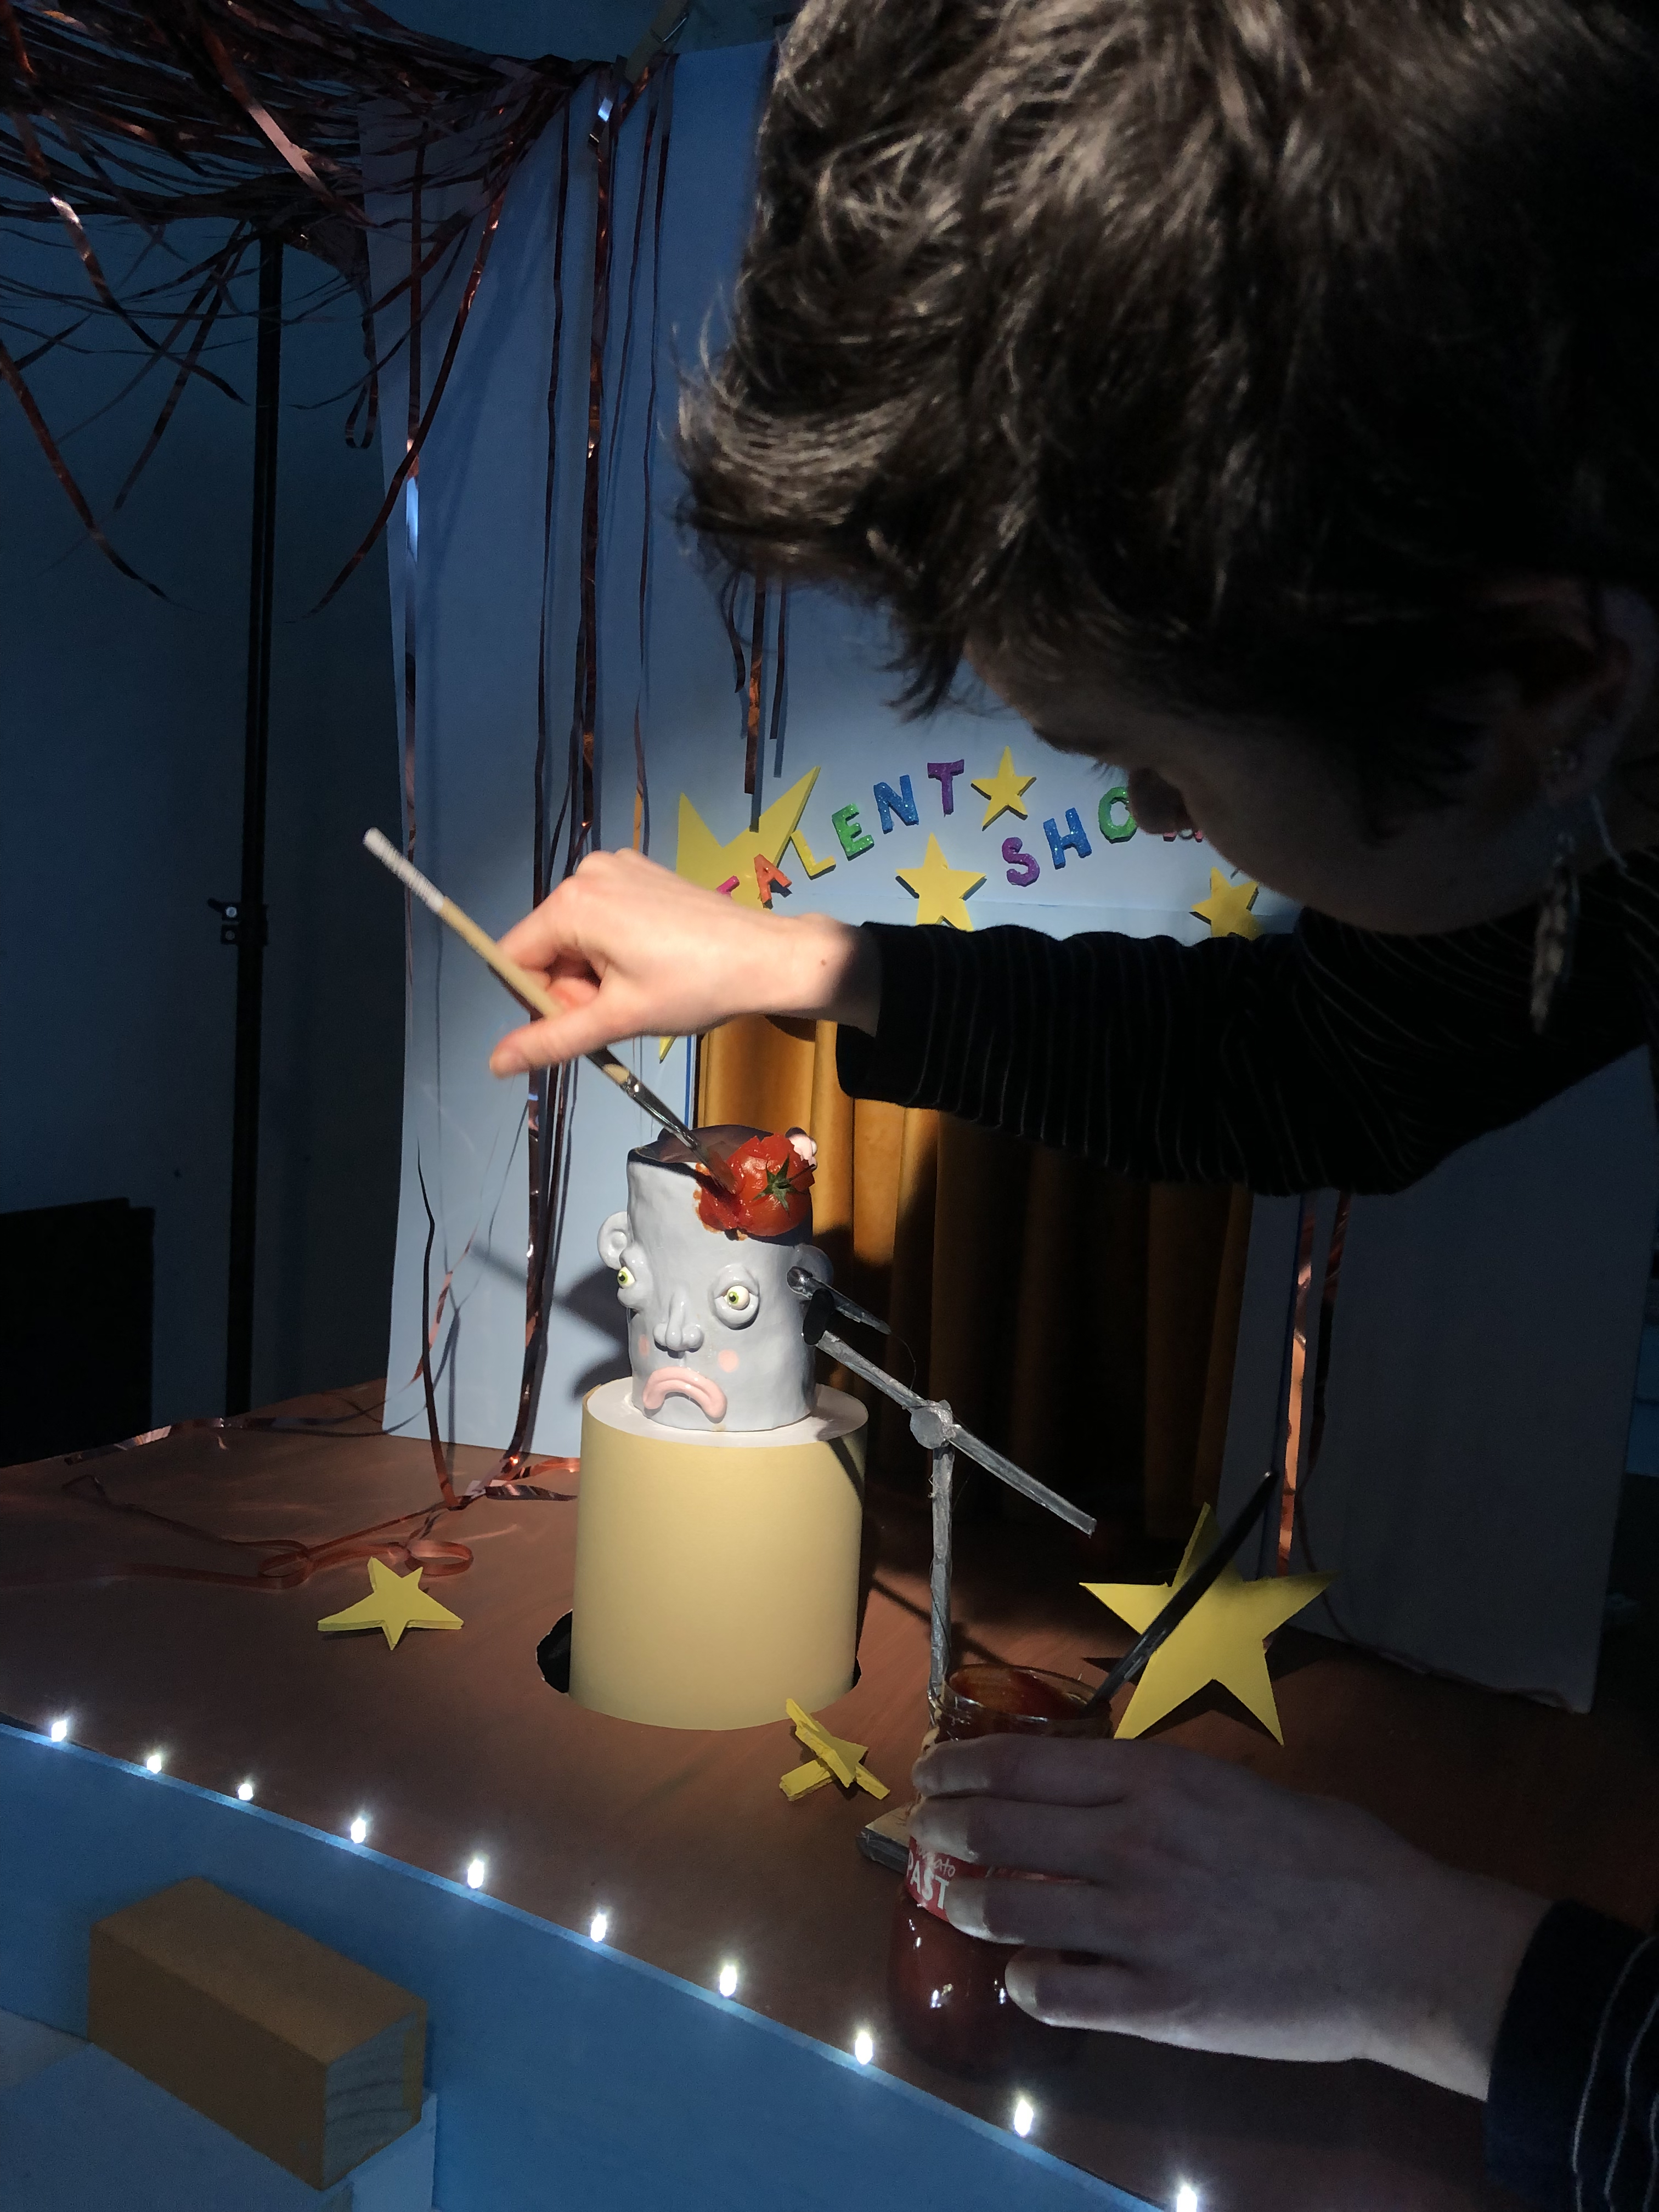
The most important feature of the stage stage was the spinning pedestal that the sculpture sat on. Happy-Sad Man needed to spin around after telling his joke to reveal his sad face. This informed my decision to build the stage entirely out of foam core so I could cut a hole in the bottom and hide a Lazy Susan underneath which enabled him to spin around after the delivery of his joke.
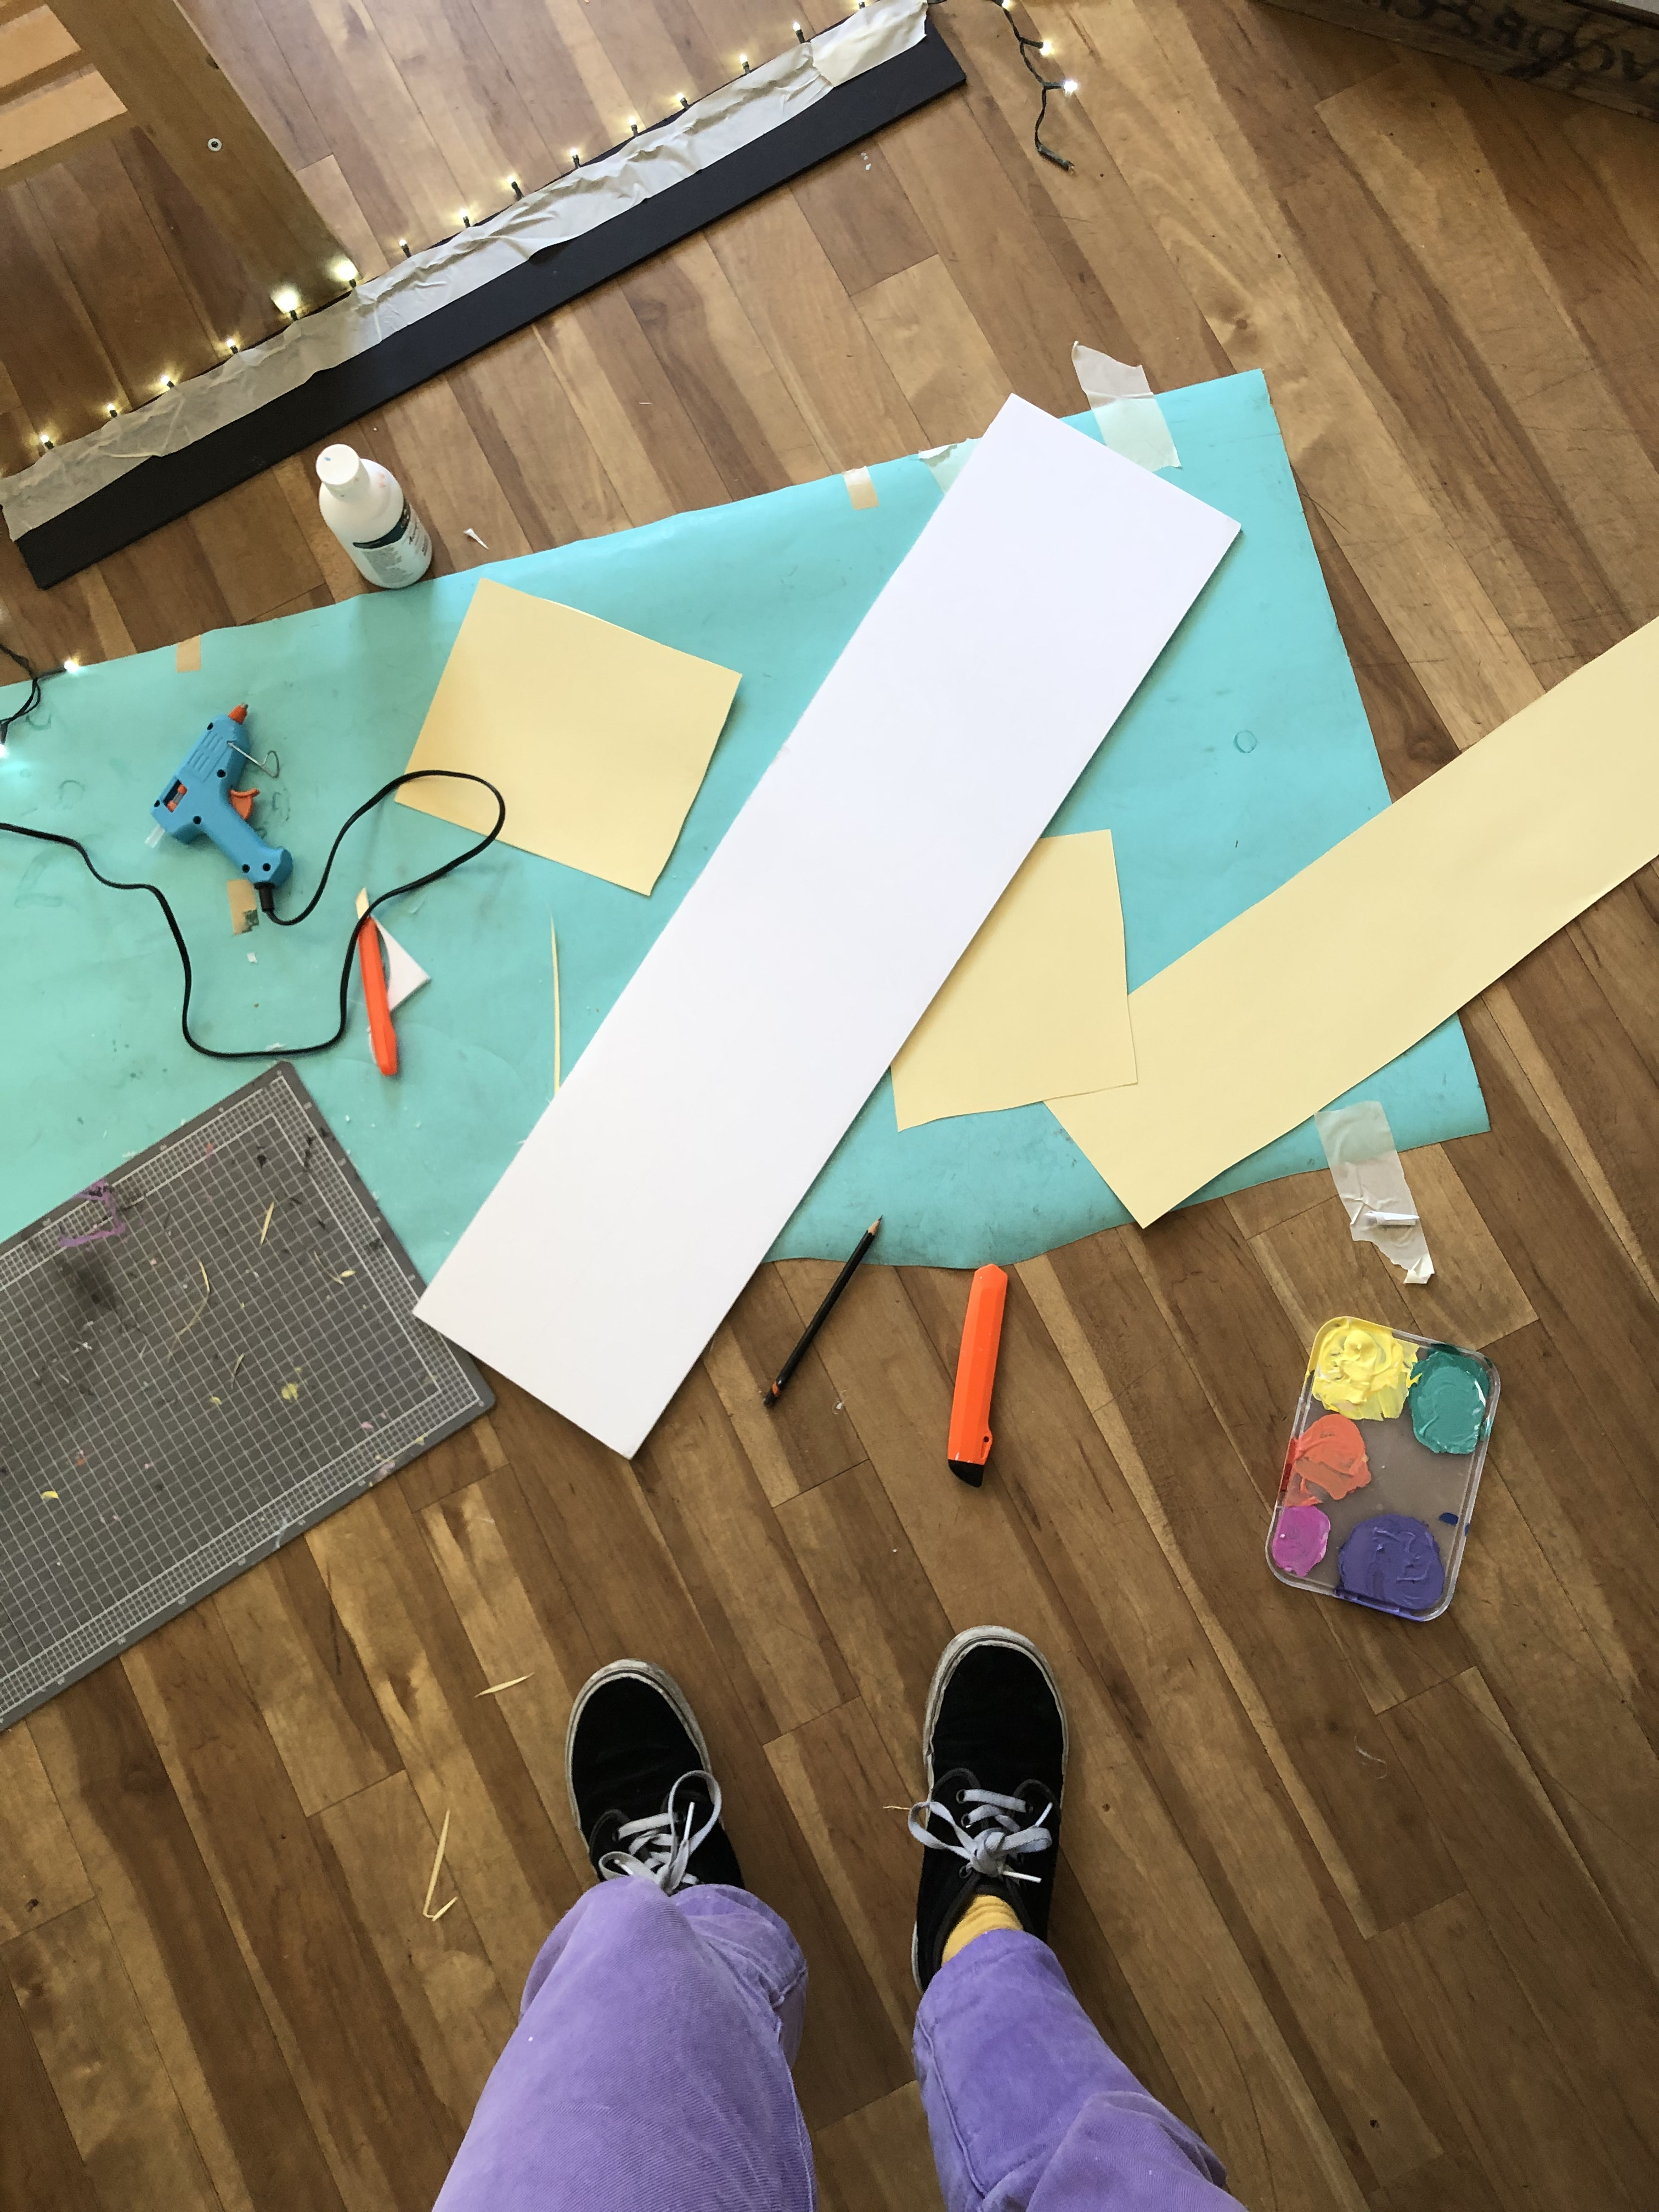
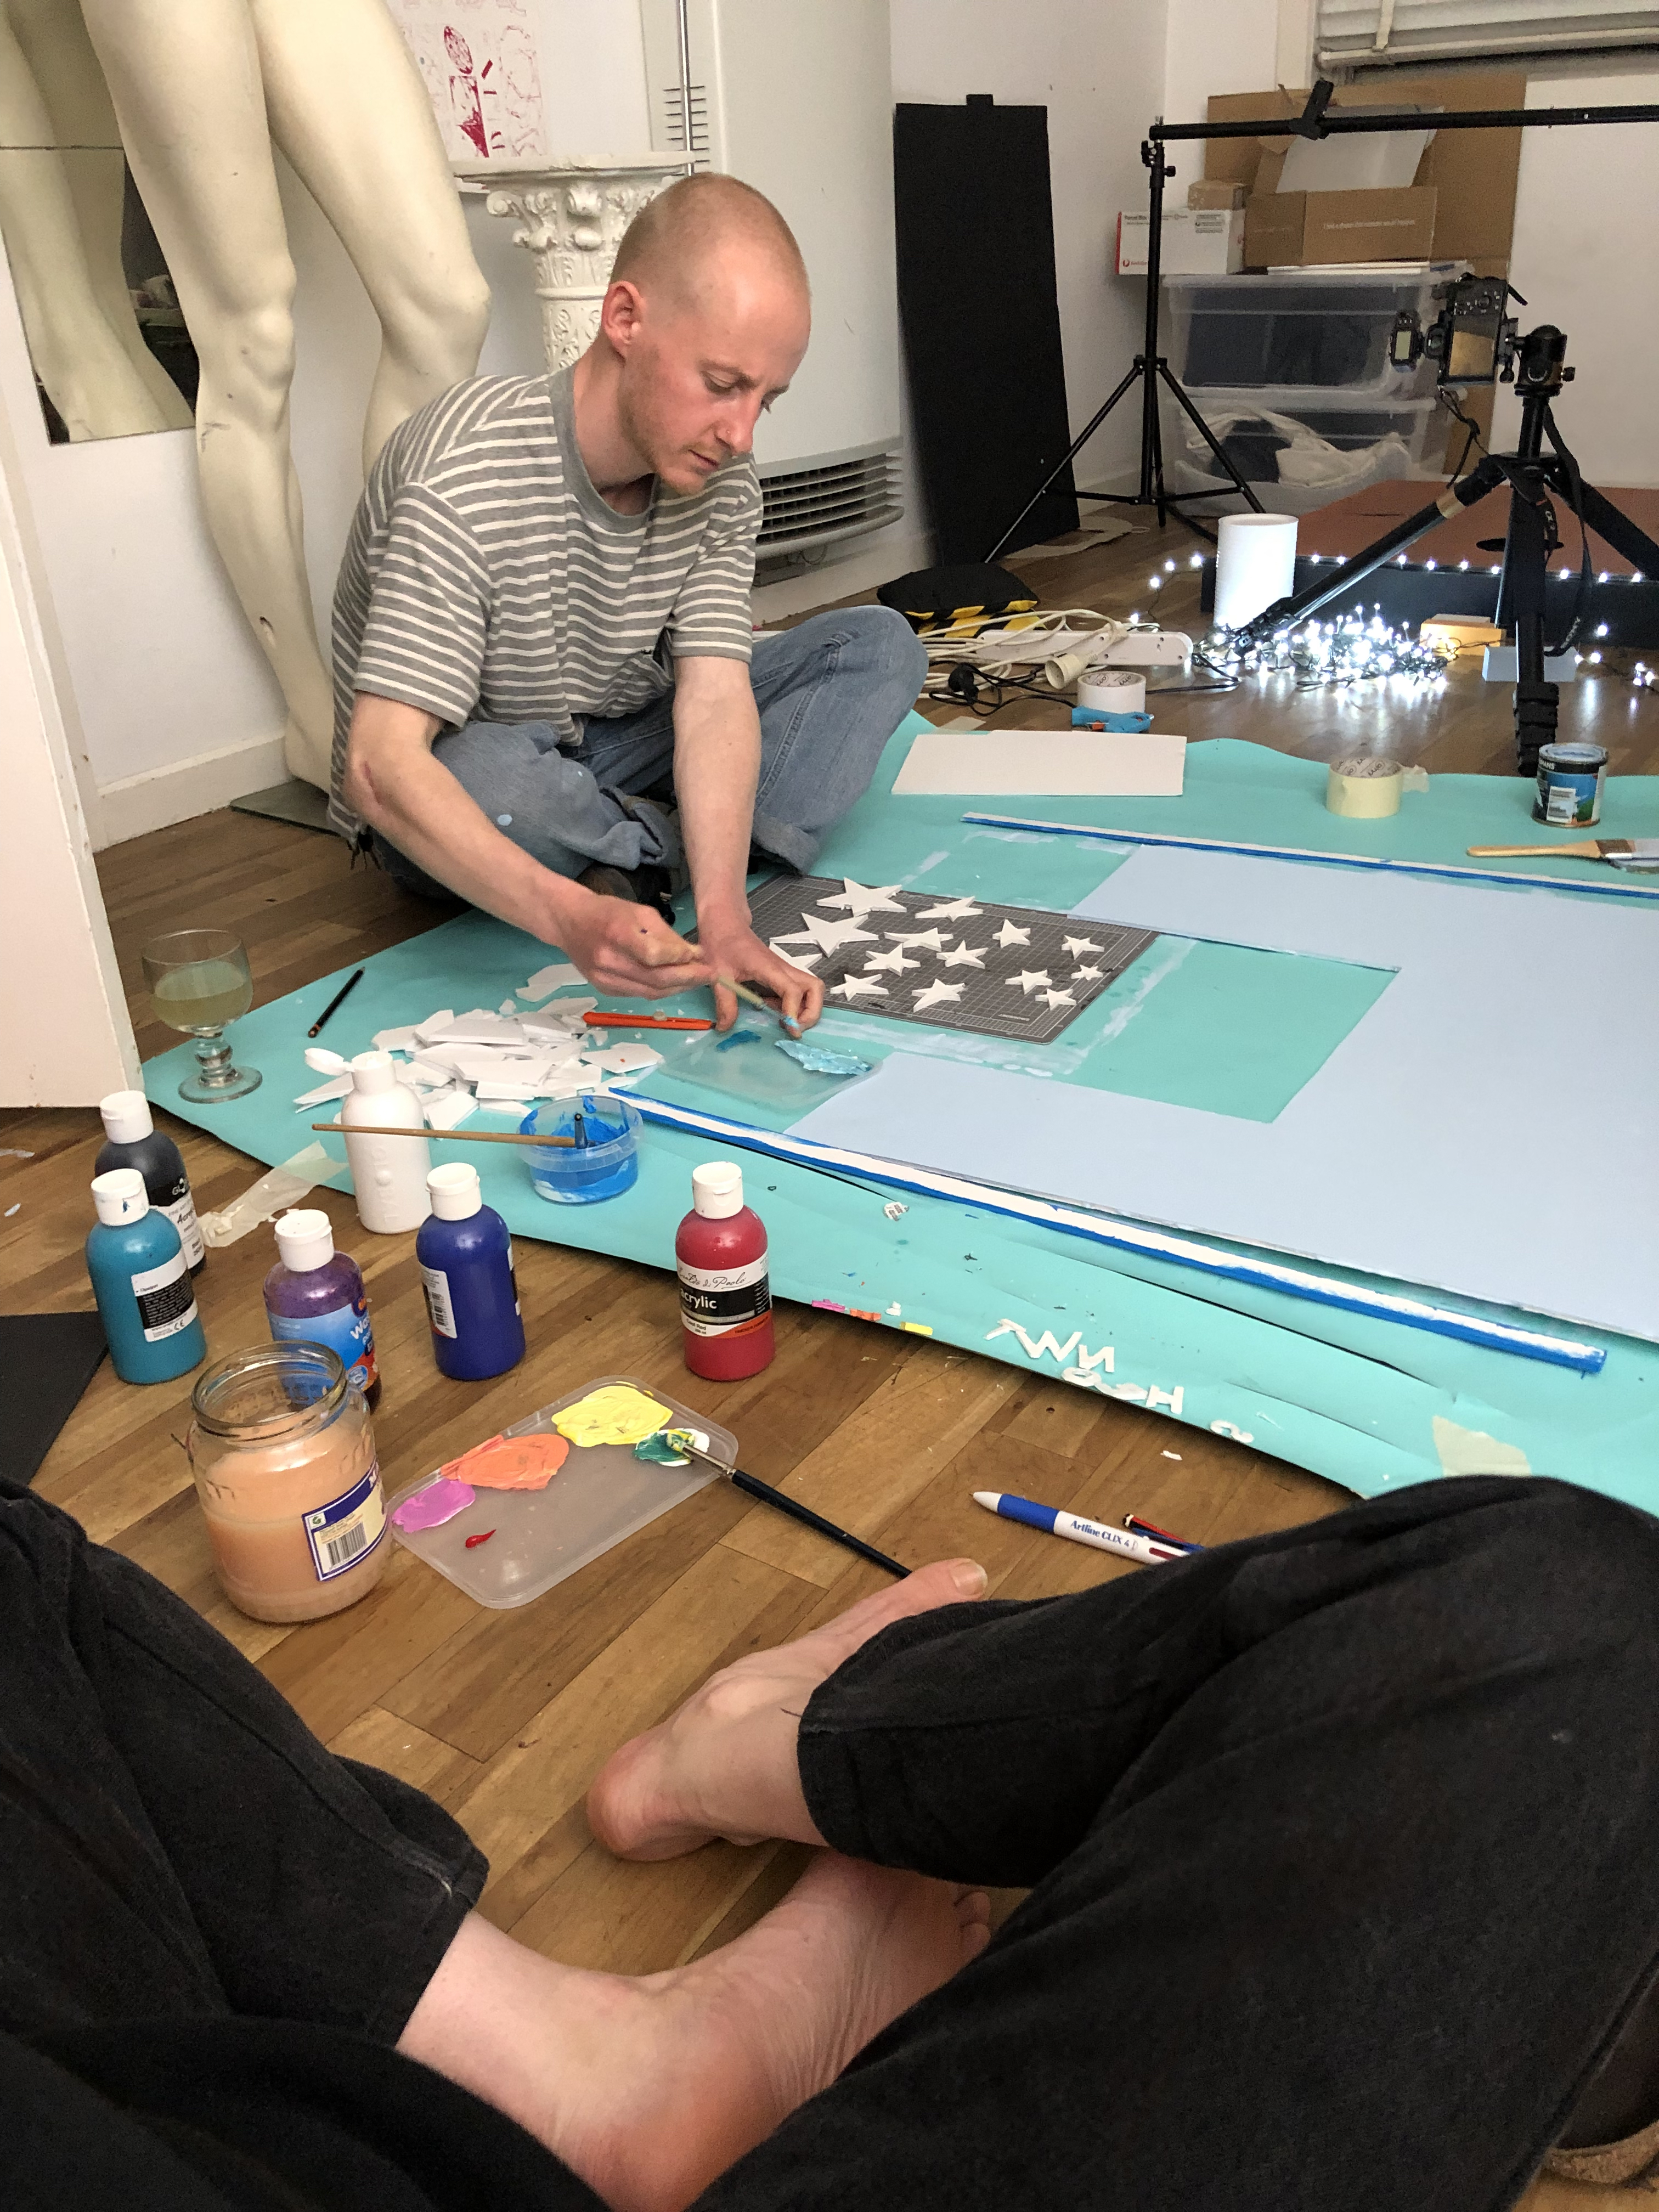
With the assistance of my wonderful partner Antony, we then created the main stage wall, made props like a little microphone, stars and letters which were then painted. I dressed the miniature stage and once it all dried, it was time to shoot.
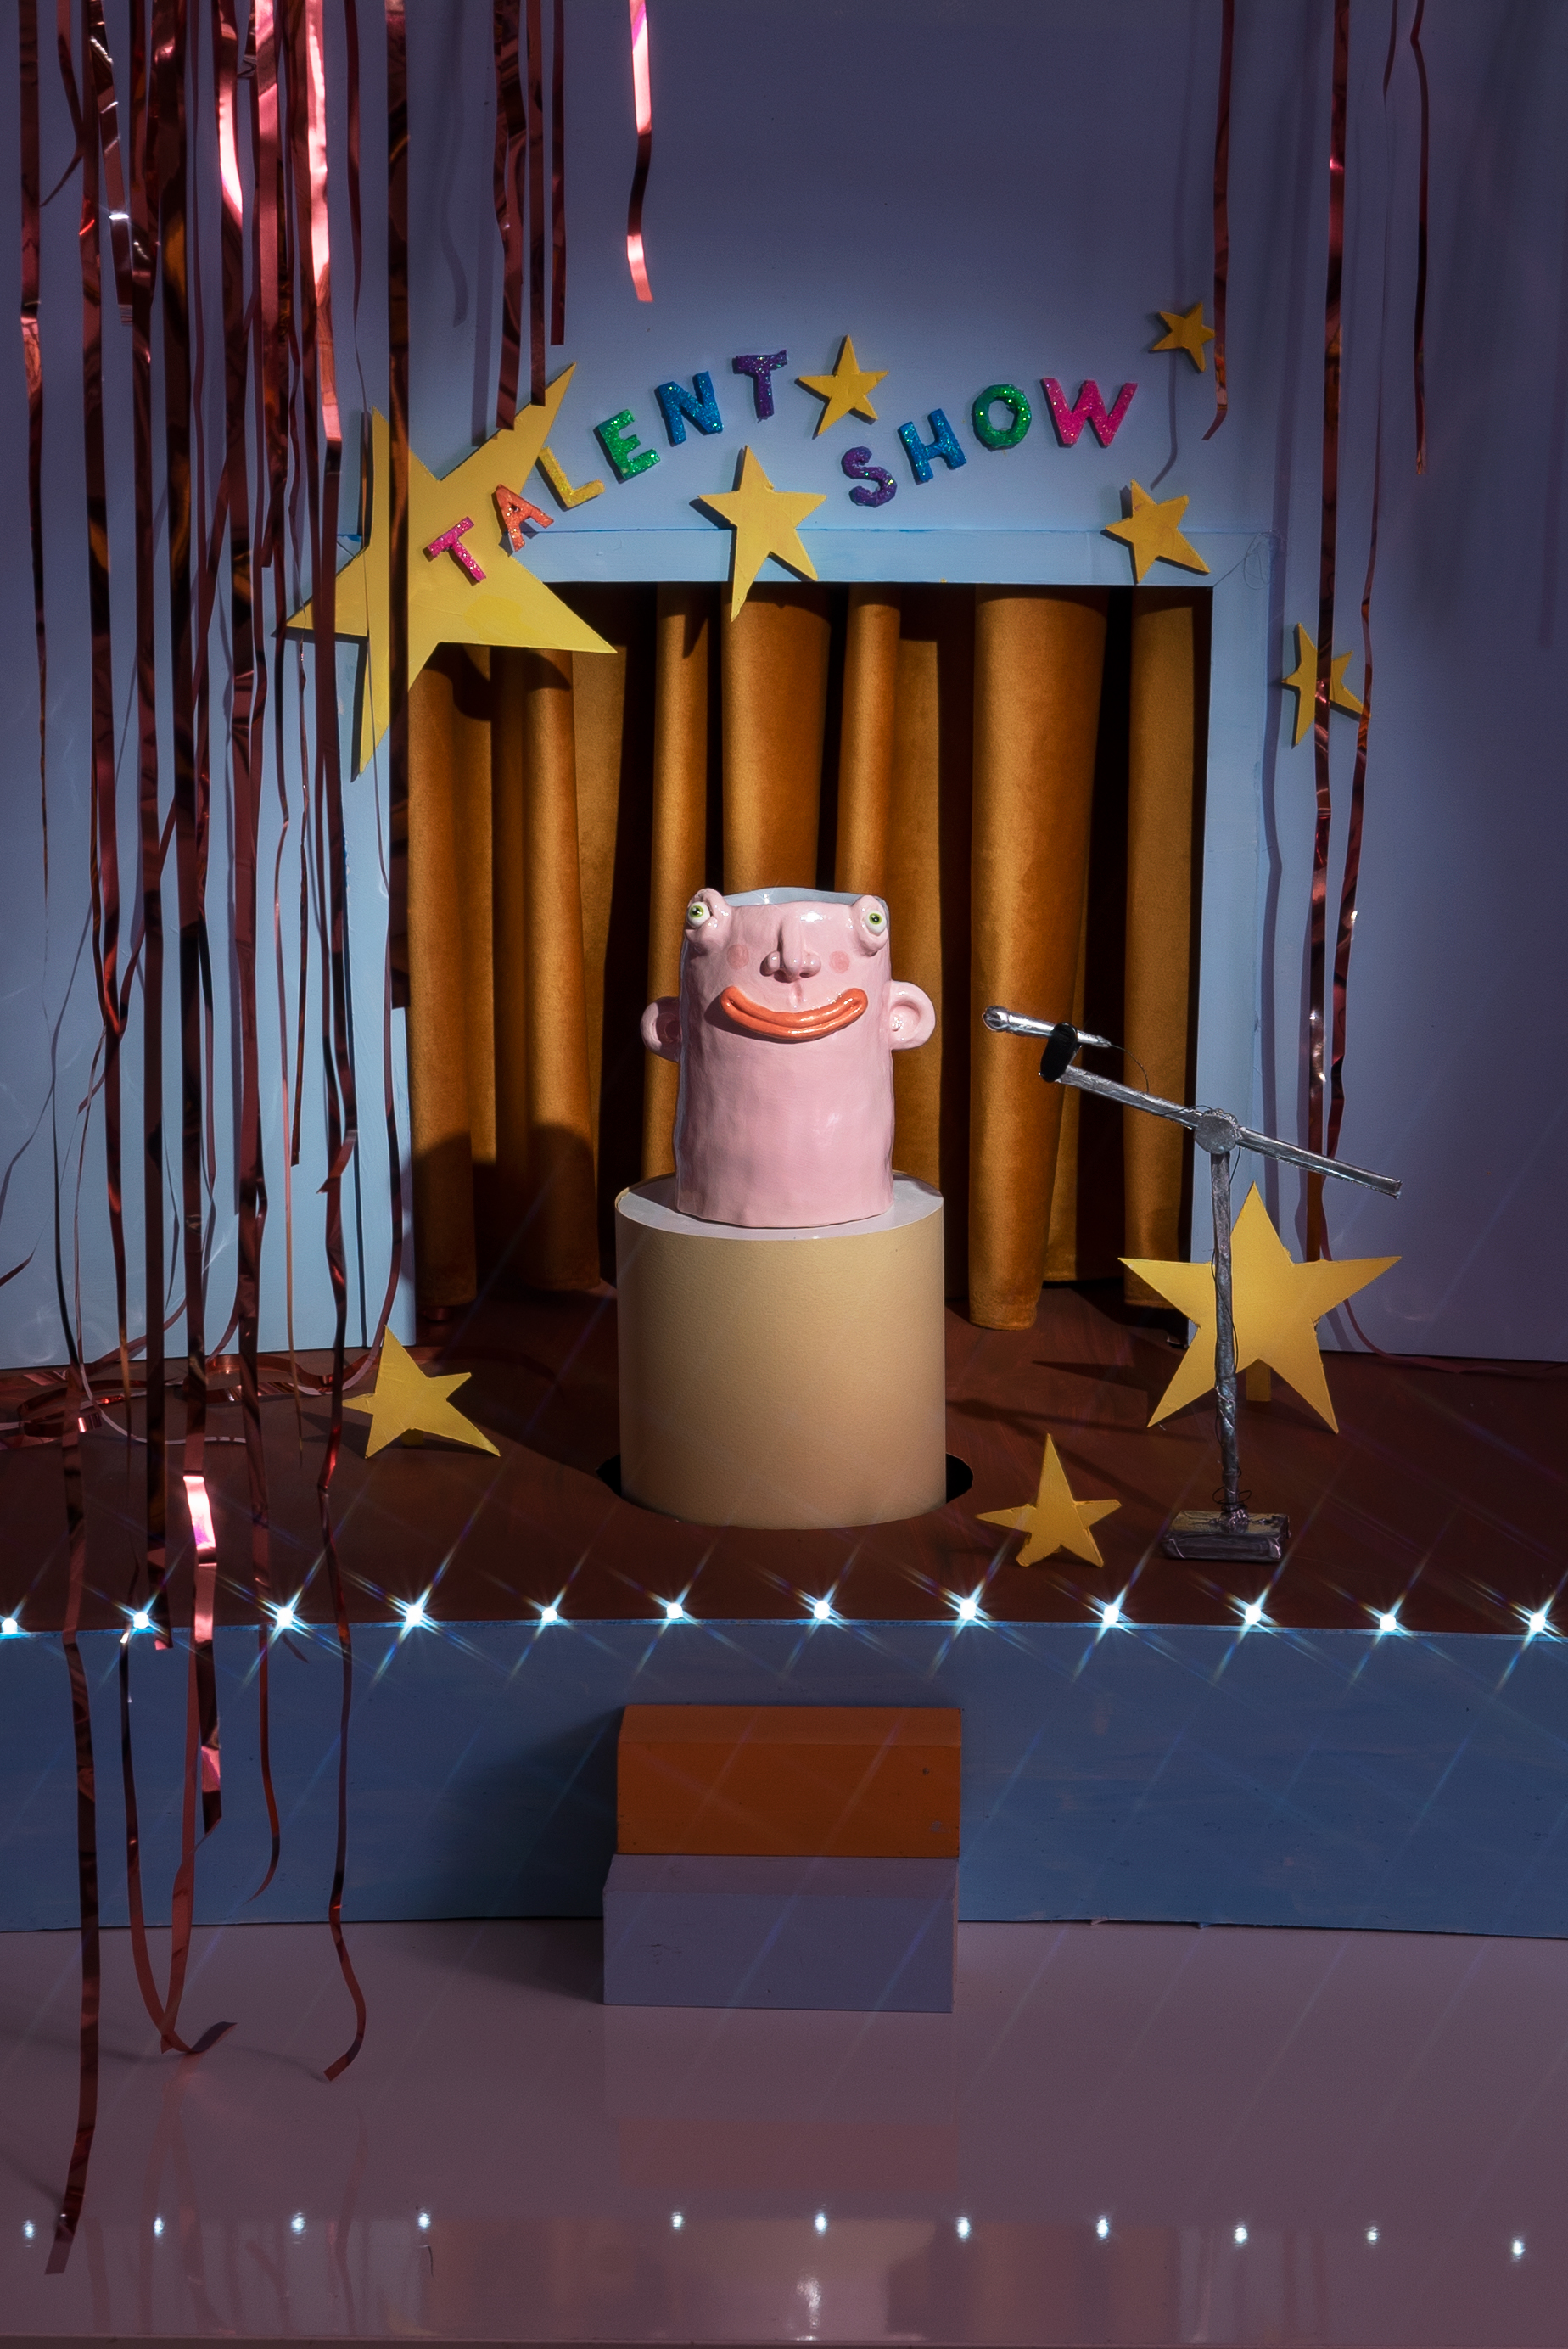
HAPPY-SAD MAN
FINAL PHOTOS & VIDEO
Happy-Sad Man has one short video and two still images to tell his story. I’ve become very attached to Happy-Sad Man now that I have told his tragic story. He lives with us in our home.

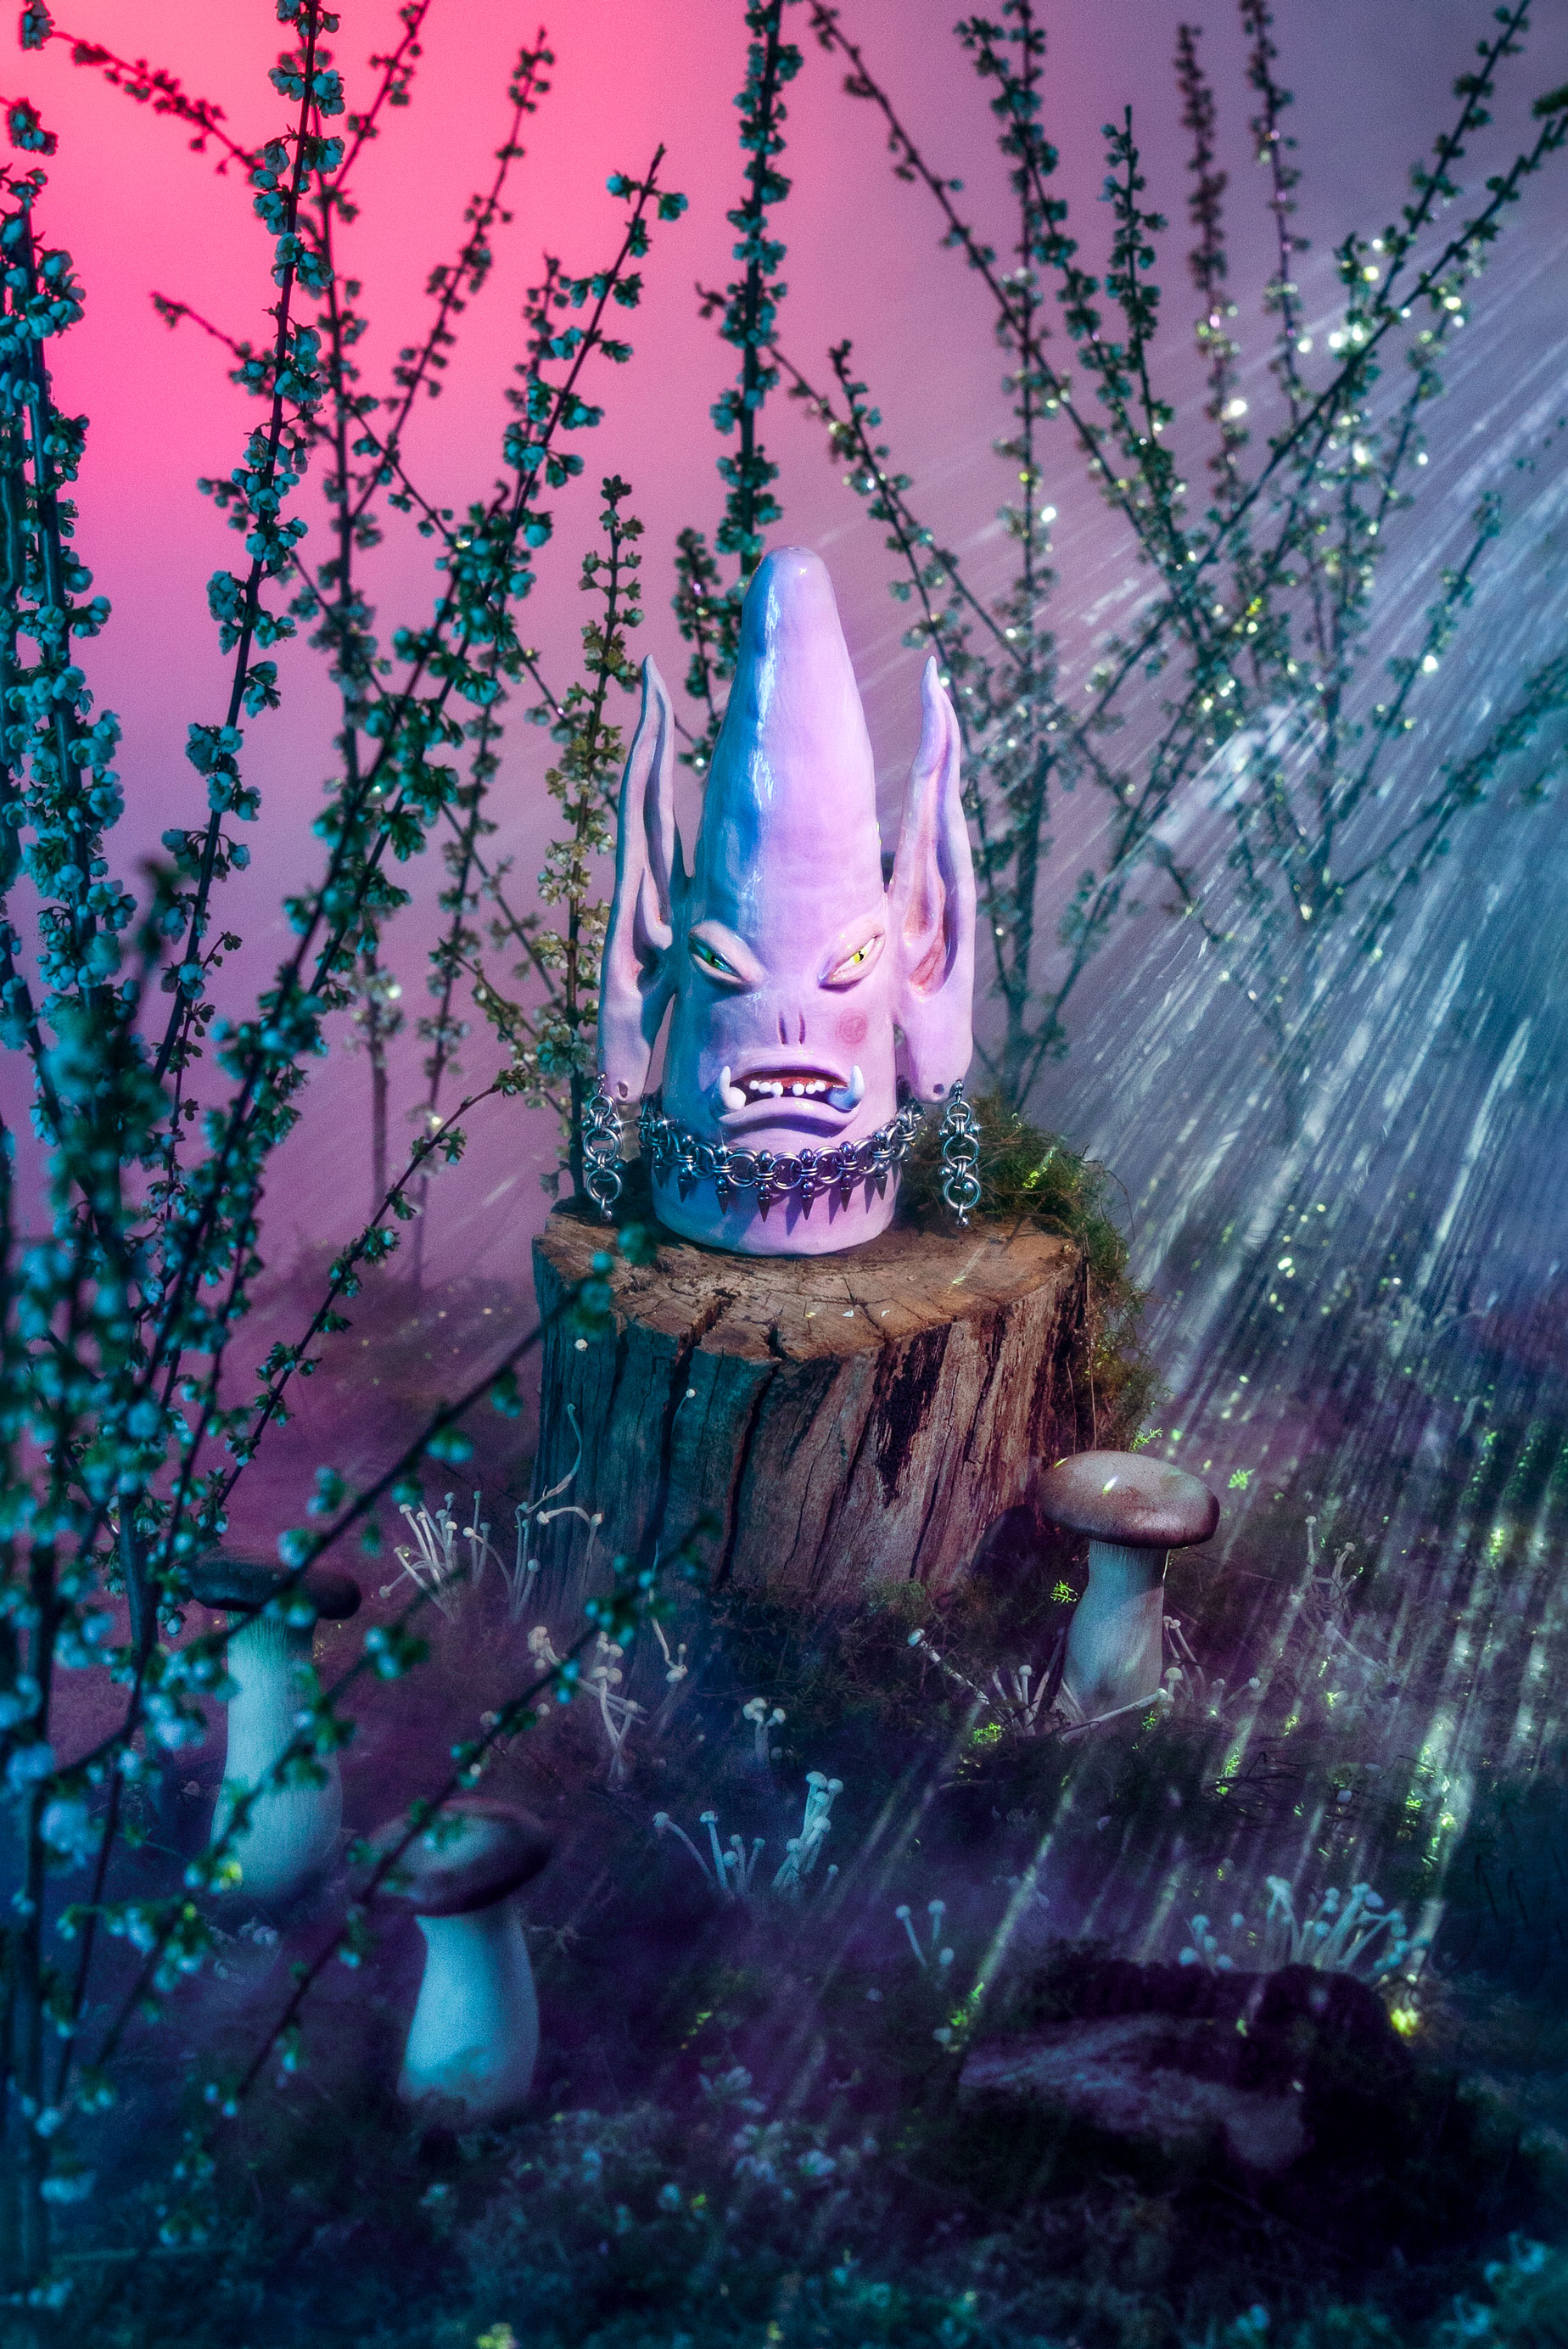
CREATURE OF THE WOOD
THE PROCESS
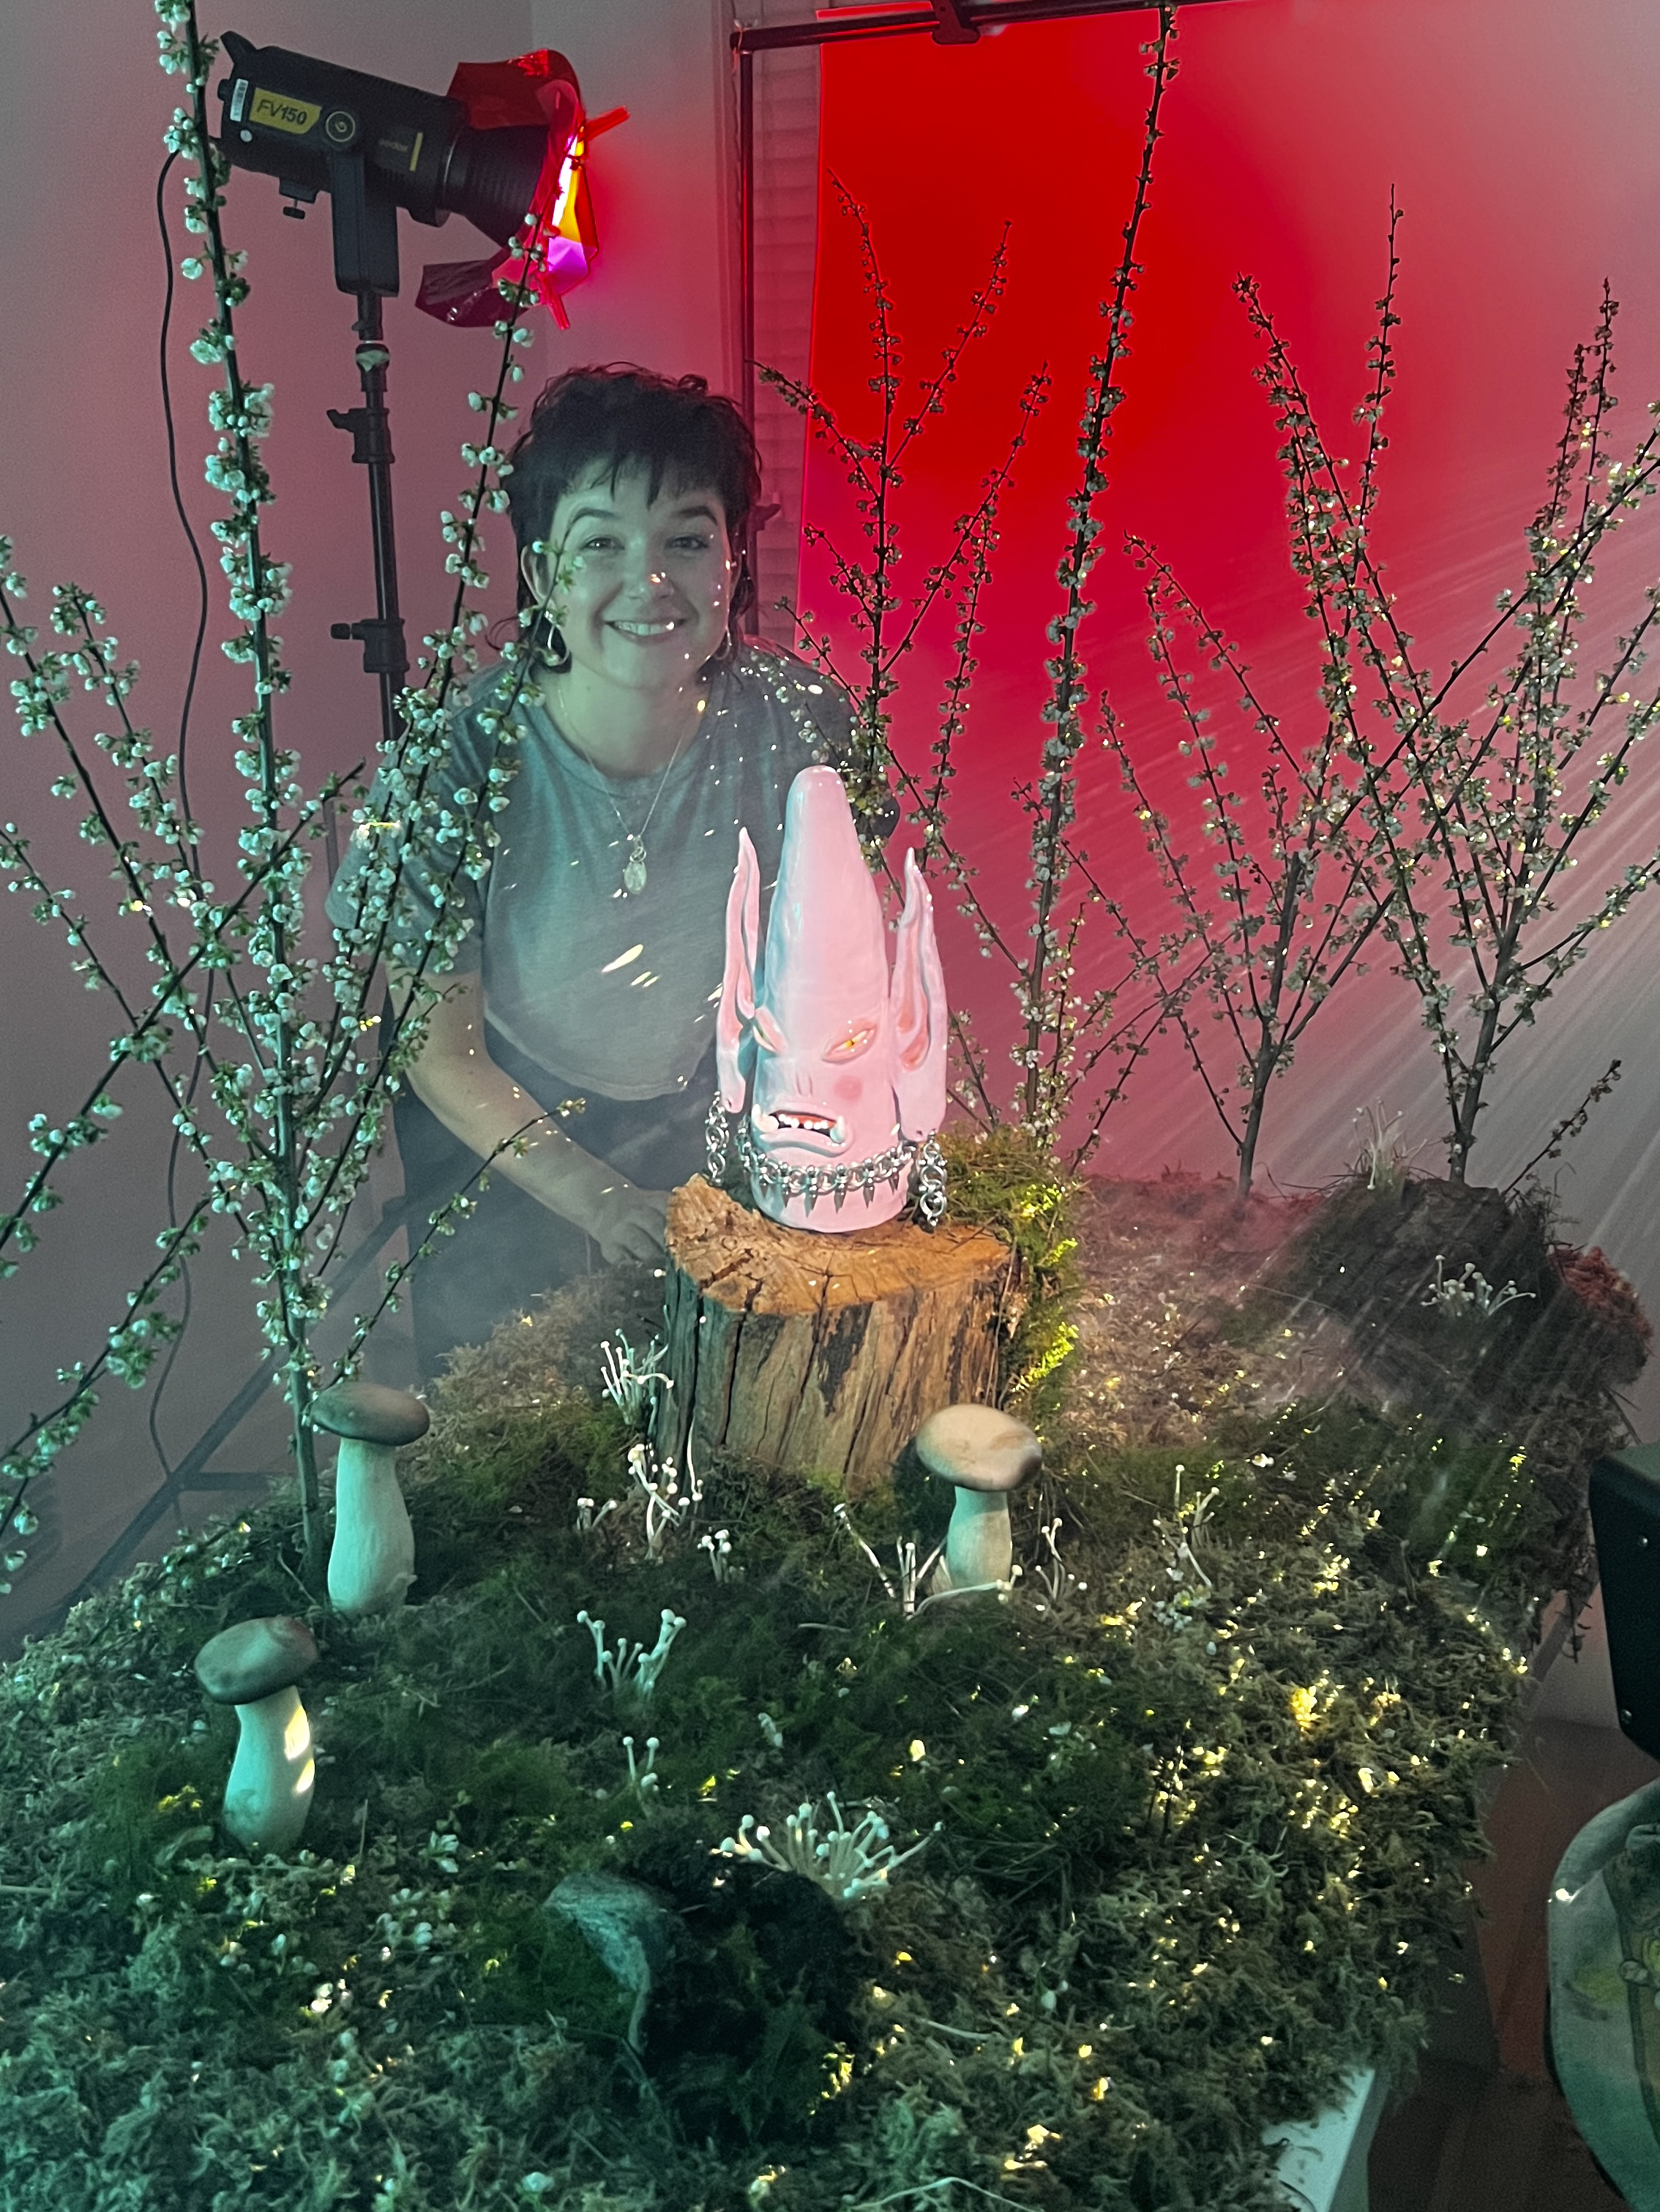
For this image, I built & photographed a psychedelic medieval woodland scene using moss, mushrooms, wood and projected lighting. The theme of this image was inspired by the chainmail jewellery worn by the sculpture, designed by Sacred Steel Armour.
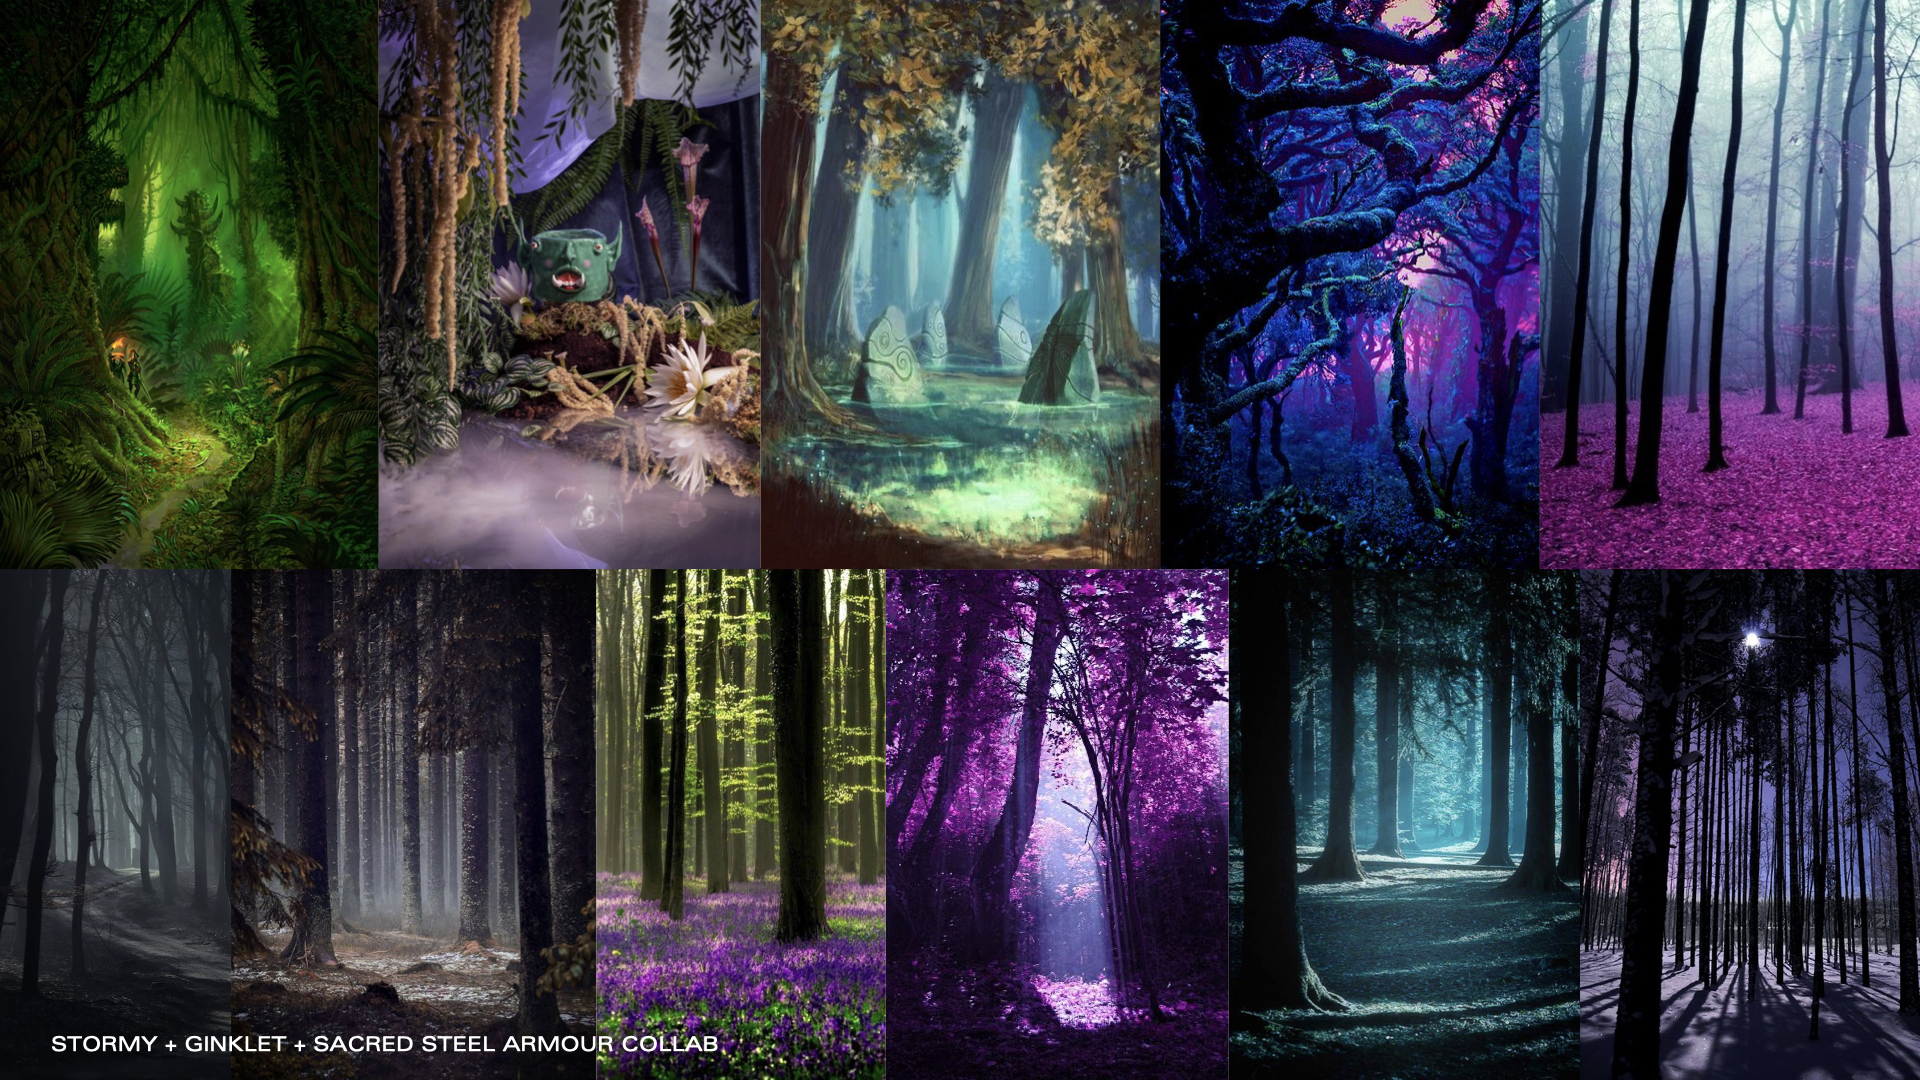
Lighting & colour inspiration mood board.
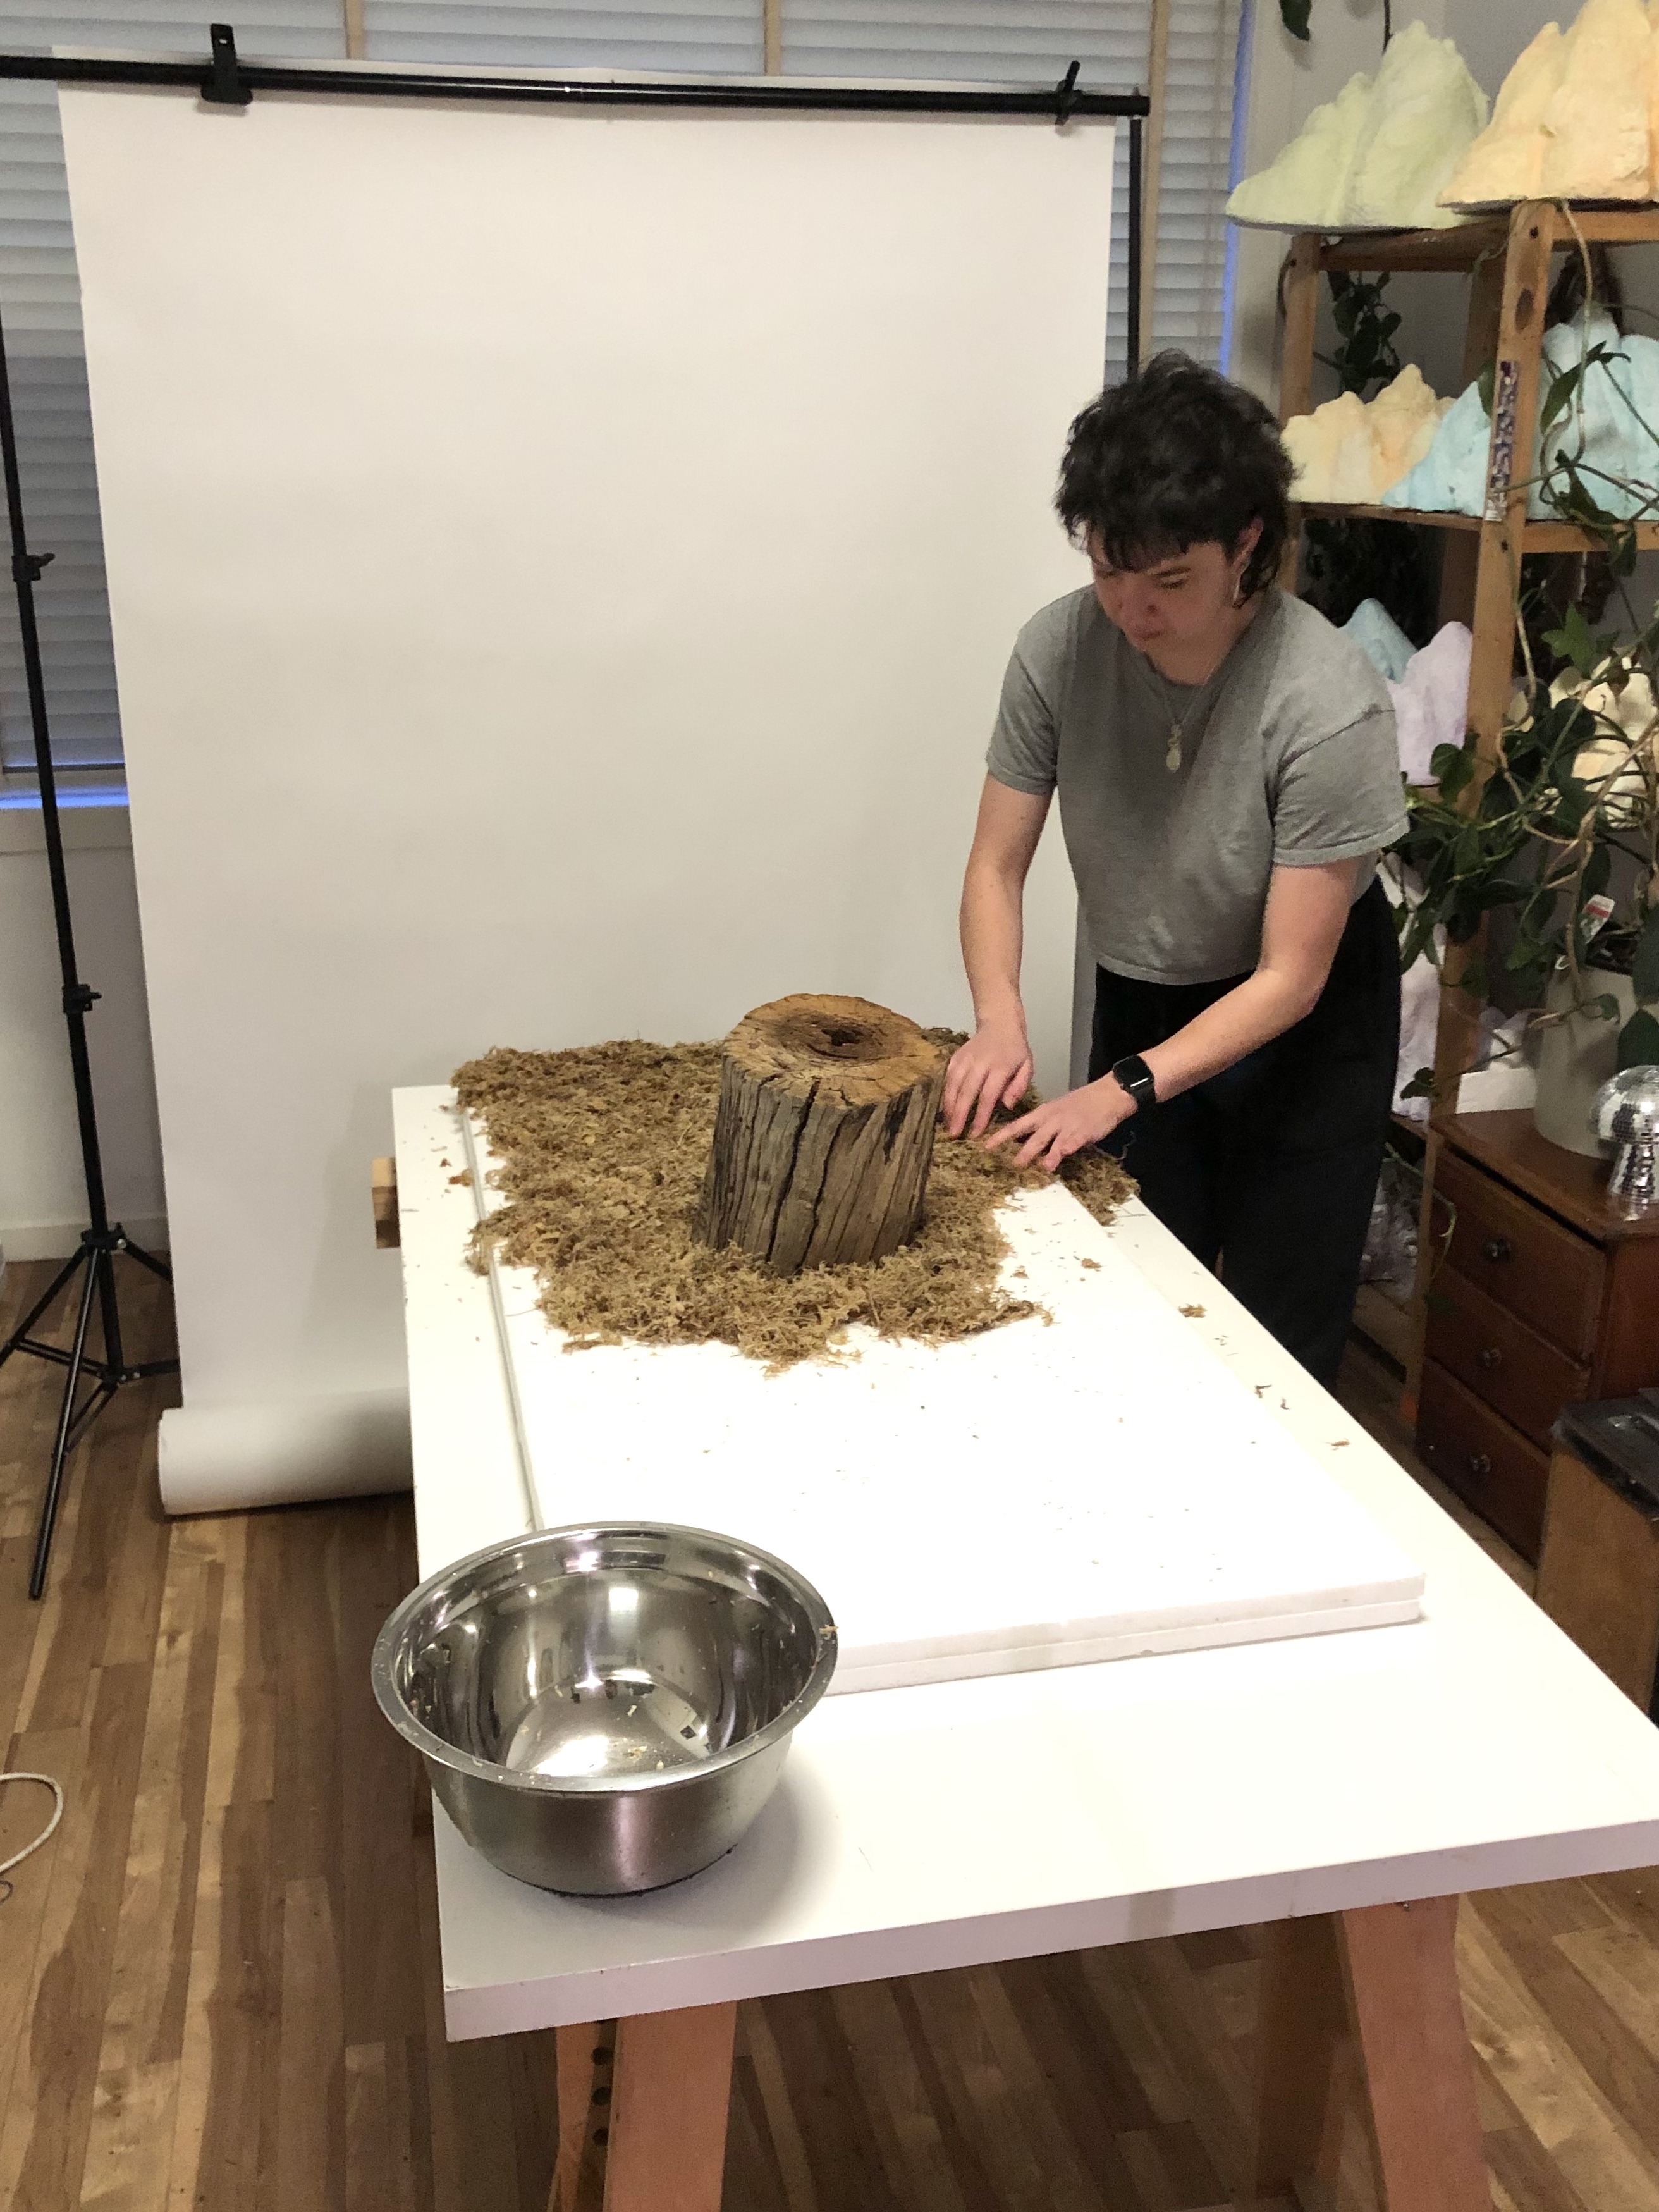
The process in making this was fairly straight forward. The landscape was built onto of two polystyrene sheets and covered with moss. I decorated the landscape using various store bought mushrooms, blossom branches, and discarded wood found on the side of the road. Three lights and one projector were used to light the scene and I created a short animation to give the light a twinkling feeling.
FINAL PHOTOS & VIDEO
Creature of the Wood consists of one styled photo and one video.
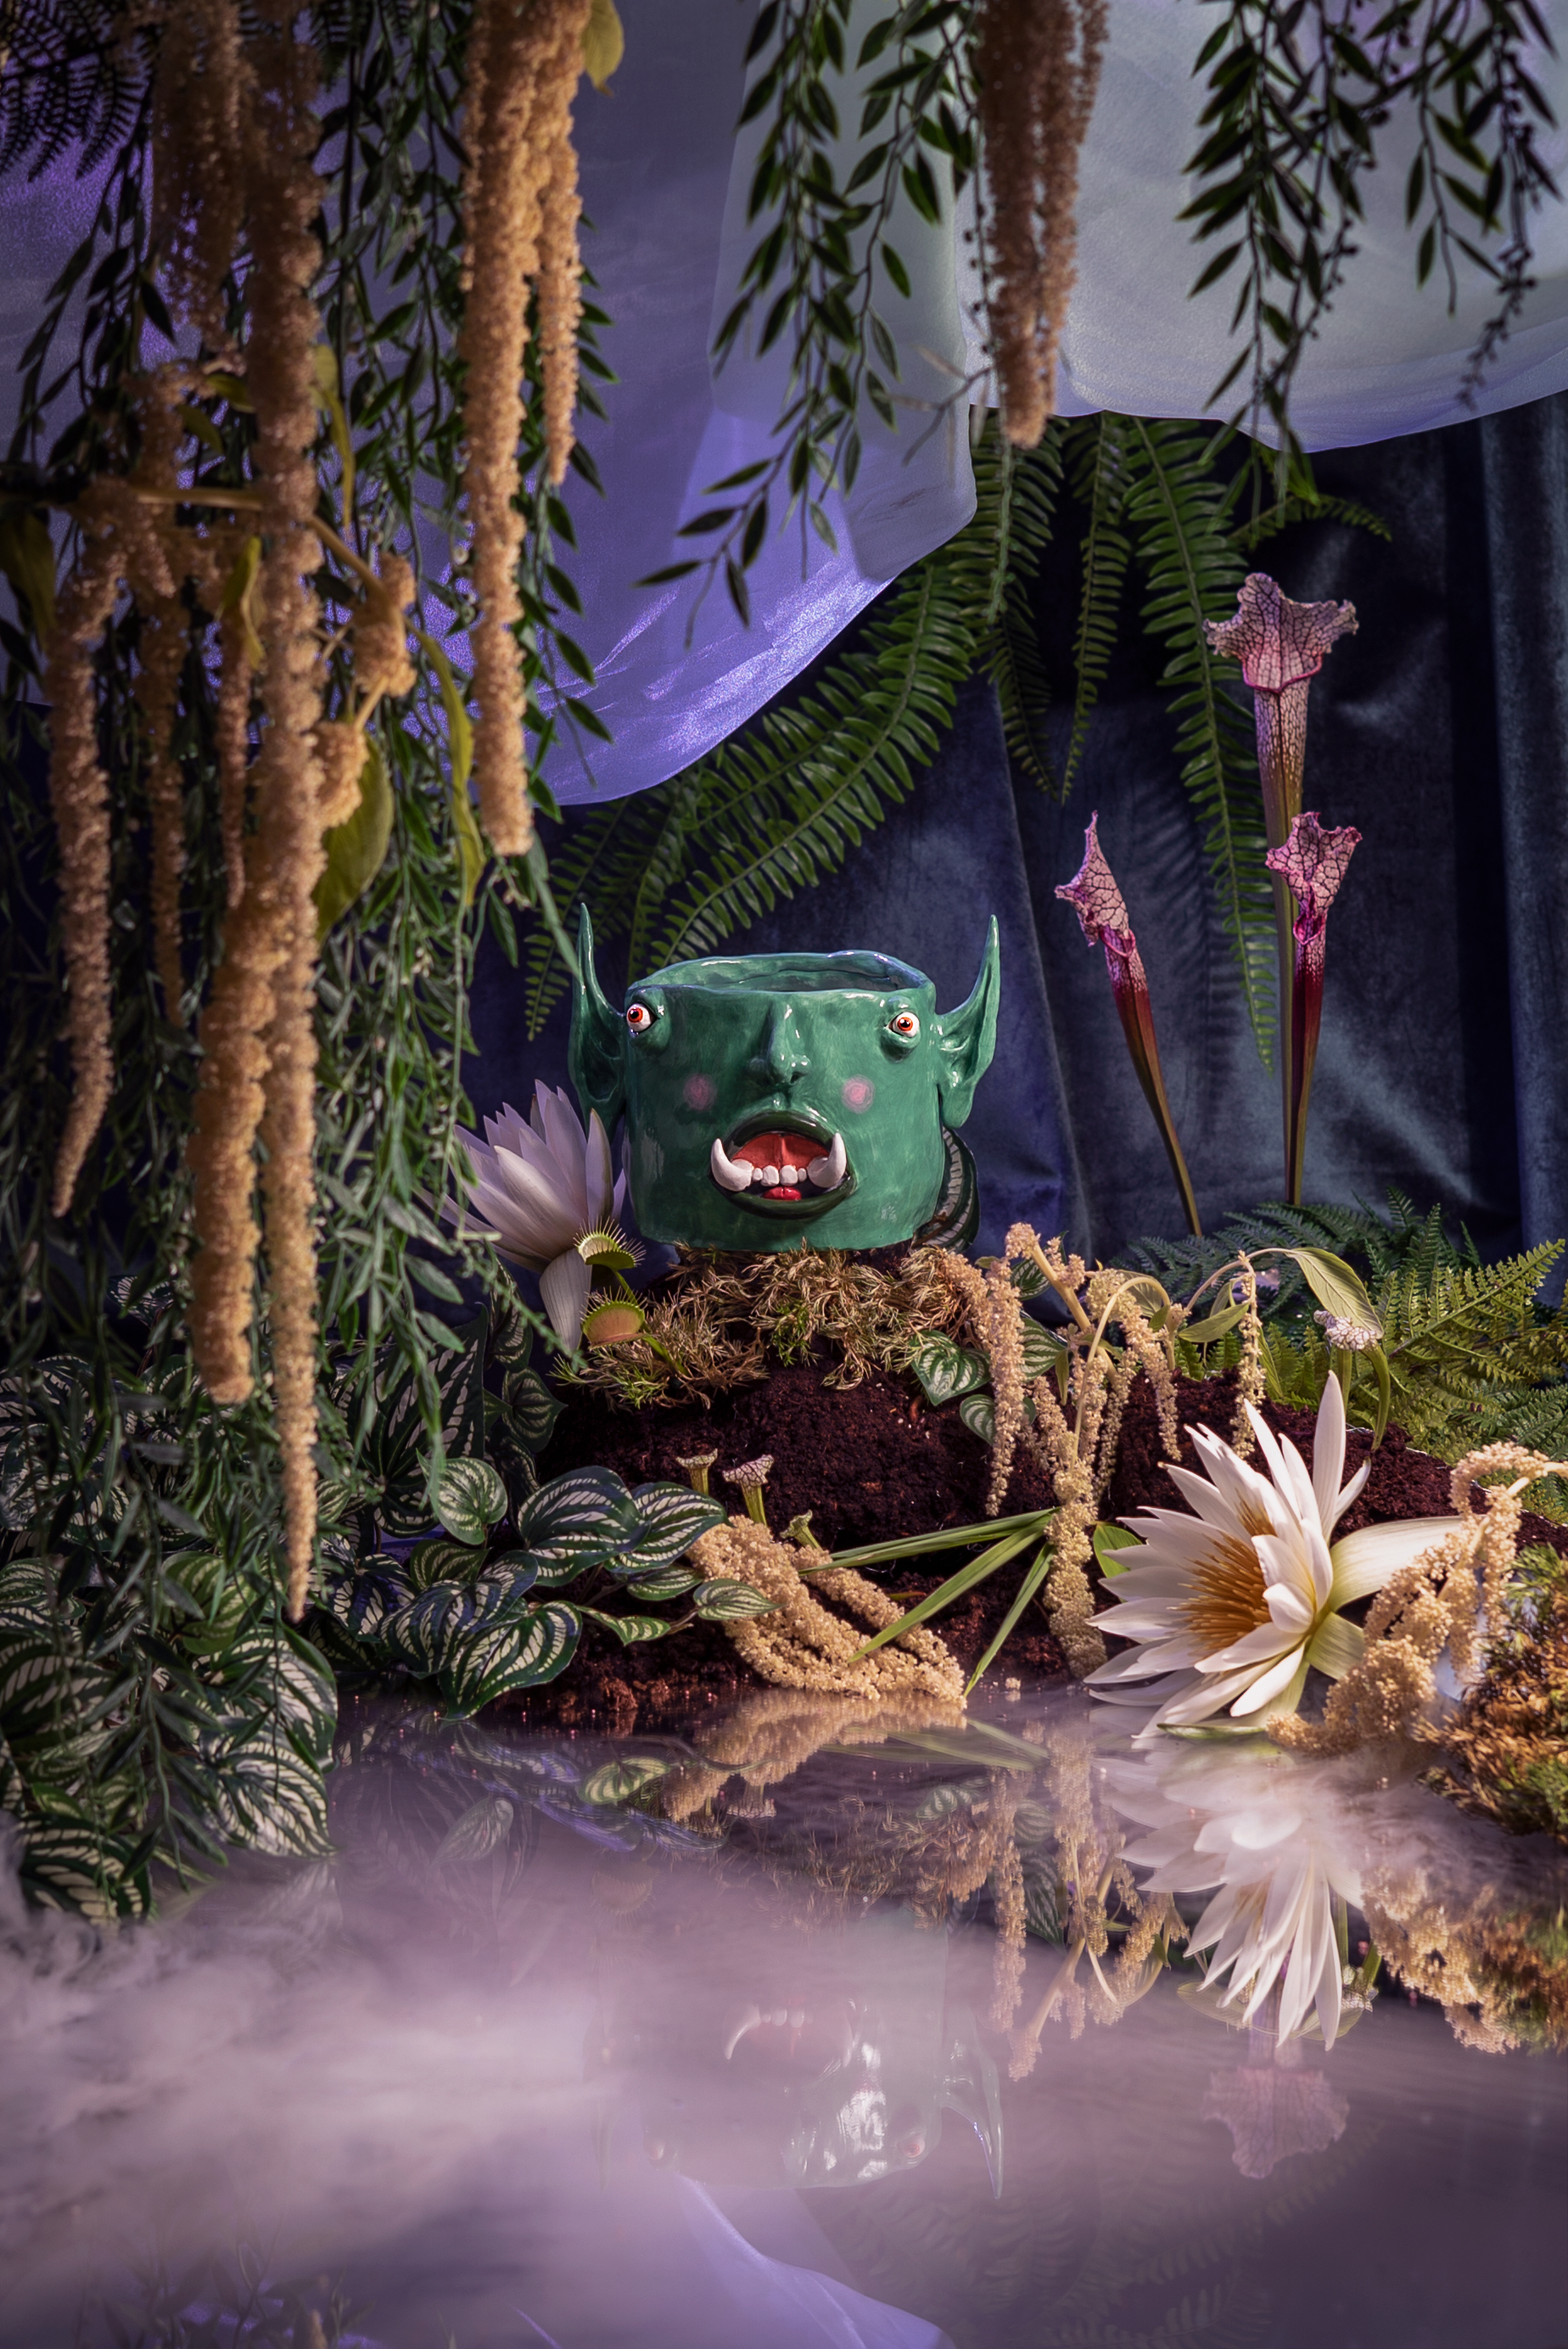
SWAMP MAN
THE PROCESS
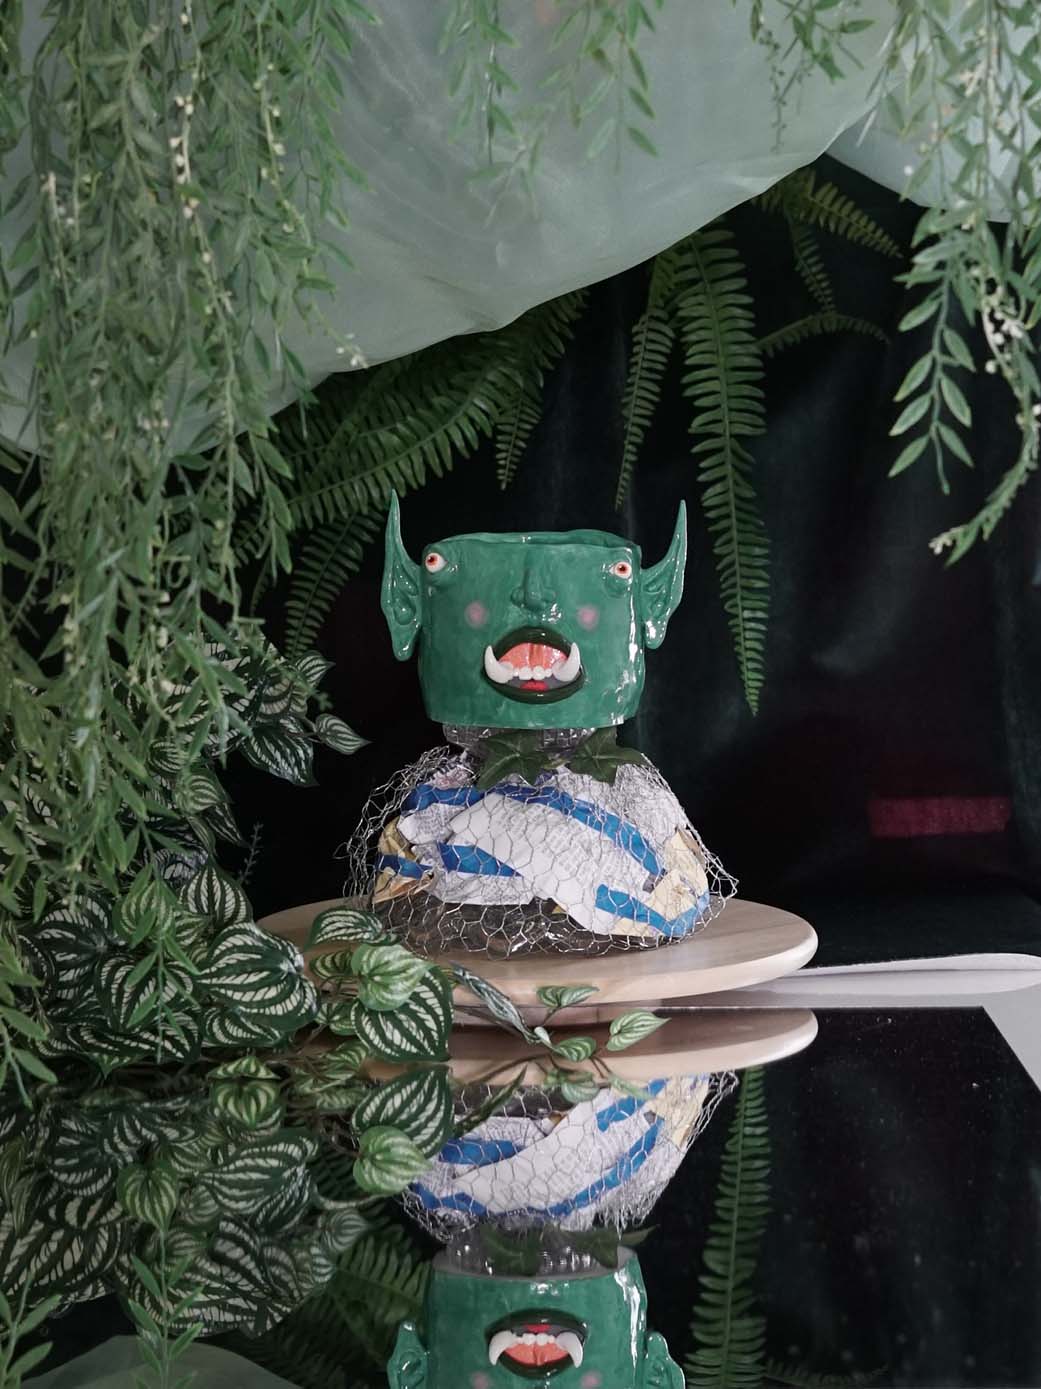
Molly pulled inspiration from “Creature of the Black Lagoon” to create Swamp Man. As soon as she told me this, I could immediately picture him sitting on top of a soggy mound overlooking a beautiful and eerie swamp. I imagined him to be the more awkward but sweet reclusive cousin of the Creature From the Black Lagoon who has befriended the flowers and plants that live around him.
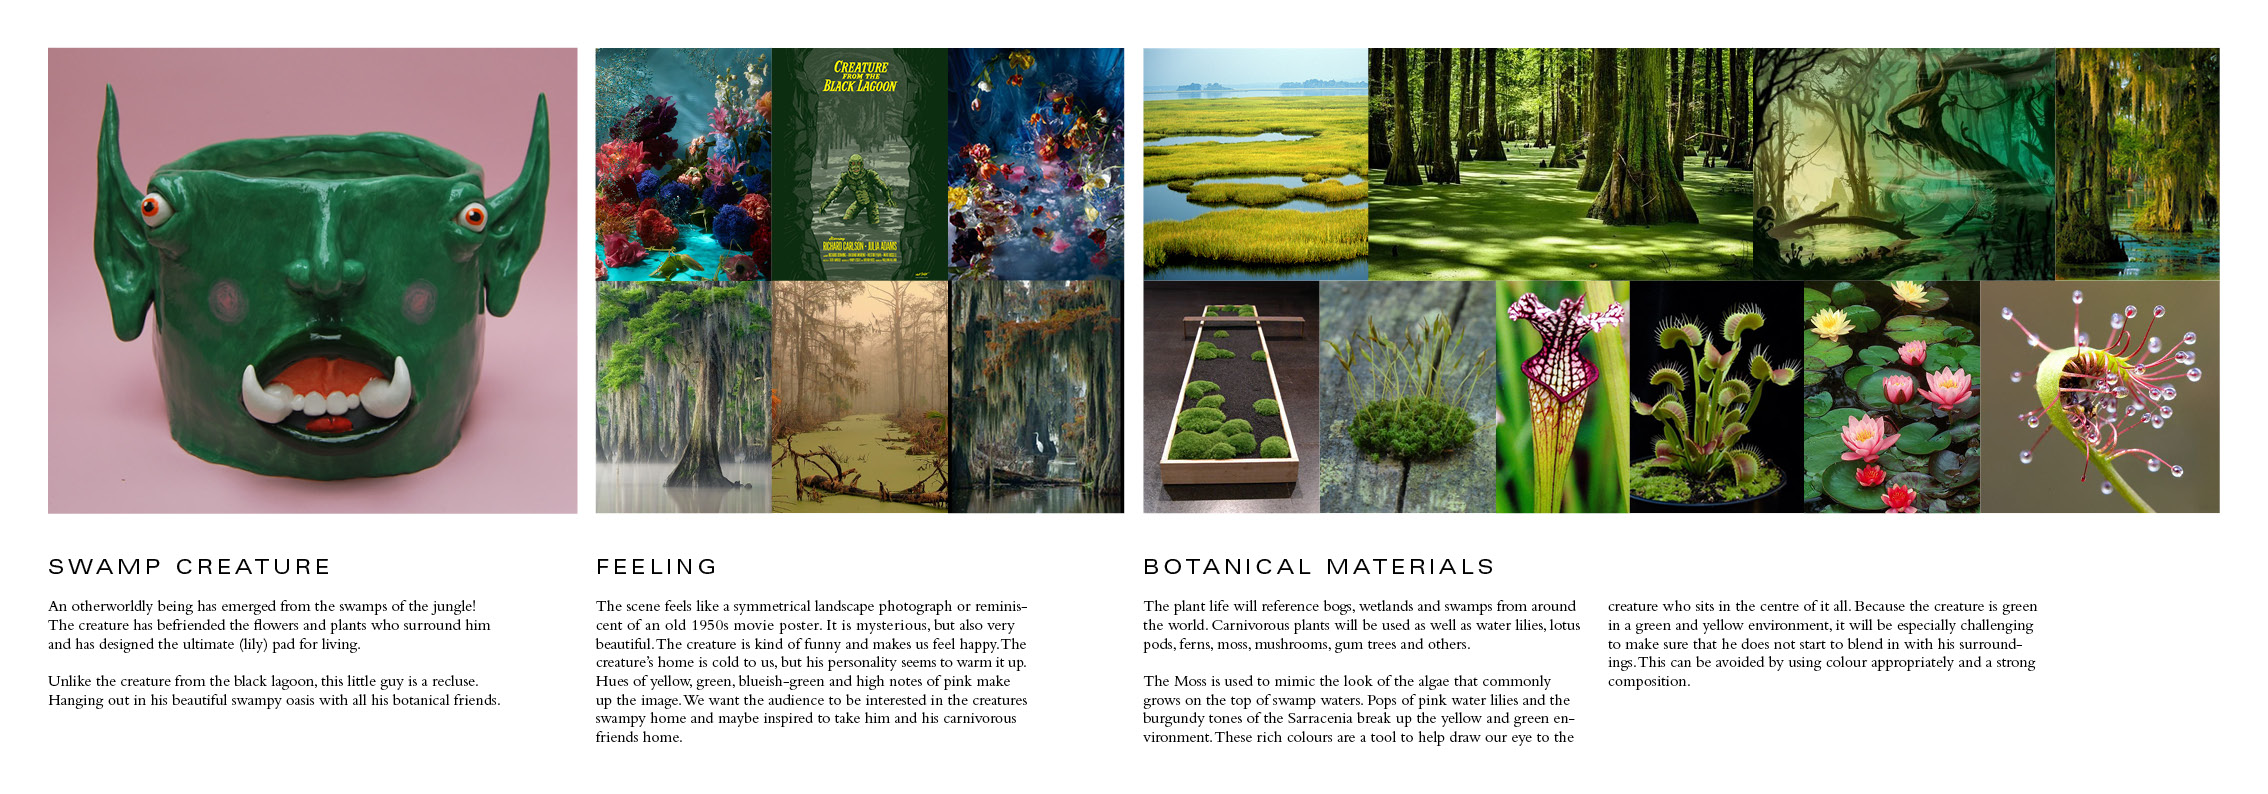
Swamp Man mood board.
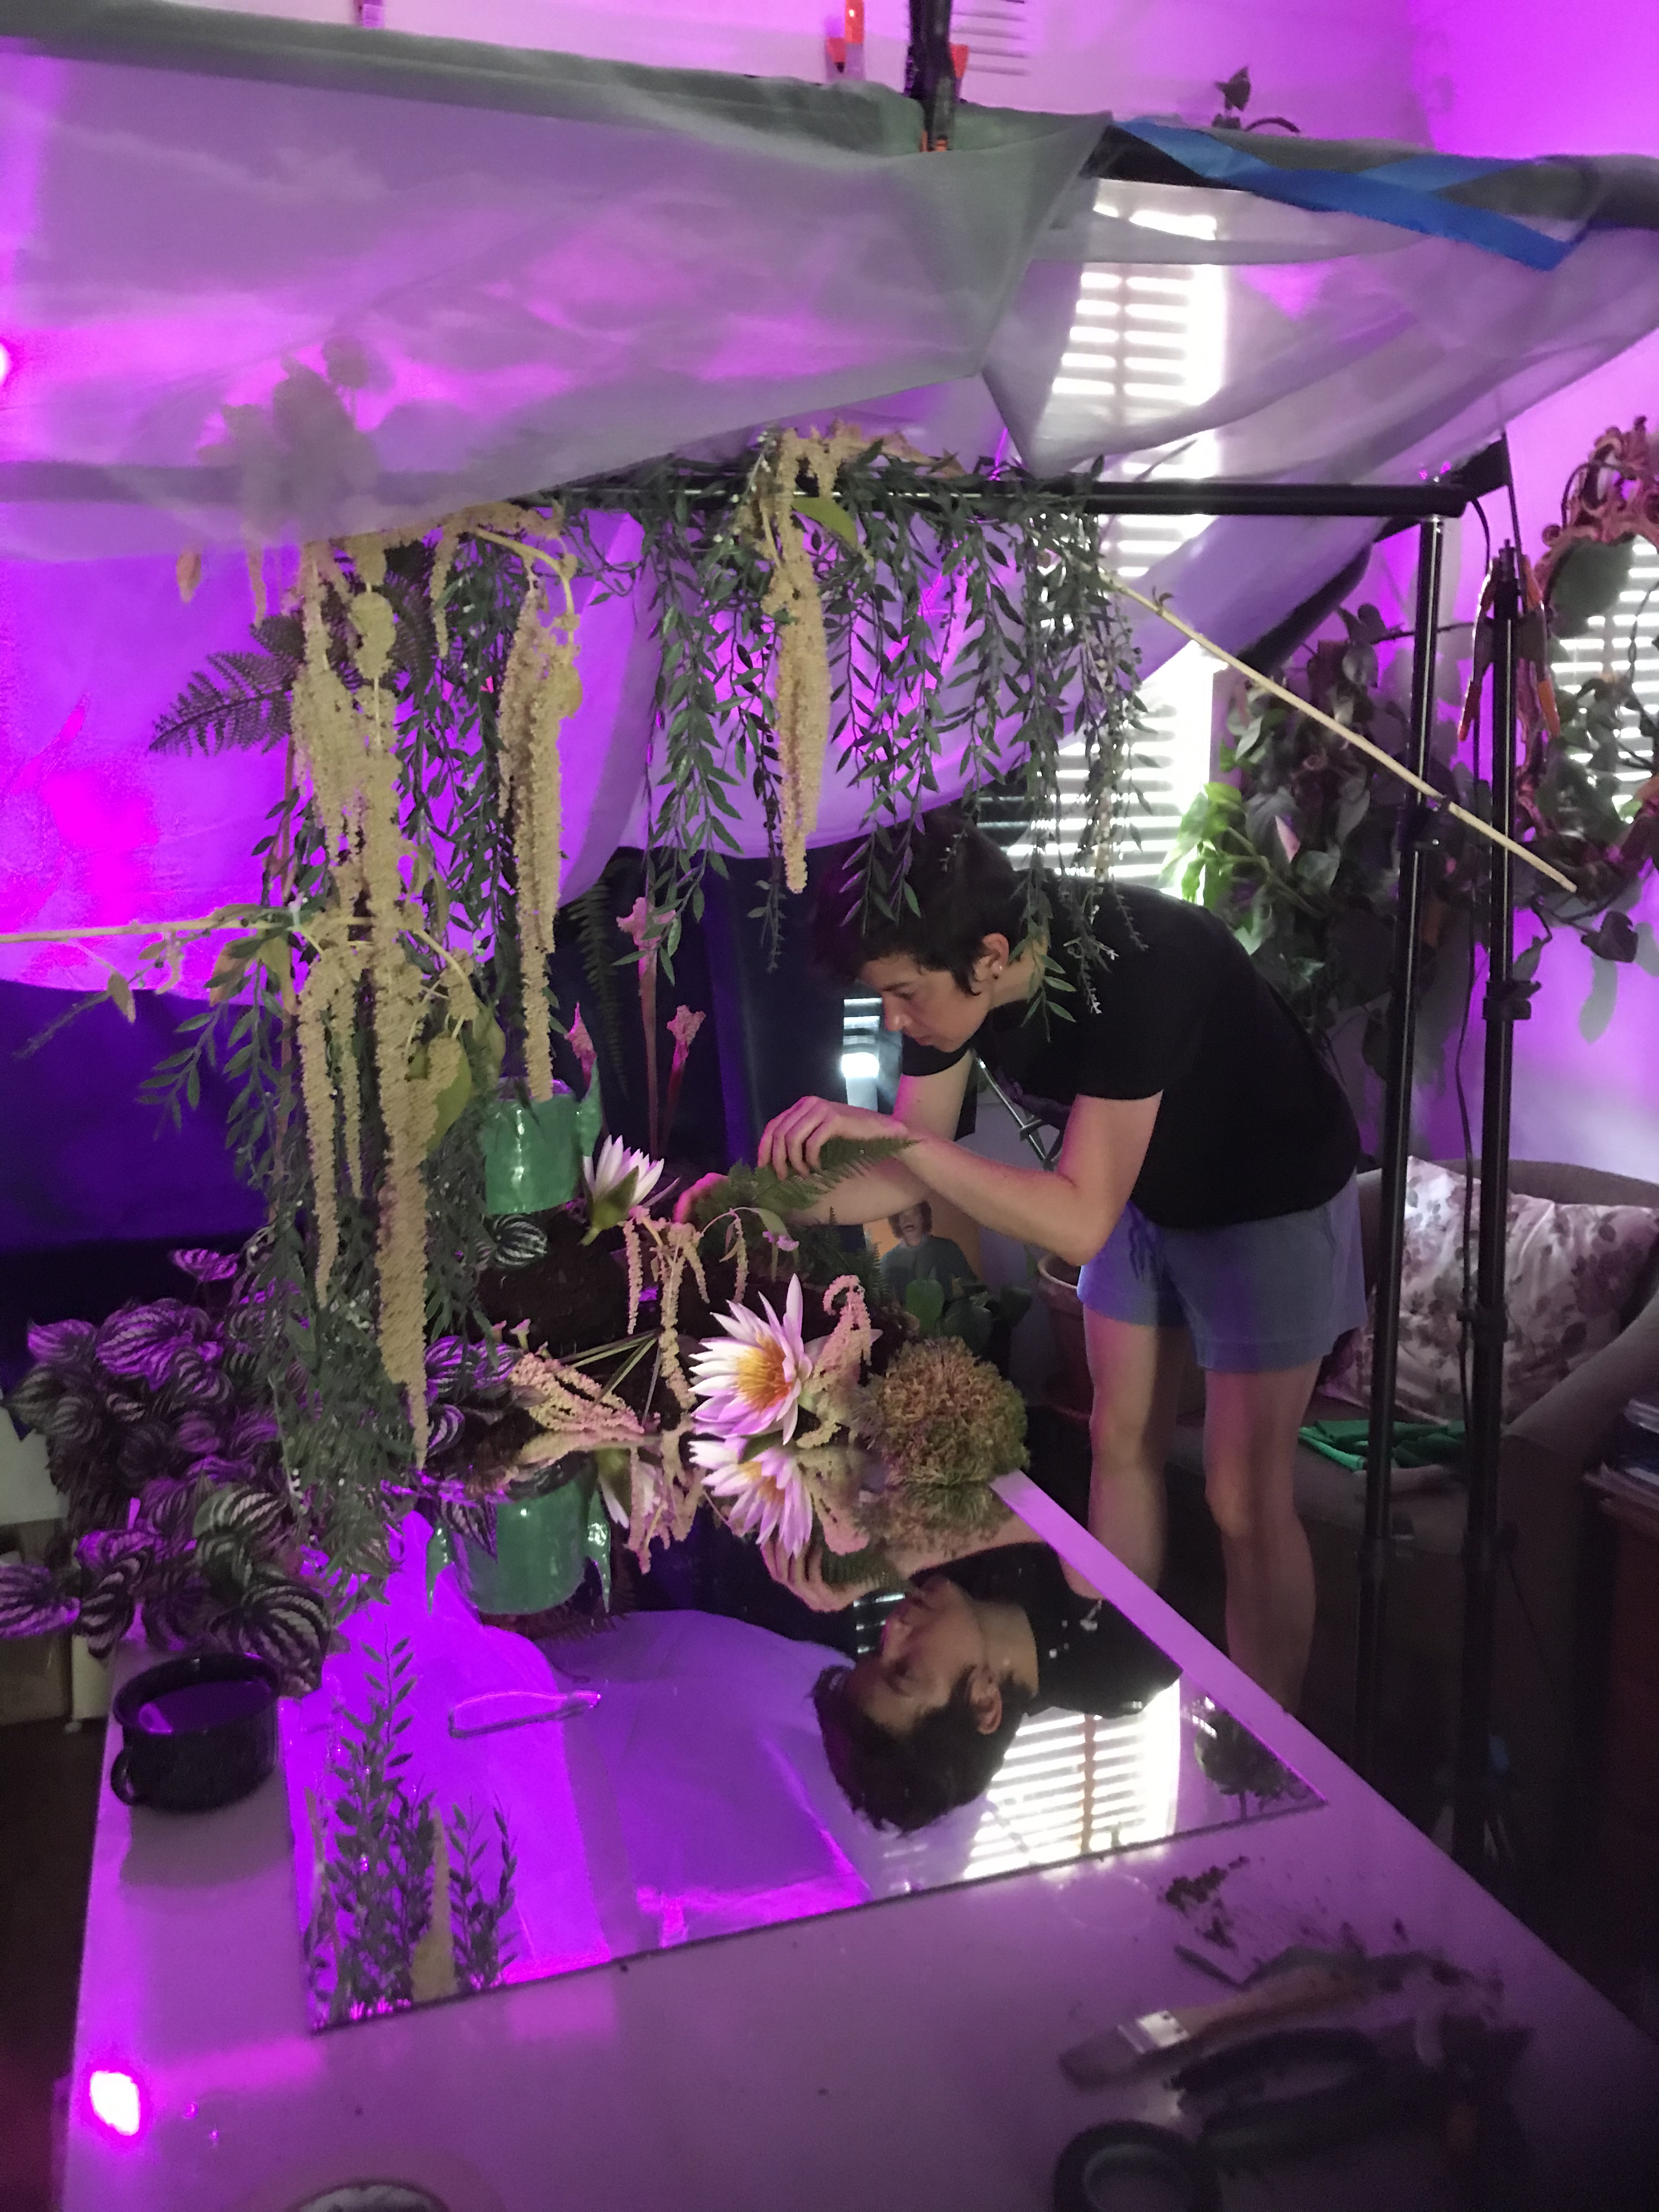
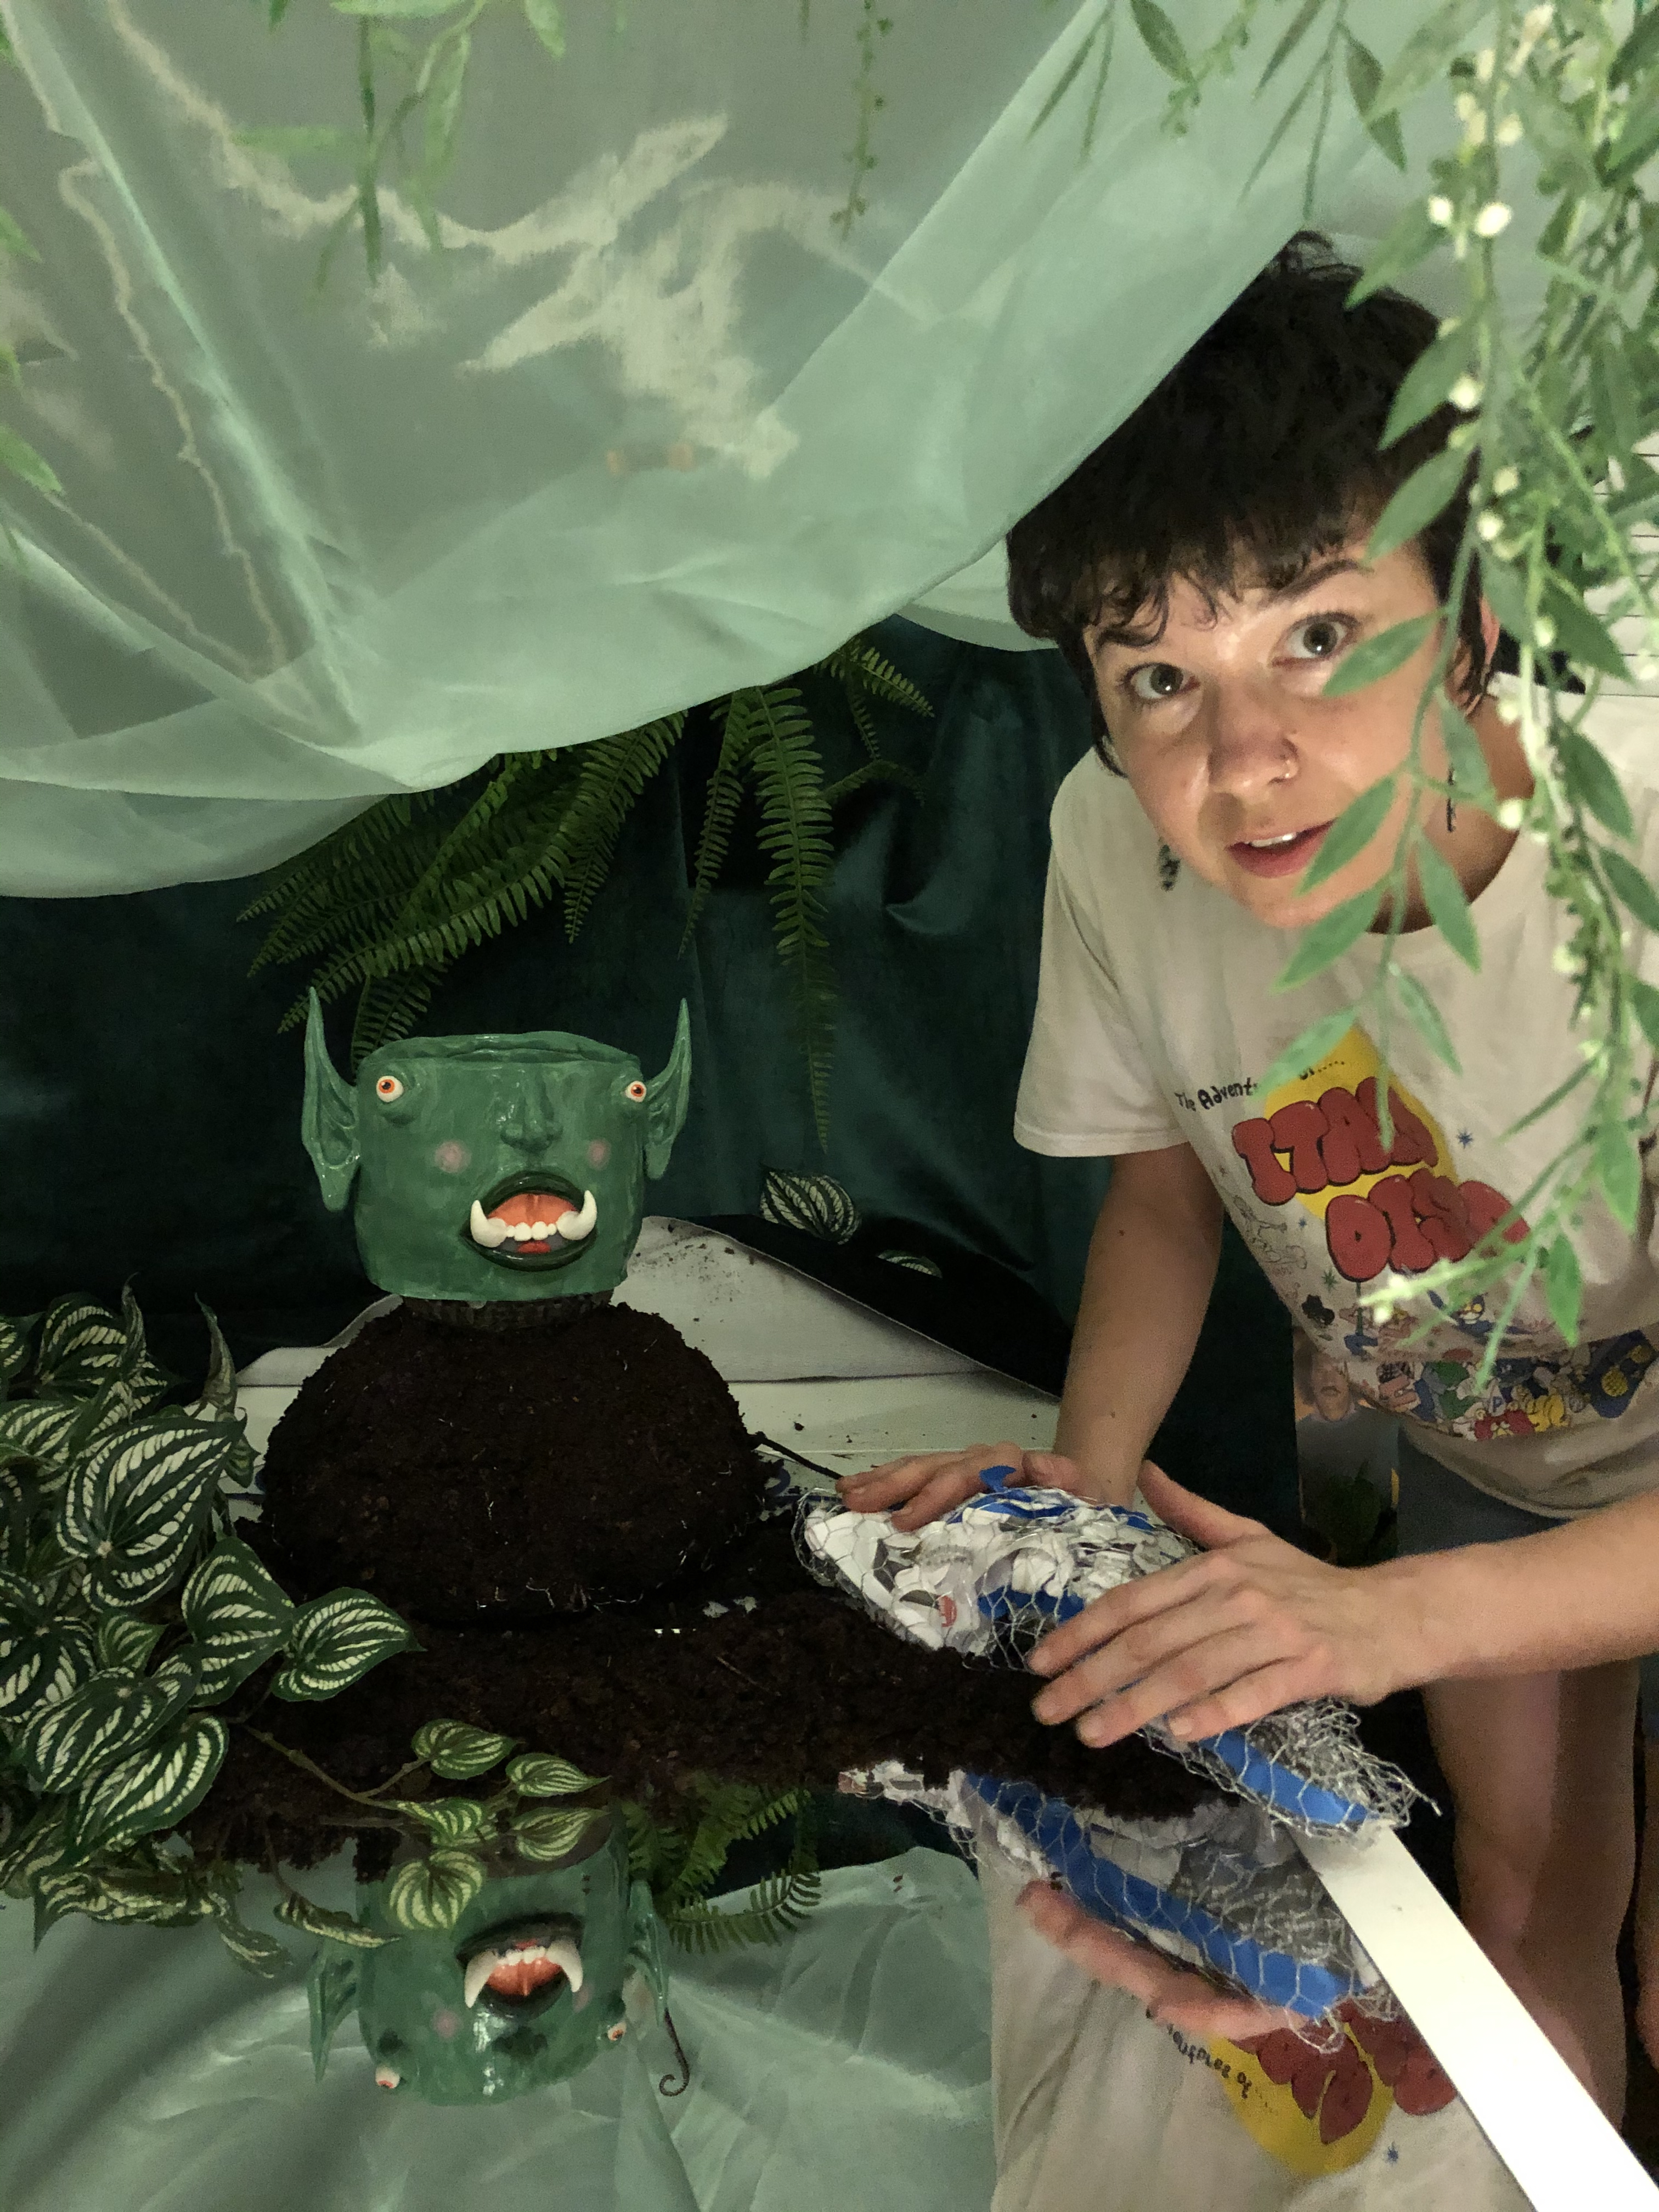
To create this, I researched images of swamps, bogs and wet lands to get an idea of the plants and colours that make up these areas. I took inspiration from the landscape shots and applied my 7 years of experience as a florist to build a lush botanical scene. Everything was built on top of an acrylic mirror to give the feeling of stagnant water. To make it feel a bit mystical and eerie, I used dry ice which slowly crawled across the mirror. For the mud mound where Swamp Man sits, I built an armature out of chicken wire and newspaper. I packed the armature with a moist peat moss and designed the landscape with a combination of fresh flowers and plant cuttings. For the tree canopy, I used fabric and a combination of fresh and artificial plants which were hung using backdrop stands.
SWAMP MAN
FINAL PHOTOS & VIDEO
Swamp Man consists of one styled photo and one video.

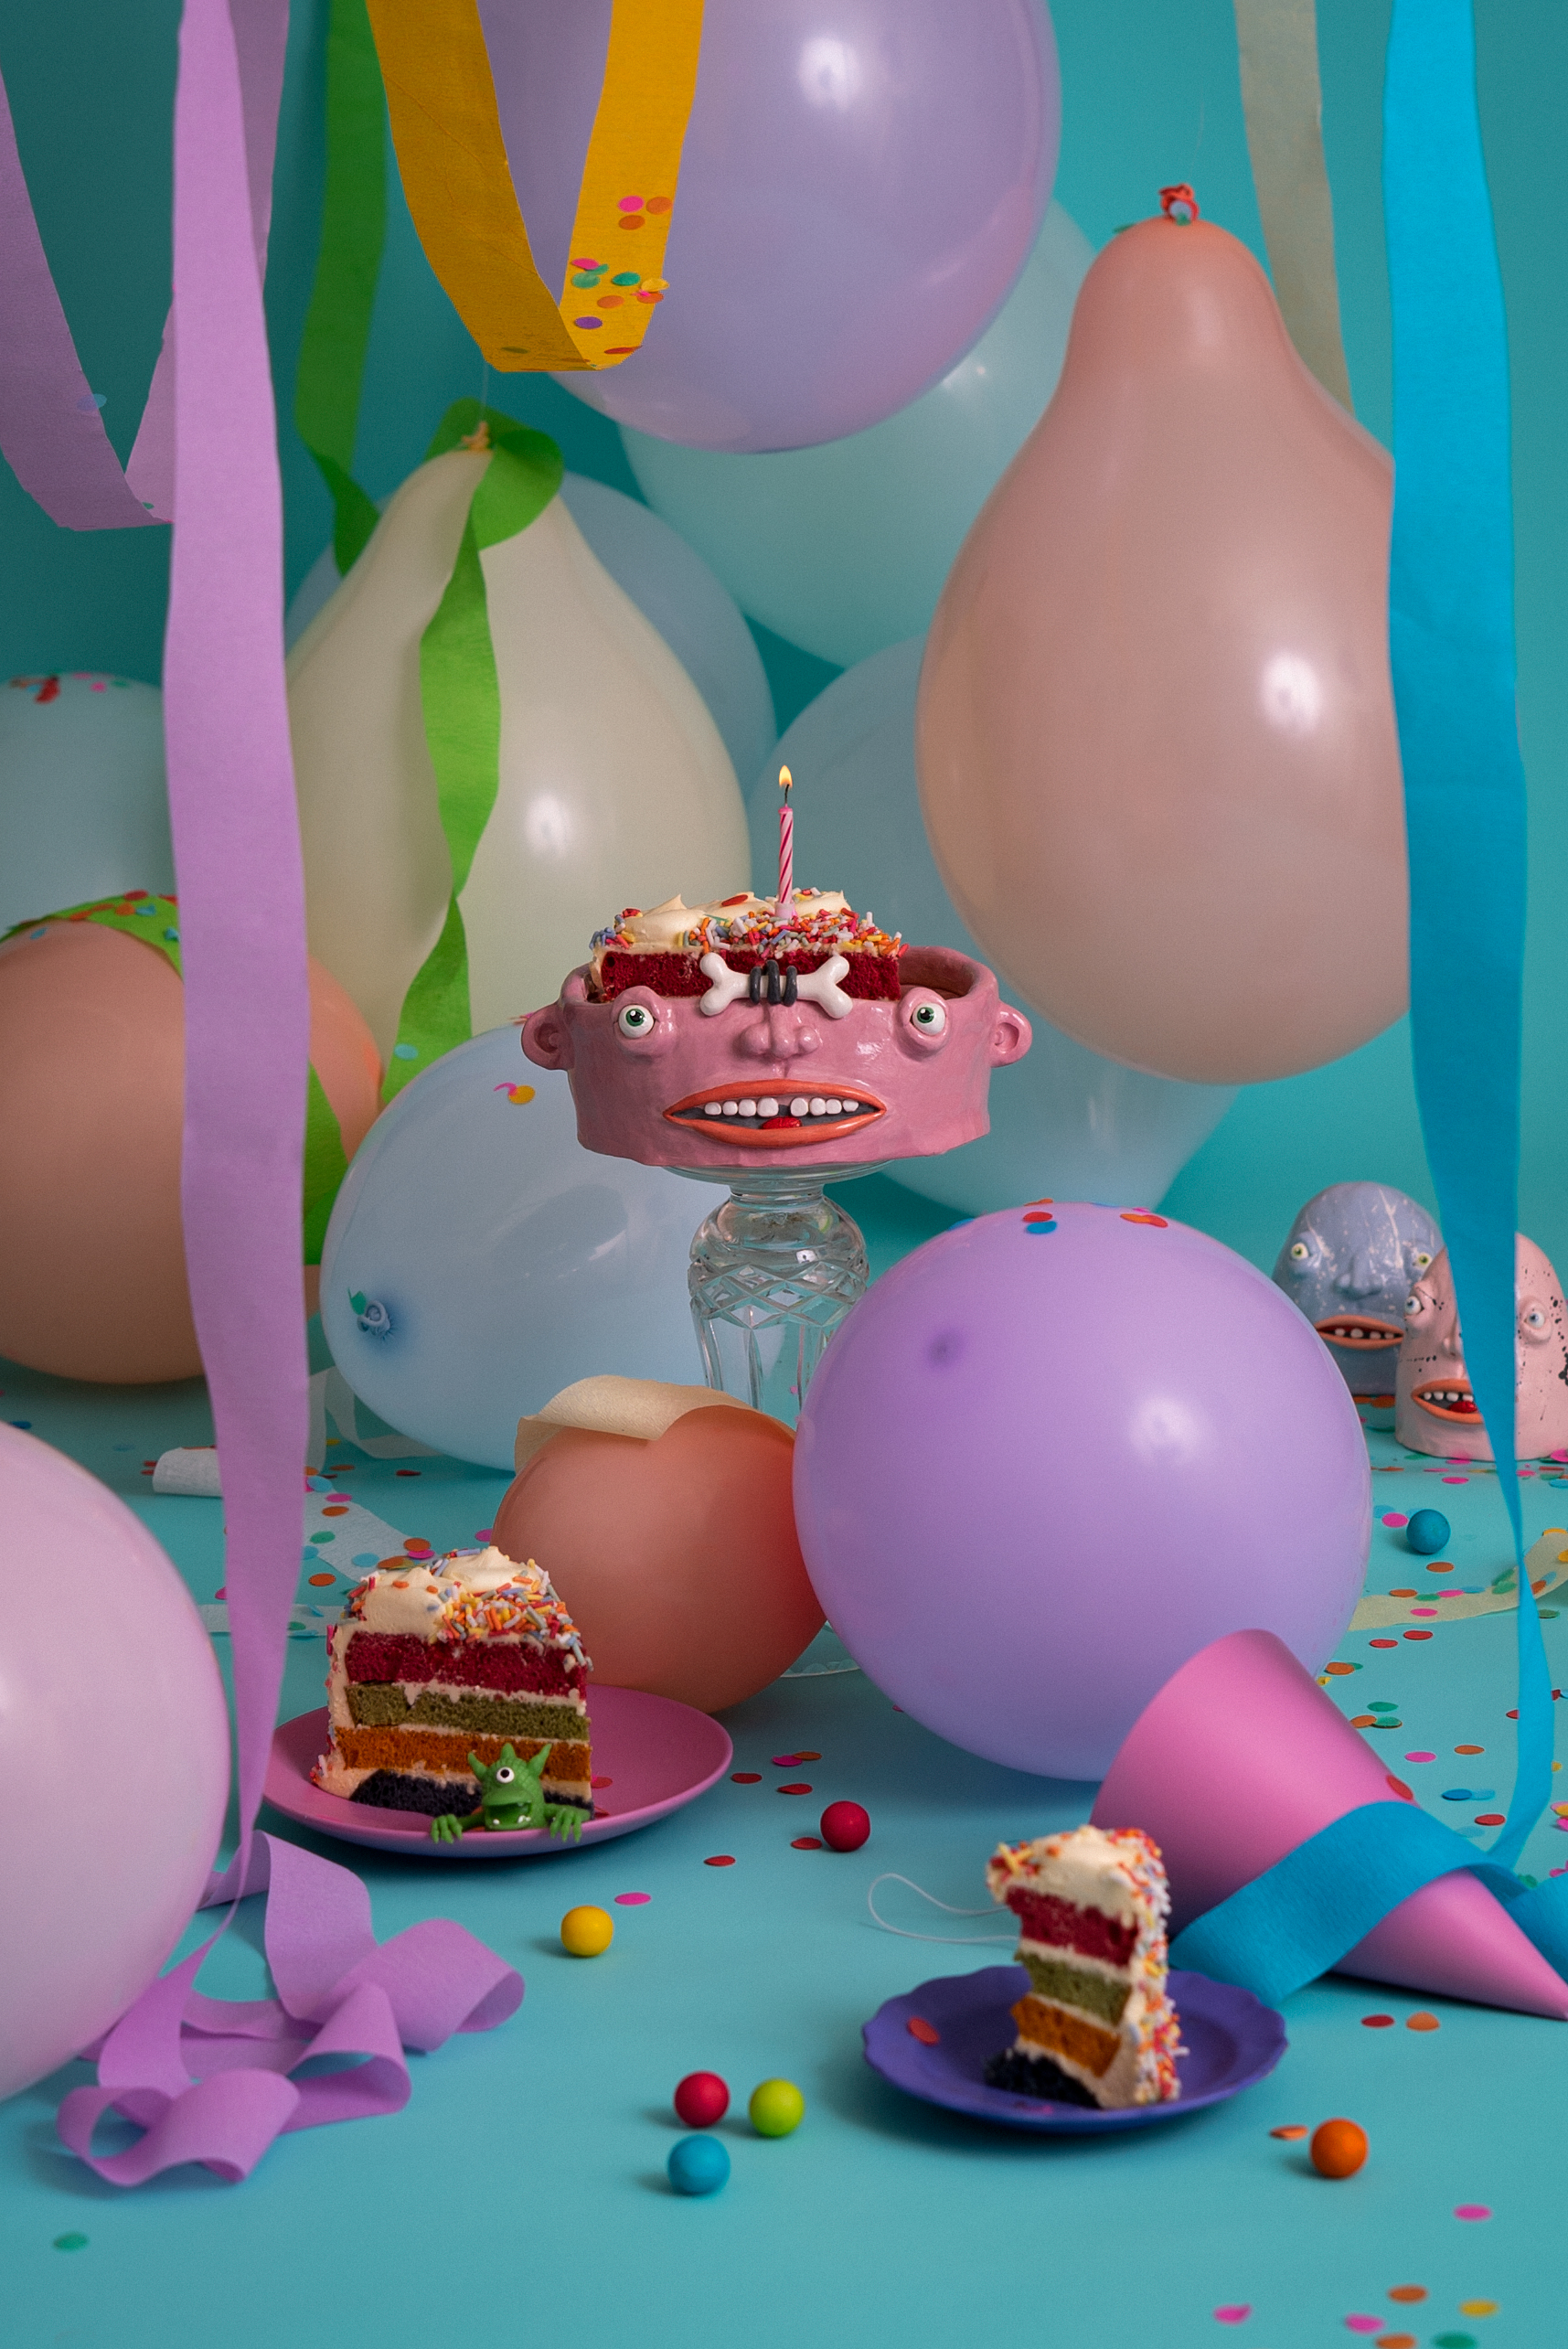
BIRTHDAY BOY
THE PROCESS
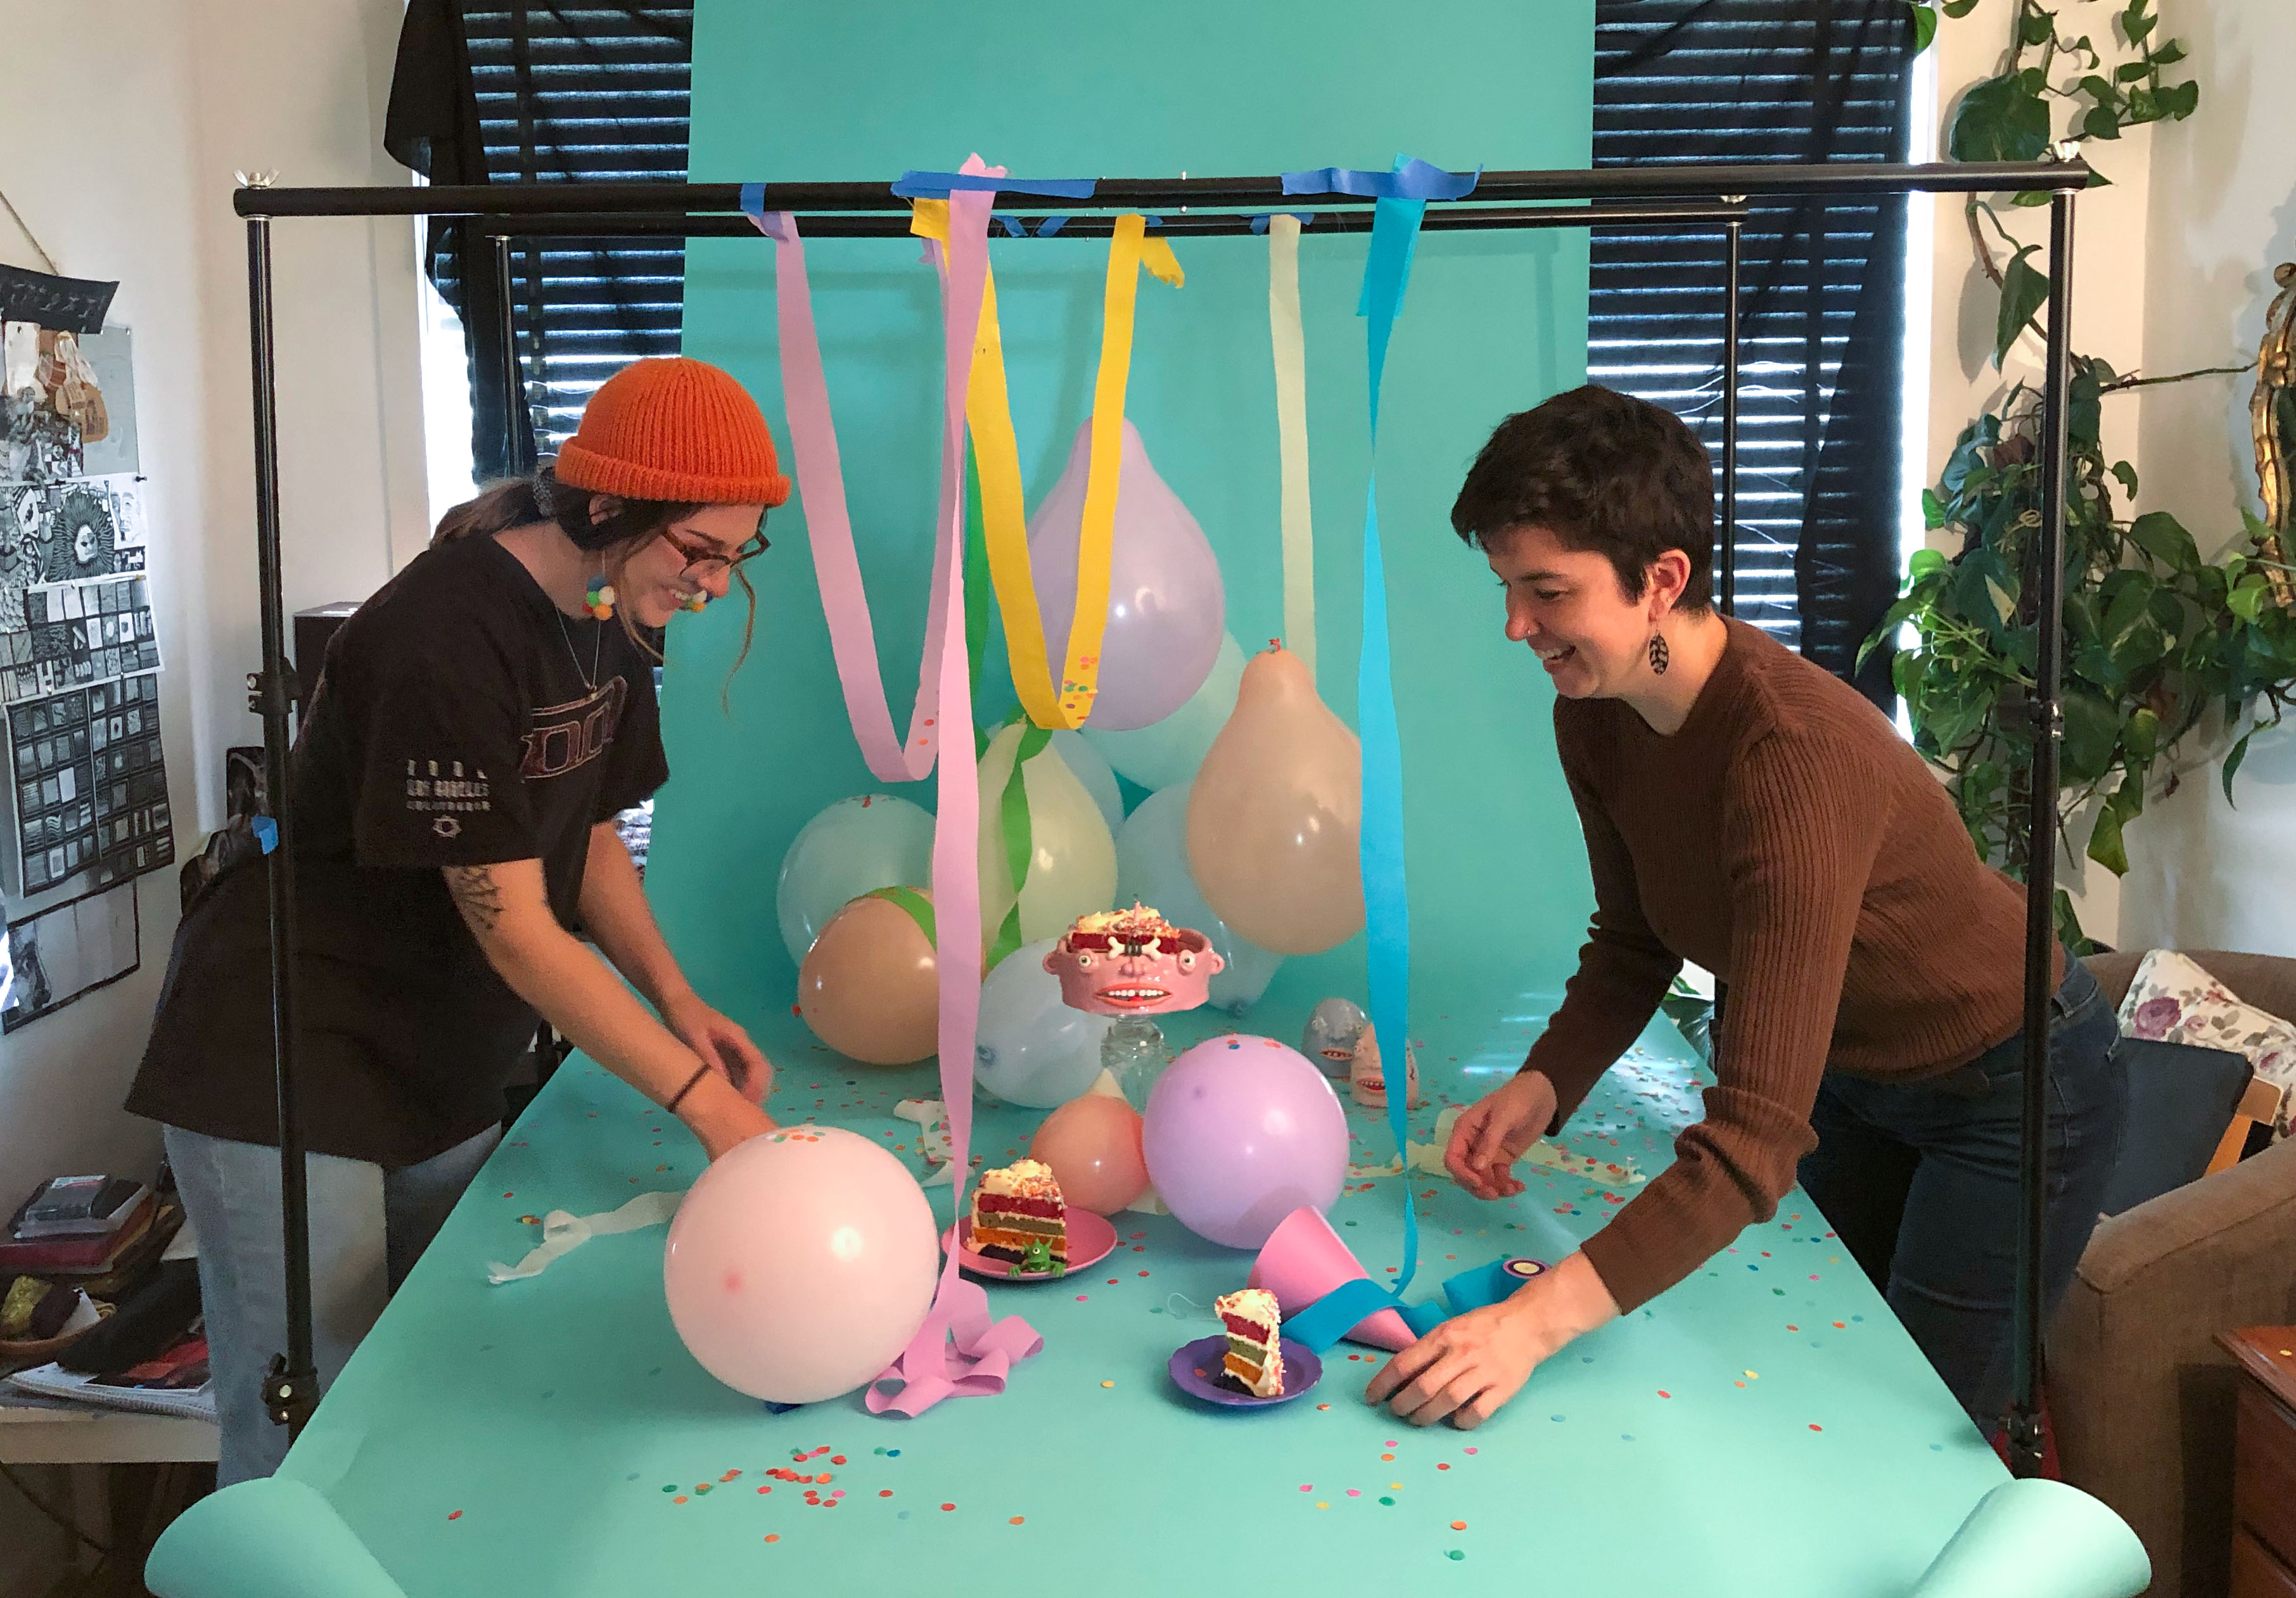
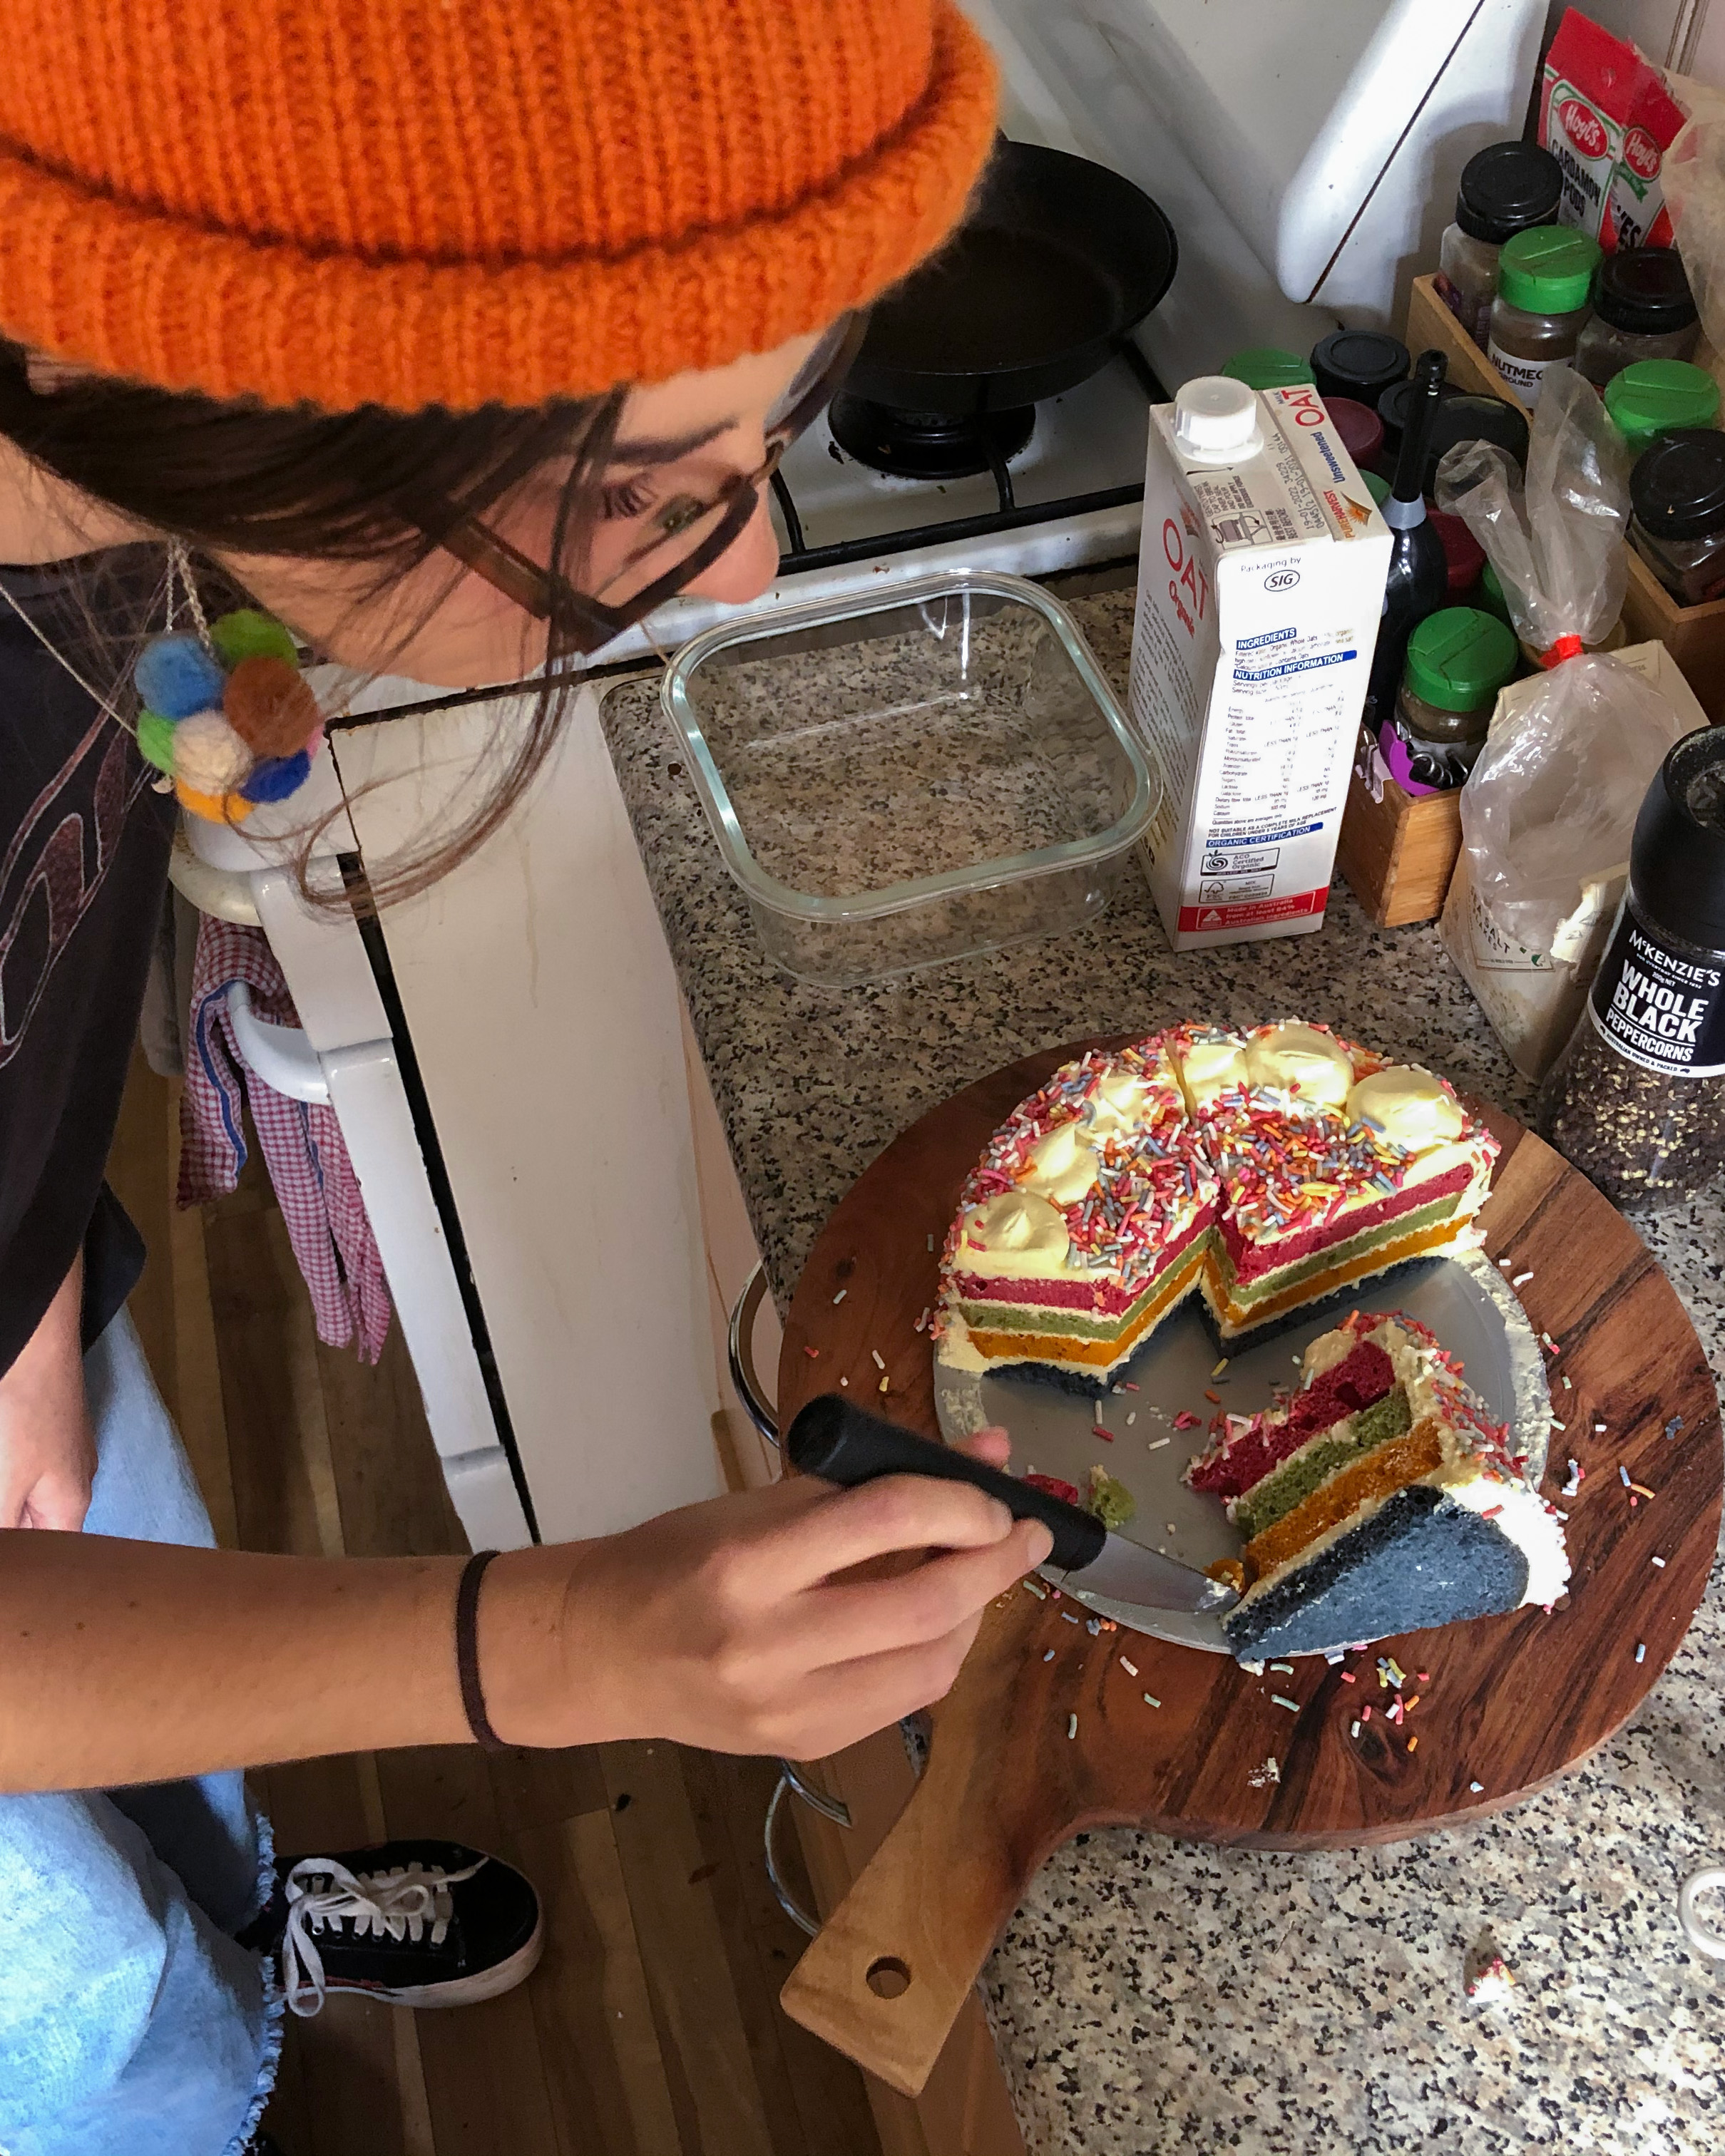
This was Molly’s favourite of all the sculptures in this collaboration and is one of the two images that we styled together. The aim for this scene was to create a nostalgic feeling for childhood birthday parties based off of the reference images Molly sent me prior to the shoot. These images were my main source of inspiration and informed what props were required to build the scene. I guided the direction of the colour palette and the composing of the scene while Molly sourced the cake, balloons and streamers.
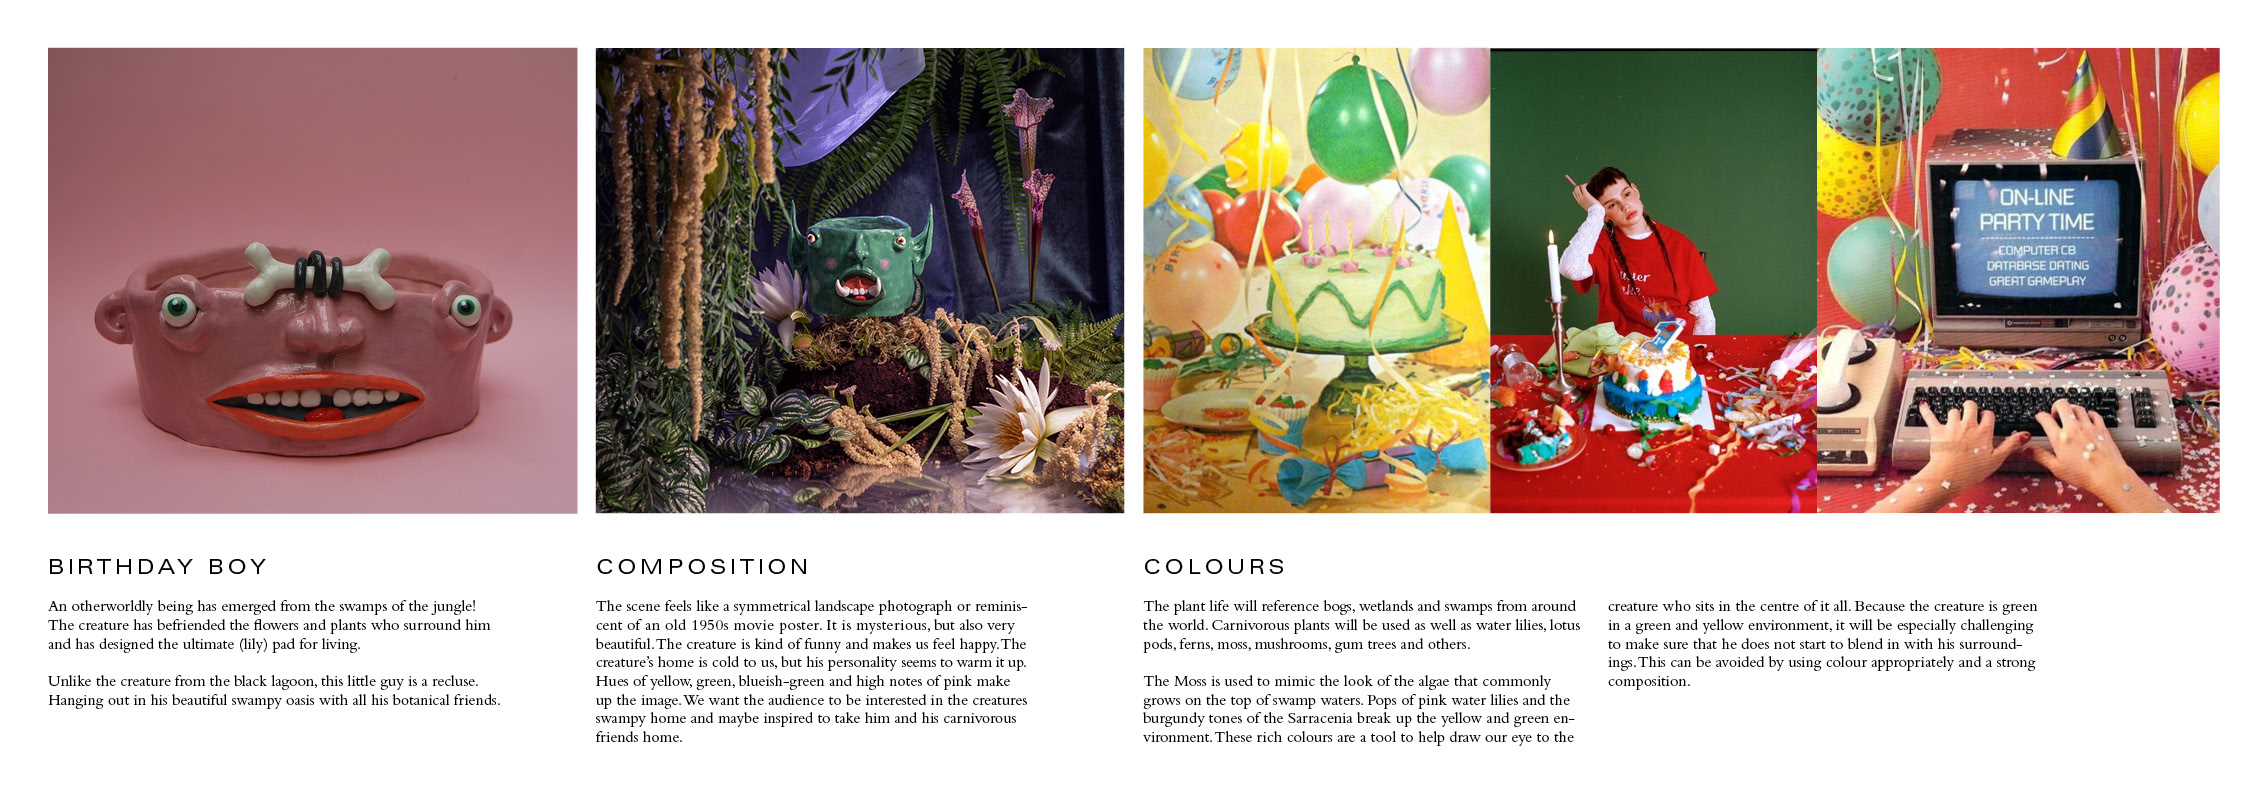 Birthday boy mood board.
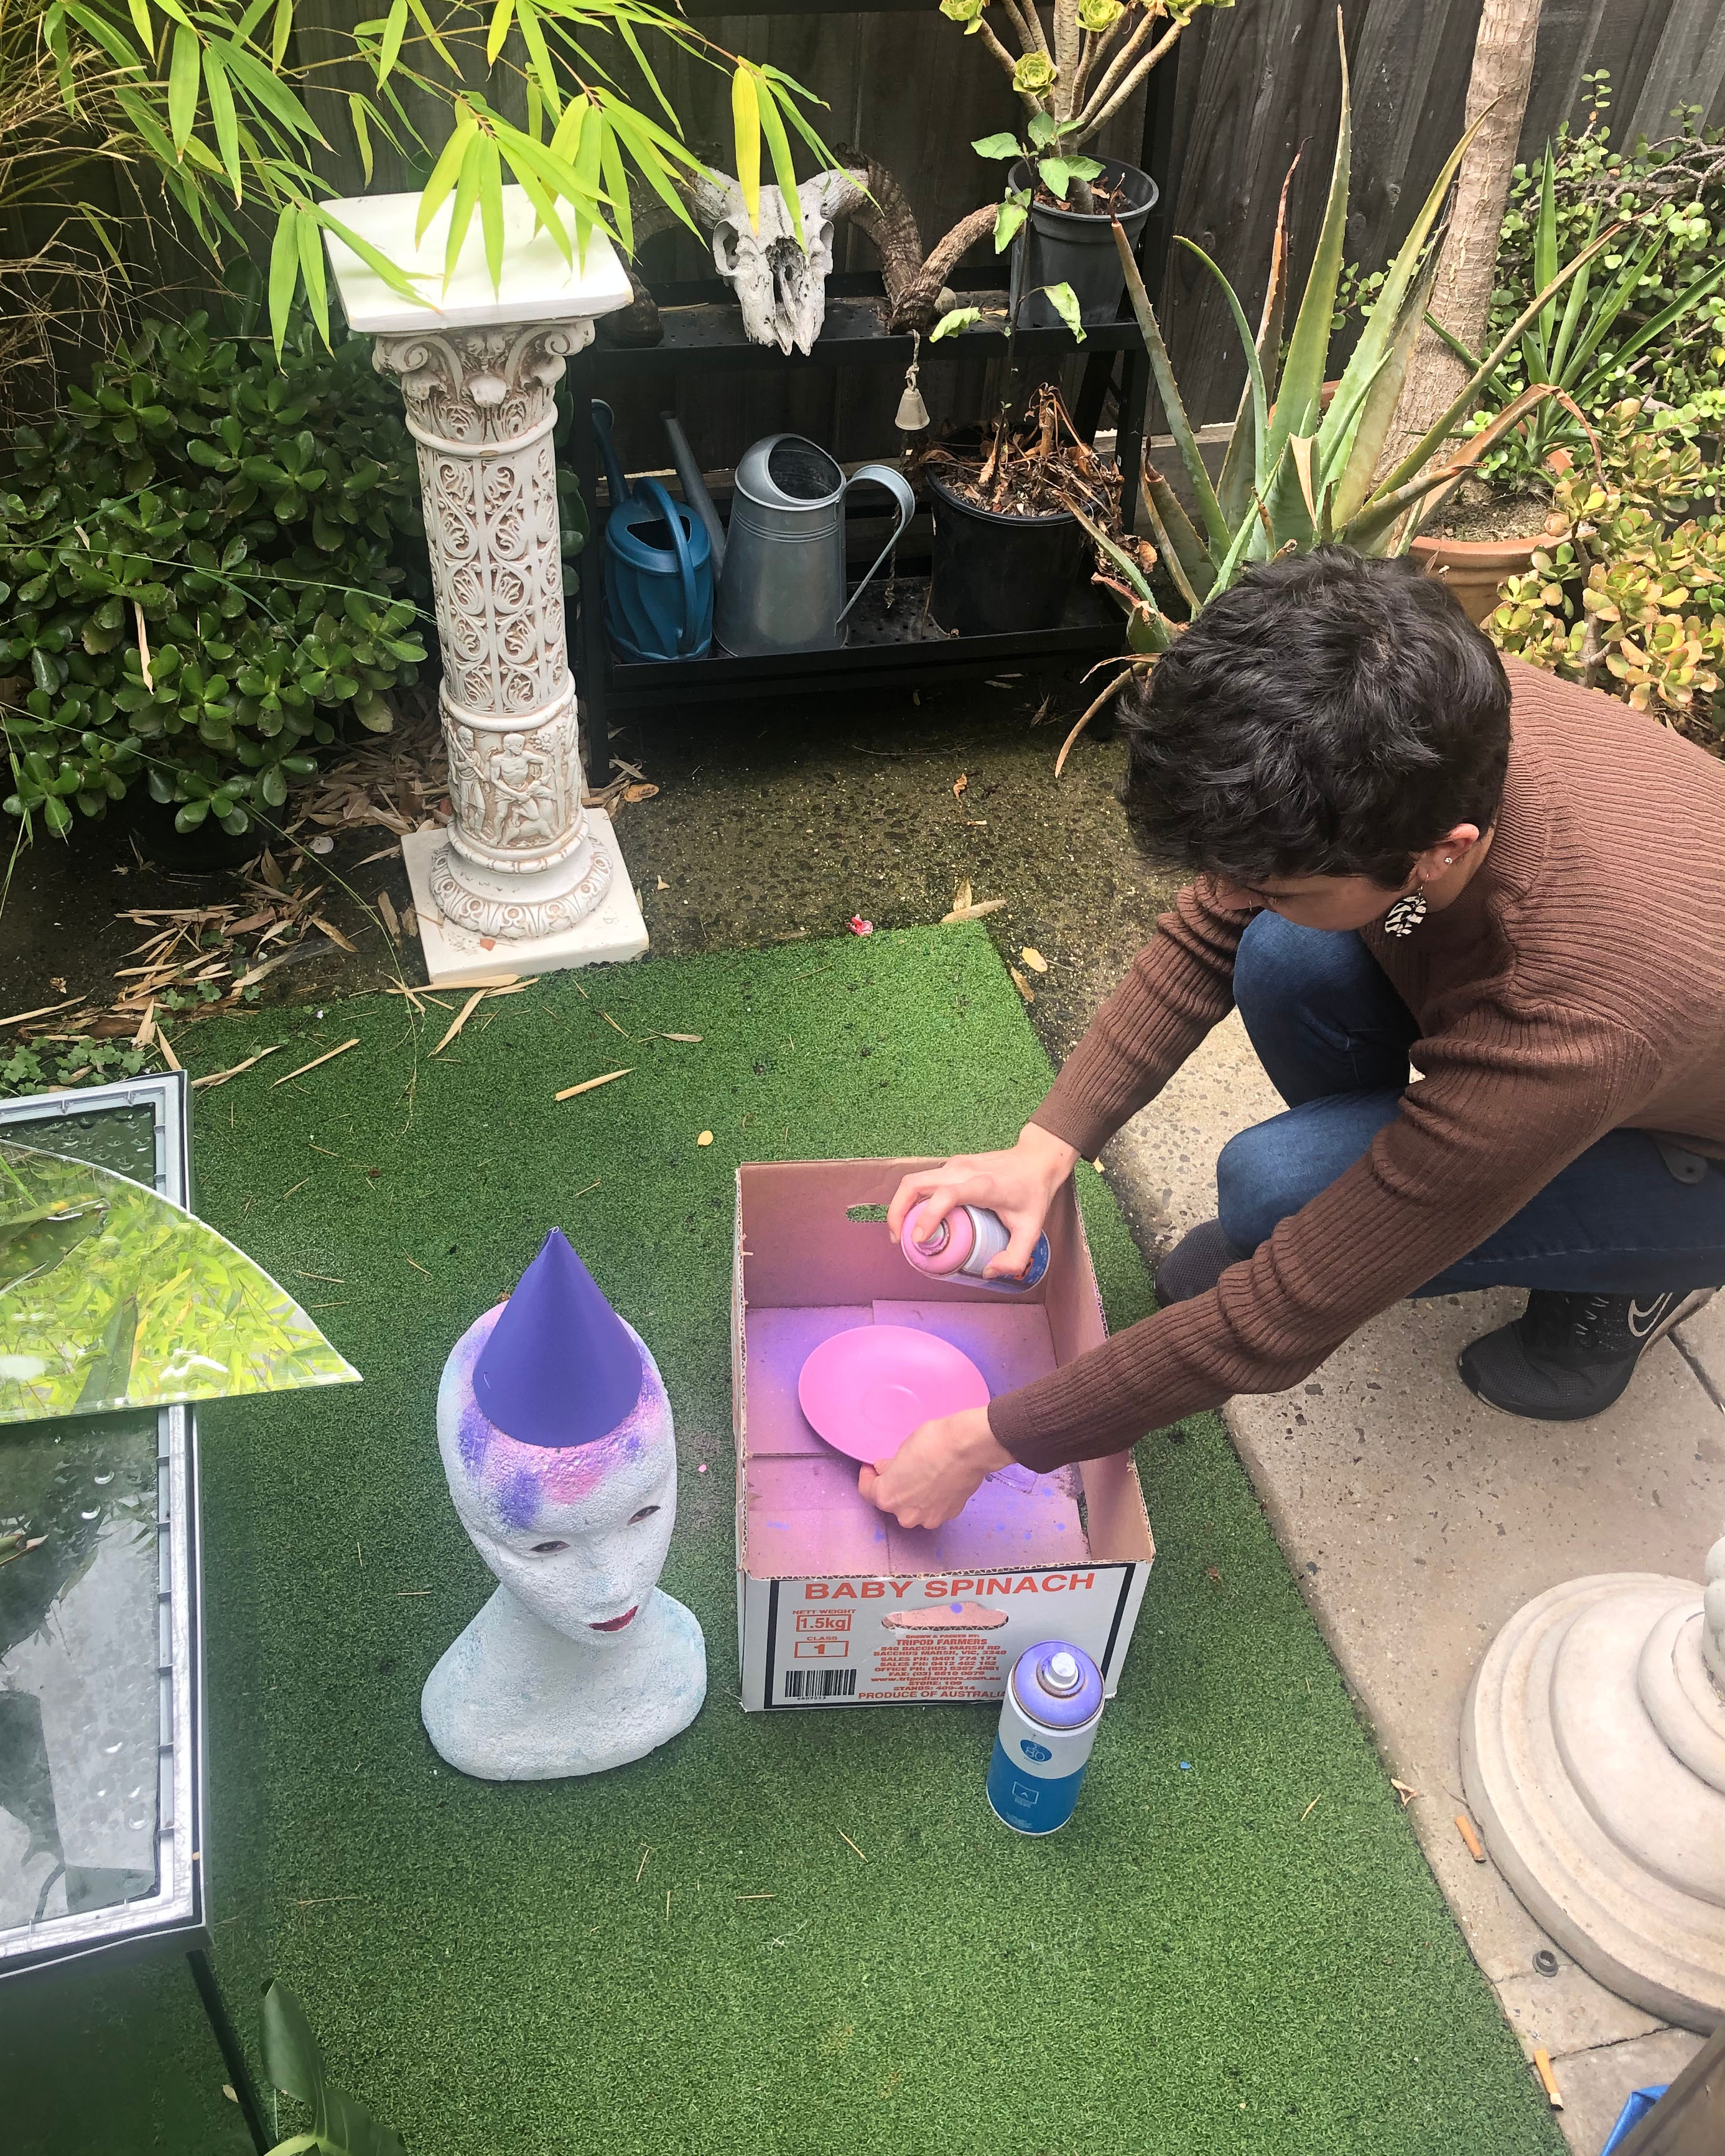
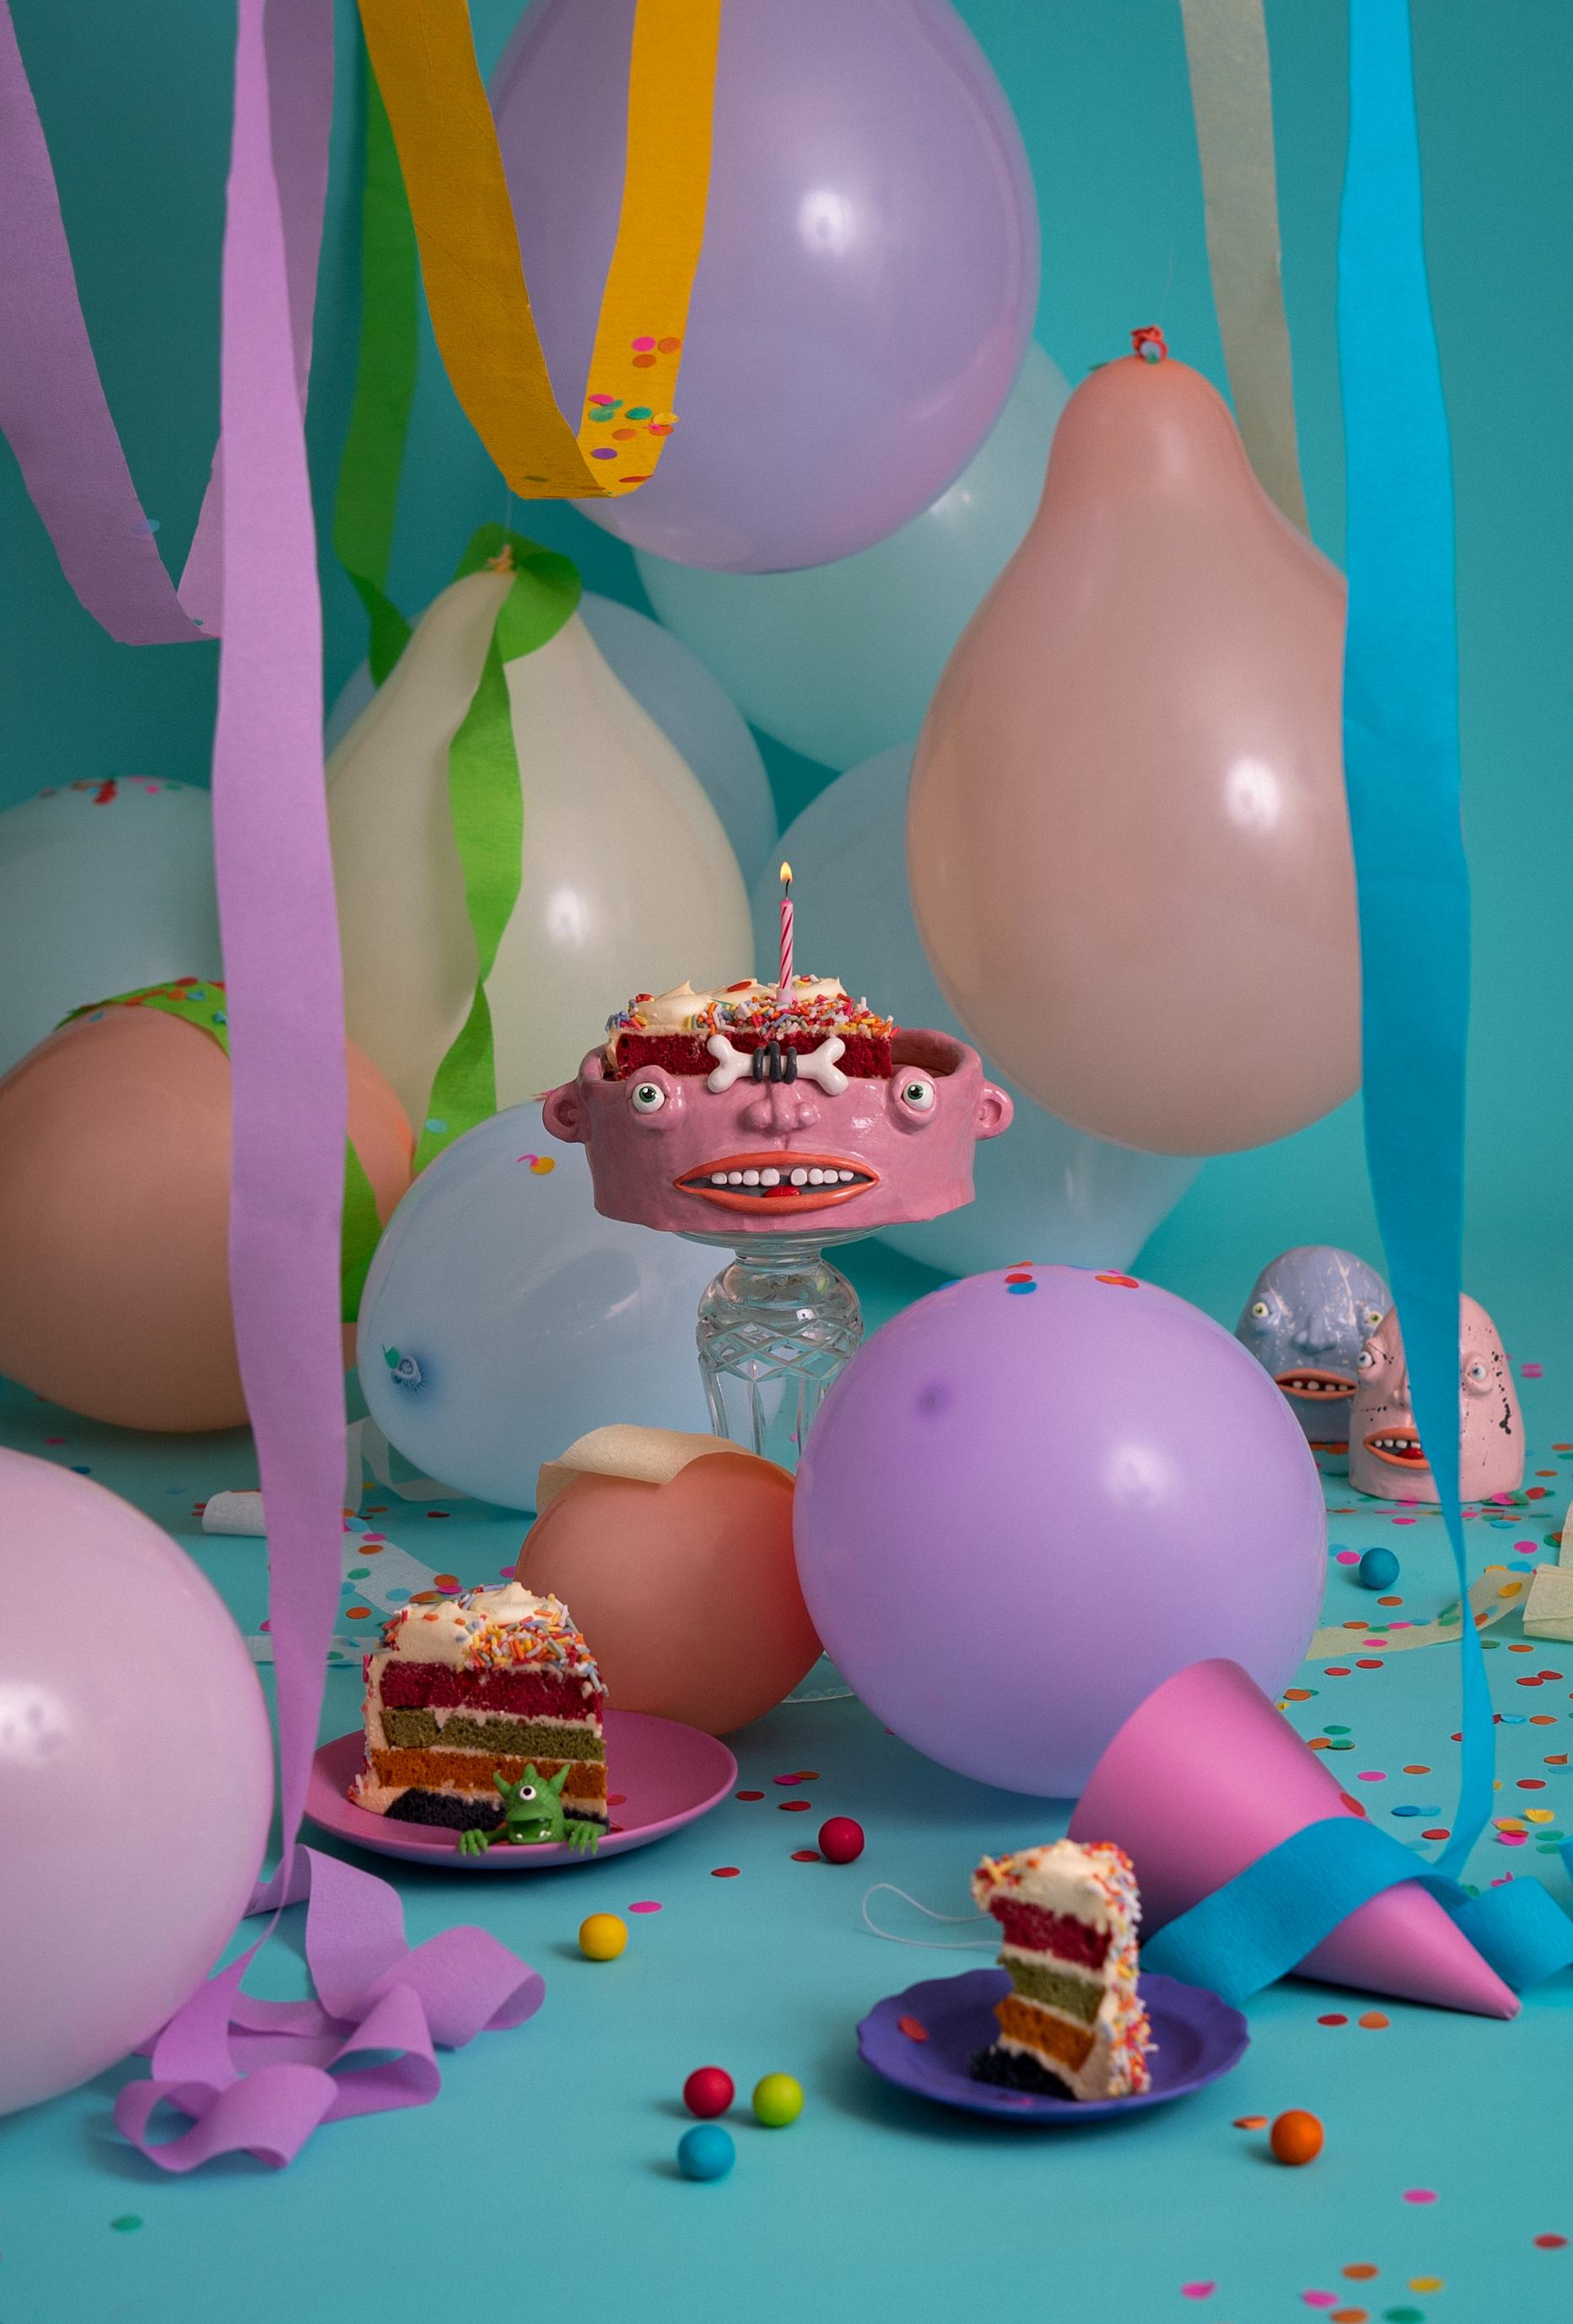
BIRTHDAY BOY
FINAL IMAGE
Birthday Boy consists of one styled photo.
CONCLUSION
The most rewarding part of this project was refining my creative process. Because each image required so much building and creation, I had to be methodical in my approach and have a very clear idea before I even started. As a result, I have become a stronger stylist, set designer and collaborator. It was wonderful to work with a fellow artist and make something for them that celebrates their talent by utilising my own.
Need photography thats adventurous and creative? Don’t be a stranger. stormypyeatte@gmail.com
Need photography thats adventurous and creative? Don’t be a stranger. stormypyeatte@gmail.com